How To Bleed ATV Brakes
As a new ATV owner, one of the first things you’ll need to learn is how to bleed the brakes on your quad. Luckily, it’s pretty simple to do and don’t take long to complete.
WHAT HAPPENS WHEN I BLEED MY ATV BRAKES?
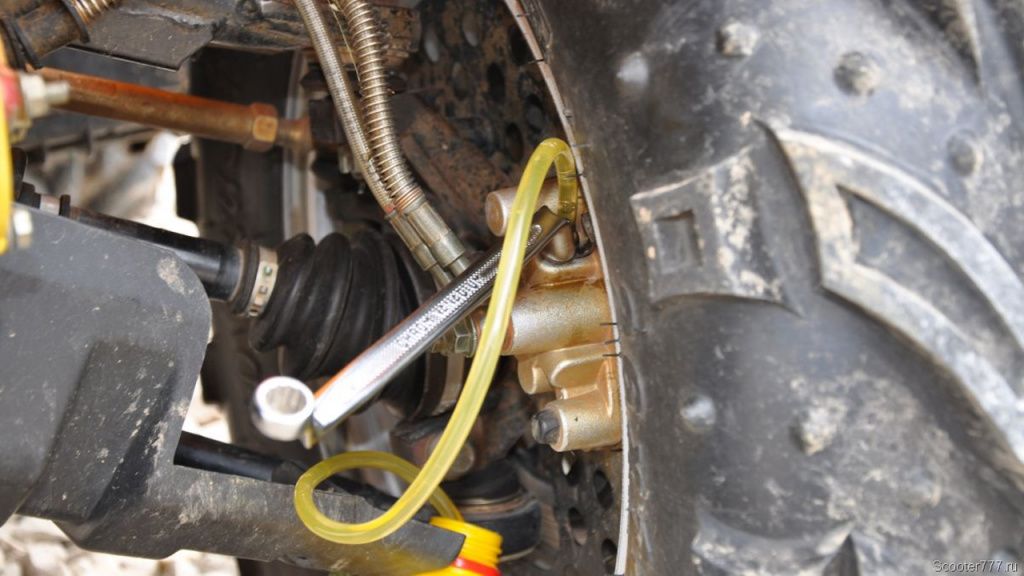
Most modern ATVs use a hydraulic braking system. A piston is activated by brake fluid when you press your hand or foot on the brake. The piston pushes the brake pad onto the brake disc, creating friction that causes your vehicle to slow.
Bleeding the brakes is simply removing some or all of the brake fluid. We do this to remove air that has become trapped or replace old brake fluid that is no longer serving its purpose.
WHY DO I NEED TO BLEED MY ATV BRAKES?
From time to time, the brake fluid in your ATV needs to be replaced. This is because brake fluid breaks down over time when exposed to heat, and it also absorbs water.
Brake fluid should be clear or slightly amber, so if you check your brake fluid and it’s quite dark instead, it’s time to replace it. Often, people replace their brake fluid at the same time they replace their brake pads, as the maintenance periods are typically the same. Completely changing all of the brake fluid is called flushing.
Getting rid of air in your ATV brake system
Another reason you might need to bleed your ATV brakes is when air enters the system. Brake fluid only works well when it can’t be compressed. As air can be compressed, the more air there is in your brake system, the more squishy or soft the brakes will feel.
Air shouldn’t get into your brake system under normal operation. If this is happening, it’s time to check where air could be leaking into your brake lines.
Air usually only gets into your brake lines when you need to replace or fix a component that’s married to the brake line. When you remove the brake caliper, for example, there’s a good chance air will make its way into your brakes system. If a brake line comes loose when you’re on the trail, this can also introduce air into the system.
STEP-BY-STEP GUIDE TO MANUALLY BLEEDING YOUR ATV BRAKES
1. Jack up your ATV.
2. Remove the wheels where you’ll be bleeding the brakes. (Optional, but makes it a lot easier to access the brakes).
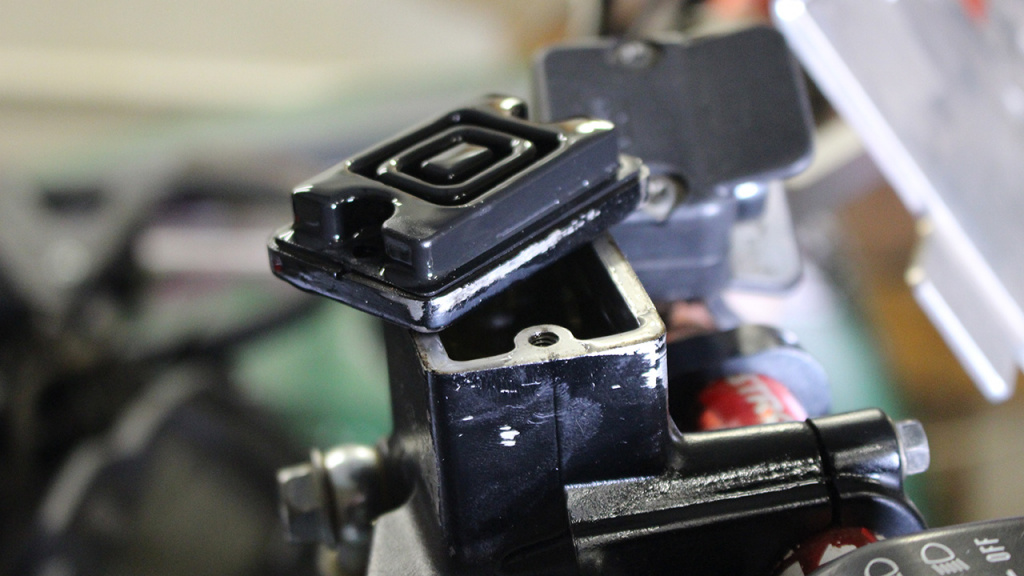
3. Take off the brake fluid reservoir cap, which is typically held in place with two screws. Be gentle and careful not to strip the screws.
4. Clean the reservoir cap and area surrounding the reservoir. You don’t want to introduce dirt into the system.
5. Fill up the brake fluid to the maximum level. As you are bleeding the brakes, you must ensure that the brake fluid never drops below the minimum level.
6. Carefully pump the relevant brake a few times.
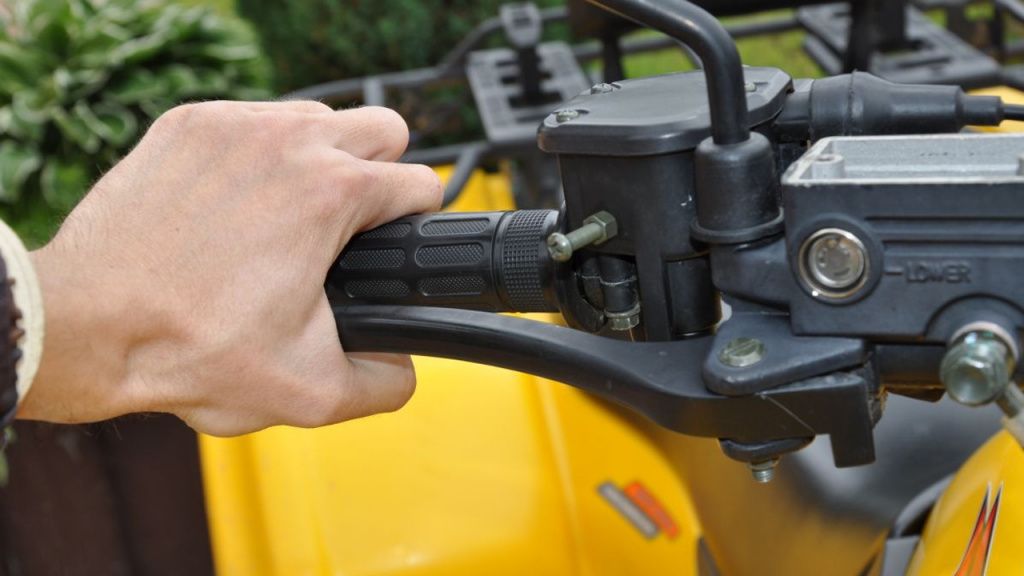
7. Keep the brake depressed by hand or use a clamp.
8. Open the bleeder valve above the brake caliper that’s furthest from the reservoir by turning it anti-clockwise for a short turn. Brake fluid will begin to come out of the bleeder valve.
9. Close the valve when a significant amount of the brake fluid has come out of the valve.
10. Repeat the process with more brake fluid until the leaking brake fluid is clear and free of air.
11. Top up the brake fluid to the maximum in the reservoir, and repeat the process for all brakes.
VACUUM BLEEDING ATV BRAKES
Another option is to use a brake bleeder tool when you need to bleed your brakes. This automatically sucks brake fluid from the system. Some of these tools require a connection to a compressor, whereas others come with their own vacuum pump.
The process is similar to the manual steps above, but instead of manually pumping the brake fluid through the system, you connect the brake bleeder to the bleeder valve. This empties the reservoir quite quickly, so you’ll need to keep an eye on it and top it up to the maximum as the brake bleeder works. Though this method requires a specialized tool, it’s easier for one person to perform.


