How To Change An ATV Tire On The Trail
Everyone who rides an ATV to its limits will eventually find themselves in a situation where an ATV tire needs to be changed when you’re out on the trail. How much of a nuisance this becomes depends mostly on how prepared you are. If you’ve brought a great assortment of tools and a replacement tire and wheel, you may not be in such hot water. But not everyone goes out on the trail so well stocked, so we’ll discuss some of the ways to change a tire when you’ve only got essential tools.
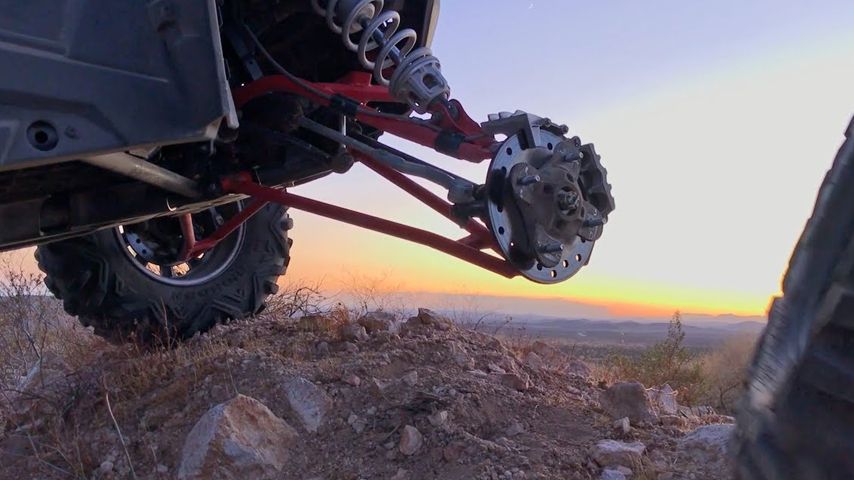
Raising a wheel without a jack
We highly recommend riding with a jack, as it makes it easy to raise your wheel off the ground. They’re not particularly heavy, and they can get you out of a tough spot.
If you don’t have a jack, your first challenge will be raising the wheel in question. The fastest way, when available, is to roll the ATV to a spot where the tire that needs to be changed is lifted naturally. This means parking your other tire on a higher elevation, such as on a log.
A similar option is to create a makeshift ramp. Lay two logs in a “T” pattern and drive up the ramp until your skid plate rests on the log. Hit the brakes and throw down some chocks to keep your wheels in place. This works best for front tire changes.
If you’ve been riding with a friend, the next alternative is to winch over your ATV. Anchor the winch line to the top of your cage and winch across your machine until the problem tire is off the ground.
If neither of these methods is practical based on your location (or if you’re friendless), you can consider winching the ATV up. You’ll need something up high like a good, strong tree, but if you’re lucky, you can connect your winch to the tree branch and raise your ATV enough to get free access to the busted tire.
Finally, you can resort to the US Army military method of making a bumper jack. Essentially, you jam a strong log into the ground just under your ATV’s front end. It needs to be secure, so consider digging a small home. Secure the log to your bumper with ropes. At this point, it’ll look like you’ve just run over a pole, but when you back up your vehicle, the log will straighten, lifting the front end of your vehicle off the ground.
Plugging a tire
Punctures can be plugged on the go without removing the tire. This, of course, depends on you having the foresight to pack a tire plug kit. We’ve previously covered the steps to plugging a tire, but in summary:
1. Find the hole or puncture and make it large enough for the plug to fit in using the reaming tool.
2. Apply glue or rubber cement to the length of the plug.
3. Insert the plug into the tire with the installer tool without pushing it in too far.
4. Remove the installer tool and let the plug set for a few minutes.
In most cases, this should be enough to repair the tire completely unless the tire was particularly badly damaged.
Changing to a spare tire
Assuming you’ve brought a spare wheel and the right tools, changing to a spare tire is simple.
1. Loosen the lug nuts before you raise the wheel.
2. Use a jack to lift the suspension close to the wheel. A centrally-placed jack may not raise the ATV or UTV enough to allow for easy removal of the tire.
3. Remove the lug nuts altogether.
4. Take off the old wheel.
5. Install the spare wheel and tire and reinsert the lug nuts.
Changing an ATV or UTV tire out on the trail isn’t tough, but it’s made much more challenging if you don’t have the right equipment. Always plan for the worst and bring the right tools and spares with you. We also recommend changing the tire of your ATV at least once when you’re at home so you can practice the process in a controlled environment and not stress when out on the trail.


