How to Choose and Install an ATV Snow Plow
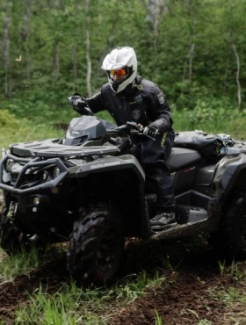
This post will help you choose and install an ATV snow plow blade so you can make your favorite machine a winter weather lifesaver.
How Do ATV Snow Plows Work?
Simply, you attach a snow plow blade to the front of your ATV.
Snow plows for ATV are blades made of metal or tough composite materials that are attached to your machine with a mounting frame and a lift mechanism.
With a snowplow installed, you can plow as much as eight inches of light snow in as wide a path as the plow is wide. With higher or heavier snow, you may do better with a snow blower.
Remember to drive no more than 5 mph and to be mindful of obstacles that may damage your snow plow or make you lose control of your ATV.
Choosing an ATV Snow Plow
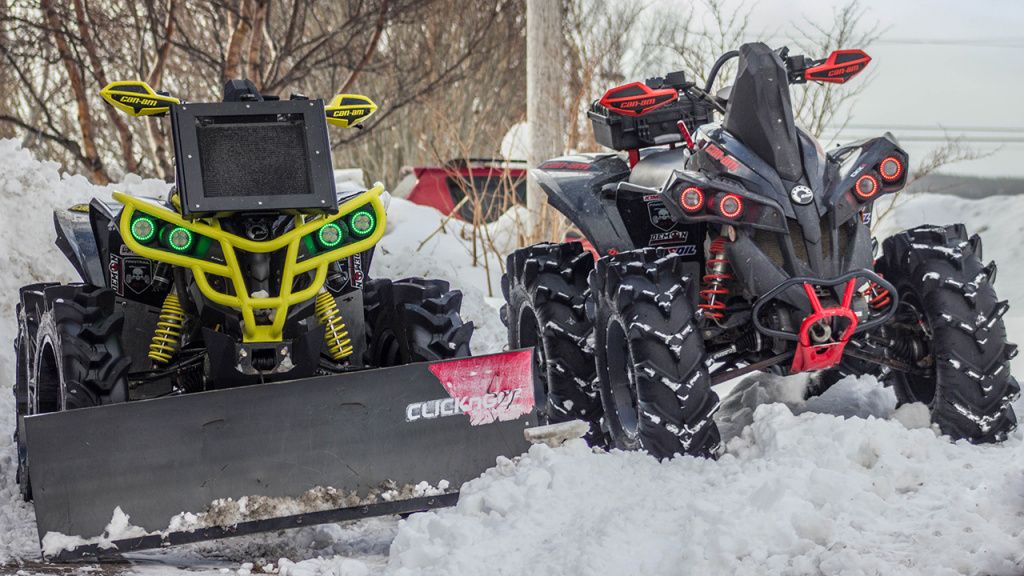
There are many things to consider when you install an ATV snow plow.
There are manufacturer-specific snow plows and general aftermarket ones to choose from. Of course, manufacturer-specific ones will be made with your ATV in mind.
Plow blades usually come in sizes from 42 inches to72 inches, though some are larger, and you'll need to combine the size of your vehicle with the intended use of the plow to determine the size you'll need.
A good general rule is that a larger and/or more powerful ATV or UTV will be able to effectively use a larger plow blade. A smaller blade is usually best for ATVs 500cc or lower and a larger blade is usually best for ATVs 600cc or higher.
The width of the plow should cover a sweet spot between plowing as much snow as it can to save yourself work without being overly large and knocking into things near where you'll be plowing. Also, a blade wider than necessary may have more difficulty going through heavy snow than a narrower blade. But narrow is not automatically better, because an excessively narrow blade can compact the remaining snow as you plow. Basically, a moderate size will probably be best, taking the specifics of your ATV, the area to be plowed, and the type of snow into consideration.
Plow blades come in V or straight designs. V blades can tackle thicker snow and ice while straight ones are less expensive and lighter. V blades can also give you more control of where you deposit the snow.
Mounting Frame
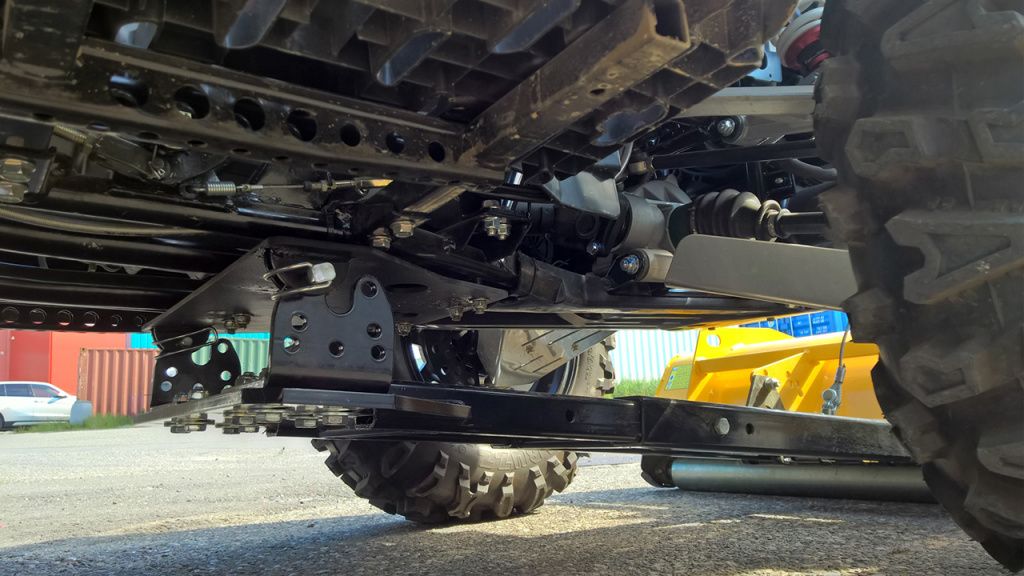
Many mounting frames attach to the underside of the ATV using a bracket and pin locks. This is one of the more complicated aspects of buying an ATV snow plow as you'll need to compare the requirements of the individual mounting frame with your individual ATV frame to make sure you can both install the frame without damaging your ATV and that you can easily remove the frame when it isn't needed, unless it provides enough clearance you can leave it year round.
Lift System
An electric winch that can be operated from the driver's seat is the ideal lift system, but there are also cheaper and easier-to-install manual lift systems where you angle the plow yourself and raise or lower the plow by hand.
Steel or Poly?
Both plow materials will serve you well. Steel is durable and slices through the snow easier and it is the less expensive option. Poly is known for its slick surface making depositing the snow as easy as possible and preventing corrosion.
Steps to Install a Snow Plow on Your ATV
The first thing to do is raise the ATV on a jack and jack stands.
Attach the bracket for the mounting frame to the bottom of your ATV with U-bolts.
The plow tubes come with latches and pins to attach the mounting frame to the bracket you just installed. They may need to be assembled. If so, they will come with instructions to tell you how to do that for your individual tubes.
The plow blade may also require some assembly.
Depending on the plow blade you purchased, you will either attach the blade to the tubes and slide the plow tubes under the ATV or drive the ATV up to the plow blade.
With the slide under method, slide the end of the plow tubes under the ATV and line them up with the bracket. Having a furniture dolly or someone to help you will make this much easier. Once they are positioned under the bracket, lift them and stick the pins into the holes to secure them. Pull the winch cable down to connect to the plow tubes and test the plow to make sure it works.
With the drive up method, activate the float feature on your plow controller, line the ATV up with the plow blade, and slowly drive the ATV up to the blade until the pins touch the pin receiver under the machine. Set the parking brake and turn the lever on the pin couplers to the ATTACH position. Plug the electrical wires into the wire harness. Activate the float feature again and, with the coupler handler, push the coupler up until the spring pins snap into place. Pull the kickstand handle out and raise the kickstand.
You now have an ATV and snow plow in one.


