How to Install a LED Light Bar on A UTV
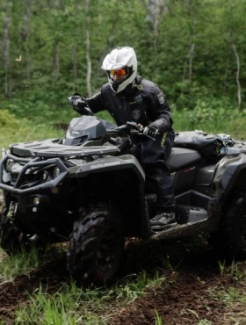
Although your UTV comes with decent lighting to serve you during night trips, investing in an aftermarket light bar is a great decision to improve your machine’s lighting. Installing a light bar means more lumens to brighten your way and see more of the road ahead when the sun is out of sight.
However, while installing a LED light bar on a UTV is something you can do on your own, not every UTV owner knows the required process for installing the bar on their quads. Hence, it is important to find the right guide for the task.
Here is a detailed guide to walk you through how to install a light bar on your UTV:
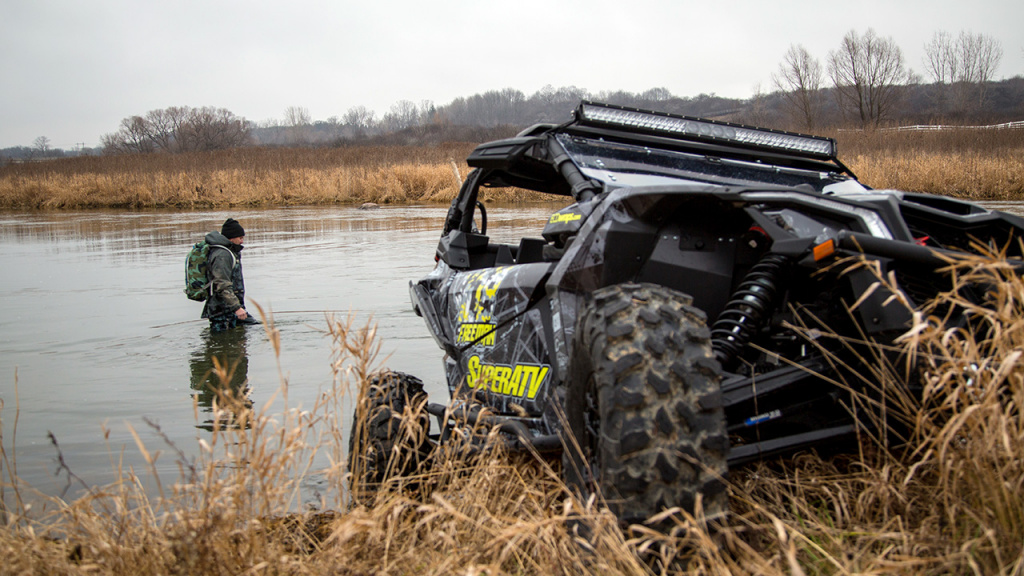
How To Install LED Light Bar On UTV
Neutralize the Energy Source
The first step to installing a light bar on a UTV is to disconnect the energy source. Installing a light bar on your vehicle draws from the available energy source, draining it faster than you might think.
Since your UTV’s energy source is the battery, disconnect the battery. Start by disconnecting the negative terminal before moving on to the positive terminal. This will help prevent the risk of a short circuit during connection.
Locate a Good Position
The next step is to look for a good position on the UTV to mount your light bar. Although you have several options when looking for a good place to mount your light, choose somewhere where the light can function most effectively.
The front bumper is a good place for most UTVs, especially for convenience. Also, mounting your LED light bar on the front bumper ensures no obstruction blocking the light from illuminating your path.
Regardless of your ideal position to mount the bar, fit your light using the provided installation hardware in your light pack. You can also invest in optional round tube brackets for your light installation.
While fitting the light, be careful not to tighten the bolts completely, as you will still need to adjust later.
Locate a Power Source
Your UTV light bar requires electrical power to function, and the requirement is usually 12 volts. Hence, it is important to look for where to get this supply. Fortunately, you can easily get this power supply from your UTV with no hassle. The common and easiest way is to cut two wires supplying power to one of the existing headlights and connect your new light bar.
Secure the Wiring
Connecting your light bar to a power source requires a harness that must be properly secured. Securing the wiring ensures it is kept away from moving parts and heat. Failure to secure the wiring lets it rub against metal parts, leading to a short circuit. Finding an existing wiring path in your UTV is best to run the new wiring.
Use a Relay
A relay is an electromechanical device that turns a large electrical circuit on and off with a small electric current. Besides switching electrical loads on and off, a relay's major advantage is energy preservation, ensuring that your light bar doesn’t draw much energy from your battery. This helps extend your battery and device life.
For example, a light bar installation without a relay would result in a huge voltage drop from the battery to the light, generating a lot of heat due to the resistance. Hence, you want to introduce a relay to your installation.
However, this doesn’t stop you from installing a control switch. A control switch is integral to the installation and gives you full control of your light bar.
Connect Battery
Once you are through installing the LED light bar on your UTV, it is time to reconnect your battery. Start by connecting the positive terminal, then the negative terminal.
Test Your Light
Now, it is time to test your installation. Turn on your switch and watch your new bright light illuminate. If your light comes on, pat yourself on the back, as you have successfully installed a light bar on your UTV.
But wait, you are not yet through with the installation. Remember that you haven’t fully tightened your hardware. Complete the UTV light bar installation by tightening the hardware completely.

