How To Install ATV Piston Into Cylinder
Rebuilding a four stroke engine requires knowing exactly how to install pistons into your ATV. A lot of people will say that this is an easy task, but it can also be done wrong in a variety of ways. It’s incredibly important to do an ATV piston installation by the books or you’ll end up with an engine that either performs poorly or doesn’t perform at all.
For starters, it’s necessary to have the manufacturer’s installation procedure on hand when you start to install an ATV piston or even just a piston ring. A lot of engines are built differently and you’ll need to have a good working knowledge of your engine in order to get the installation done correctly. With the service manual on hand you’ll be able to determine correct torque specs, service limits, and order of procedures.
This article is written with the assumption that you already have easy access to the engine and many of the tools that go along with a complete engine rebuild. If you’ve never worked inside an engine before, you may need to look into what tools are generally necessary for the entire process.
What You’ll Need
Before you get going on the installation, make sure that you have everything you’ll need for the entire process. If you end up without a part, you’ll need to run back to the automotive store and this can break up the installation process, making it difficult to follow step by step instructions.
Here’s what you’ll need for installation:
-
Piston
-
Piston ring set
-
Piston pin
-
Piston pin circlip
-
Cylinder gasket
-
Lubrication oil
Step by Step How to Install Pistons
Install the piston pin circlip
The first step in installing a new ATV piston is to install the piston pin circlip. Do this so it is facing towards the piston and so the circlip’s end gap is at the top, as far away from the small cutout in the piston pin hole as you can get it. This is important to give enough space for all of the other parts going in during the installation.
Install the piston rings
ATV piston ring installation is one of the more complicated parts of this process, but with practice and patience you’ll get it done right.
First, determine that your piston rings have the correct end gap measurement. You can do this by inserting the ring into the cylinder bore, making sure it is square with calipers and then measuring the end gap with feeler gauges. This is an important step as you want to ensure that all of your pieces are correct otherwise you can end up with malfunctions.
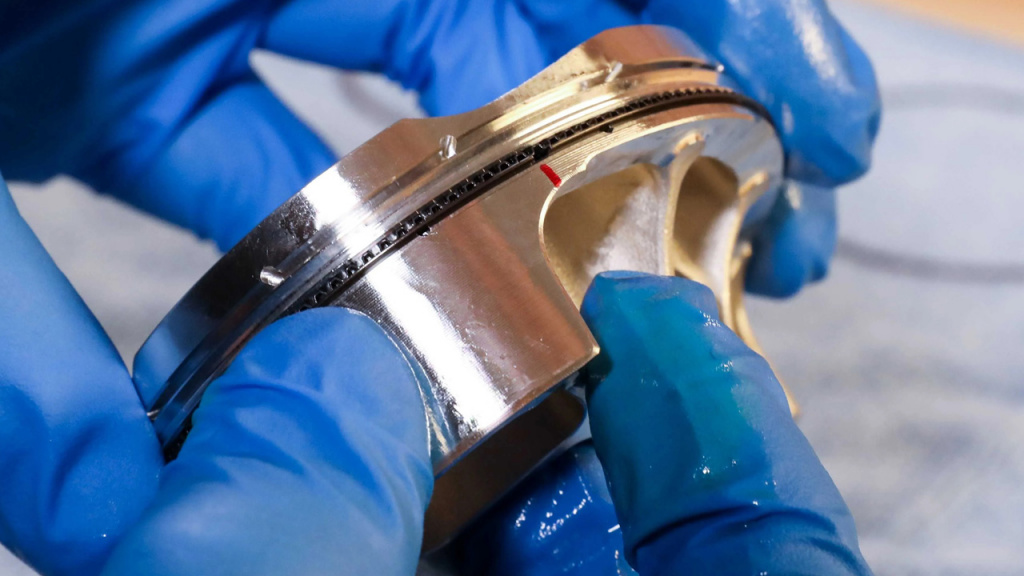
Piston rings must be installed so their end gaps are spaced 120 degrees from each other and they must also be in the correct order.
Piston rings are installed in the following order:
-
Corrugated oil ring- The corrugated oil ring goes into the lowest groove on the piston. This piece helps to hold and distribute oil as the piston is moving through the cylinder, meaning it serves an incredibly important purpose.
-
Lower oil ring- The lower oil ring goes below the corrugated oil ring with the end gap installed about one inch to the left of the end gap of the corrugated ring.
-
Upper oil ring- The upper oil ring is installed above the corrugated ring with the end gap approximately one inch to the right of the end gap of the corrugated ring.
-
Second piston ring- First, ensure that any markings on the second piston ring are facing upward before installation. Then, the second piston ring is installed in the middle groove in the piston. The end gap should be 120 degrees to the left of the end gap of the corrugated oil ring.
-
Top piston ring- Your final ring to install is the top piston ring. Install the top piston ring in the upper groove with the end gap 120 degrees to the right of that of the corrugated ring. Also make sure the marking on the top piston ring are facing upwards.
Install the piston pin
Apply a bit of oil and then install the piston pin with the piston over the connector rod. Now you can install the second piston pin circlip with the end gap also at the top.
Lube the rings and ensure proper ring placement
Now you can lube up all of the oil rings and double check that the end gaps are placed correctly. Be sure to measure each of these as it will make a huge difference!
Install new cylinder gasket
This is one of the final steps before getting the entire engine back together. Place the new cylinder gasket over the cylinder studs and then oil the cylinder bore. Now, lower the cylinder head down over the cylinder studs. Feed the piston rings carefully into the cylinder bore to avoid scarring the bore or bending any of the rings.
Reinstall engine head
Finally at the end, you can reinstall the engine head after lapping the valves. This will mean that you can get even closer to getting back to the trails and riding!

