How To Install ATV Steering Stabilizer
An ATV steering stabilizer is going to completely change how your ATV feels when riding around. This will definitely improve the experience, but can be a more complicated install.
If you’re worried about learning how to install an ATV steering stabilizer, it’s worth having this professionally done. If you’re up to a more advanced installation, then this is a great place to start!
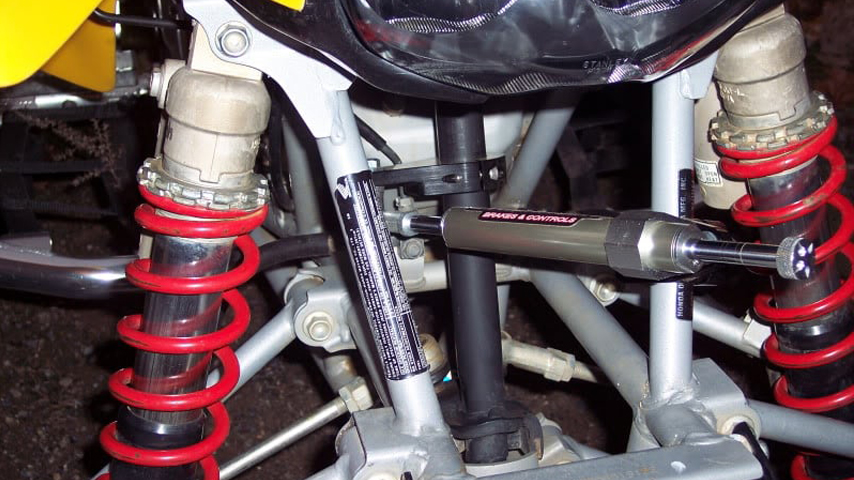
Get Access Underneath
It’s likely you’ll need to remove the plastics to get access to where you’ll install the stabilizer. Whenever you are doing this, make sure you keep track of all the mounting hardware and the location of any electrical components that may be moved during the process.
Determine the Best Spot
Find the best position for the stabilizer to go. The primary goal is to find a place for the stabilizer to be mountain that allows the steering to turn stop to stop in the middle of the stabilizer’s travel without any interference from other components. In some models there are better positions than others, so you just need to work it out for what you have under the hood.
Mount Round Clamp
Next you will mount the round clamp of the steering stabilizer to the steering stem. Mount the clamp in a way that the flange is at a 90 degree angle with the stem.
Mount Square Clamp
Next you will mount the square clamp to your desired location on the frame rail. Tighten the bolt to 30 foot pounds so it stays put.
Complete a Turn Test
With the stabilizer installed loosely you can fine tune the mounting position by turning the ATV in both directions to set the hardware in a position that has the body in the center of the shaft travel. Make sure to choose a spot where the max travel isn’t hit in either direction.
Now you can reinstall the plastics and move on to the next job.


