How To Install Remote Kill Switch On ATV
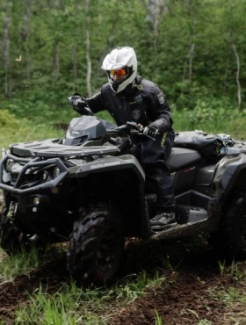
If you’re looking to make your ATV even safer while riding, a remote kill switch is a good place to start. The installation of a remote kill switch on an ATV makes the rig exponentially safer as it will allow you to stop the engine at the blink of an eye when something may start to go wrong.
We recommend that everyone has a remote kill switch installed on their ride in case of an emergency. There are many different kinds of kill switch systems available such as button kill switches, pull kill switches, tether kill switches, and remote kill switches. Each has its own benefits, but we love the remote kill switch system for its ease of use and versatility.
If you’re wanting your kid to get some seat time but are worried about them being on their own, a remote kill switch adds another level of security that can help them to get the feeling of freedom riding on their own, but allow for you to still have some control over the machine.

How ATV Kill Switches Work
An ATV kill switch is a mechanism that interrupts the circuit that is completed to keep your ATV running. It either directs the electricity towards the ground or stops the supply to keep the engine powered. This will instantly shut the ATV off because the engine will be unable to continue operating.
These kill switches are meant for emergency life or death situations. It’s important to remember that other parts of your ATV may still work even when the engine is cut off. For example, the momentum of the ATV won’t be stopped unless a brake is engaged. The engine braking should help to slow the rig, but if you’re moving quickly you might end up getting injured in the process.
Most kill switches are located on the handlebars to allow for easy access while riding. If you are using a remote kill switch you can keep it on your person or on a mount on the handlebars. If this is kept with you at all times you can instantly shut the ATV down in case of theft or someone having lost control or fallen from the rig.
Install a Remote Kill Switch on an ATV
You’ll want to find a spot to install the remote kill switch that isn’t in the way, but where the remote can have easy access. The more visible the receiver, the further you’ll be able to operate the kill switch from.
The installation is simple. You’ll mount the receiver and then work on the wiring system on the on/off panel. Most kill switches are universal to work with any different kind of ATV. This should be easy, and if you don’t buy a cheap kill switch you’re probably going to end up with an easy installation.
By locating the wires that send electricity to the engine, you’ll know exactly where to wire in. The process is as simple as splicing the wires and reconnecting them to the kill switch. This inserts the kill switch mechanism into the circuit so it can take over. These wires will be located in between the battery and the engine. It will be easiest to check the user manual and determine exactly where your model needs to be installed.
For the kill switches that ground out electricity rather than discontinuing it, one lead will ground out the electricity while the other will be spliced in between the stator and the ignition coil. Most models will operate this way.


