How To Make A Mud Pit For ATV
Tackling a good, deep mud hole or bog is a favorite off-roading feat. While you can find a mud hole of some sort on most trails, it can be a challenge to find large and deep holes that really test you and your machine. There are mud parks that make finding your favorite type of mud a cinch, but what if there isn’t one near you or you could have a mud pit on your property? Read this post to learn how to make a mud pit for ATV racing or obstacle crushing.
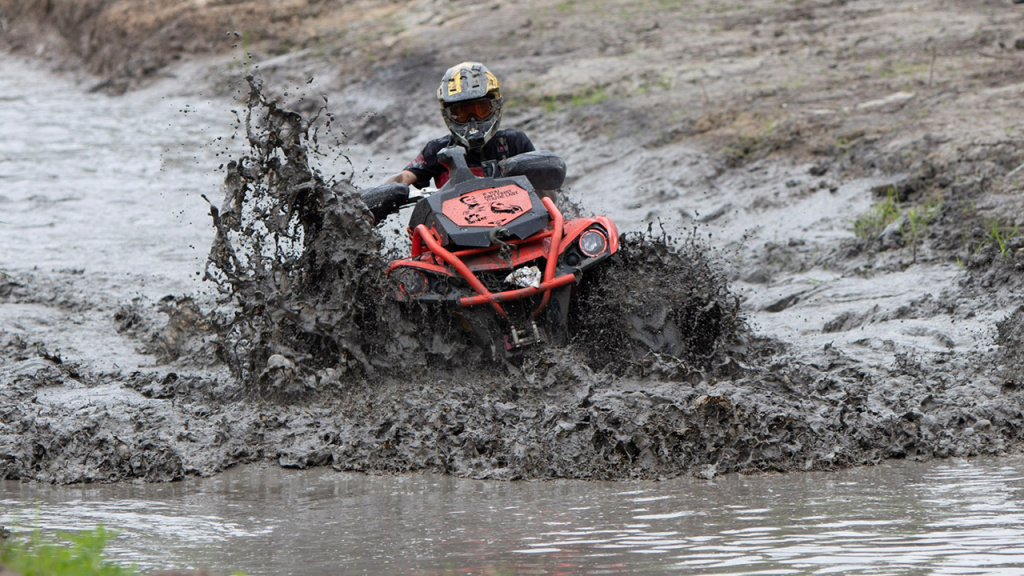
Prepare Yourself and Your Machine for Your ATV Mud Pit
Before you hit the mud on the trail or in your mud pit, make sure you’ve taken care of several things.
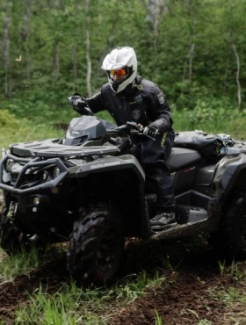
Know that riding in mud requires more momentum than throttle. Slick mud provides little traction, and thick mud can bog your tires. Even on your own property, you’ll need a winch and/or a tow rope so your machine doesn’t get stuck in the pit. Having a tree or other sturdy object to tie the rope onto nearby will make getting out of the mud much easier.
Mud is wet. So, if you’ll be riding in mud deeper than your machine’s water clearance, you’ll need to snorkel your ATV.
You’ll probably want to invest in mud tires if you intend to spend this much time in the mud. They’ll give you better traction, and they are self-cleaning.
If you have a UTV, you will probably need a half or flip-up windshield rather than a full windshield, or your view in your windshield will get obscured by mud.
You could consider more upgrades like increasing your ground clearance or upgrading your clutch to compensate for the mud tires.
Now, we can get to how to make a mud pit for ATVs.
How to Make ATV Mud Pit
It seems like it might be easy, just dig some dirt on your property, spray it with the water hose or wait for the rain, and you’d have a mud hole. Well, you might have a sort of pit for a short time that way.
A well-built mud pit will contain ideal mud for a challenging but fun ride and last for long after it has gotten wet. You can plan it with the perfect slope for an entrance to build up just the right amount of momentum. If you like, you could also add some obstacles to overcome like bumps, logs, or large but smooth rocks.
Dig the sides straight down with the beginning and end cut at a gradual slope. Make the hole deeper than you intend the pit to be.
If your mud pit starts to dry out and there is no rain in sight, you can rejuvenate it with the water hose. It isn’t necessary, but if you get some rubber and line the bottom with it, you can make a mud pit that would struggle to stay wet retain its water much longer.
Choose clay for your mud pit. It’ll make the best quality riding material and retain water for the longest possible time. You might have a wet, drivable mud pit for a month to a month and a half after it last rained. Purchase enough clay to fill it about 5”, and you’ll be good.
Before you put the clay in the hole, go ahead and fill the hole you made with water. Then add the clay. This will make a pit you can ride in right away. Otherwise, the water may take some time to work down to the floor of your mud pit and make deep mud rather than mud with water on top of it. If you’re going to add logs or rocks, add some clay, then the obstacles, then more clay.


