How to Build and Maintain an Ice Fishing Shelter
If you’ve ever sat out on a frozen lake, rod in hand, you know that the right ice fishing shelter can make or break your day. A good shelter keeps you warm, dry, and focused on what really matters — catching fish instead of shivering. Whether you want to build your own or buy the best ice fishing shelter on the market, understanding how to construct, maintain, and upgrade your setup is the key to a successful season.

Why You Need an Ice Fishing Shelter
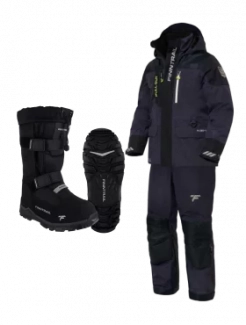
Ice fishing isn’t just about dropping a line through the ice — it’s about comfort and endurance. Temperatures can plunge well below freezing, and winds can quickly turn a great day into a miserable one. That’s where a waterproof shelter comes in. It protects you from snow, wind, and freezing spray while trapping heat from your heater or body warmth.
There are two main options for anglers: portable shelters and permanent shacks. Each has its pros and cons, depending on how and where you fish.
Choosing the Best Ice Fishing Shelter
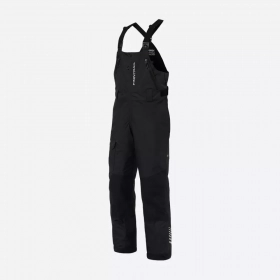
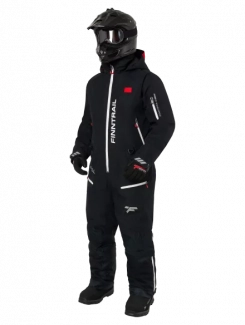
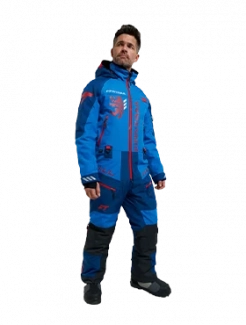
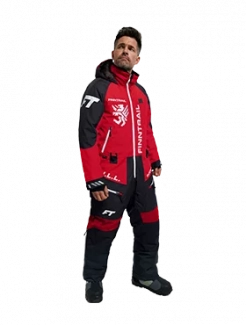
If you’re just getting started, you’ll probably want something lightweight and easy to set up. That’s where portable ice fishing shelters shine. These shelters come in several designs — pop-up tents, flip-over styles, or hub shelters.
Pop-up shelters are compact and set up like camping tents, making them ideal for anglers who move frequently to follow active fish. Flip-over shelters attach directly to a sled, so you can pack all your gear, drag it onto the ice, and flip the shelter into position in seconds.
When shopping for the best ice fishing shelter, look for:
-
Durable, waterproof fabric that resists tearing and wind.
-
Insulated walls if you fish in sub-zero temperatures.
-
Strong poles or frames that can handle gusty conditions.
-
Easy setup and portability, especially if you fish solo.
For solo anglers, a one person shelter is a great investment. It’s lighter, faster to assemble, and often more affordable than larger shelters. The tradeoff, of course, is space — but for quick trips, it’s perfect.
Building Your Own Ice Fishing Shelter
Building your own ice fishing shelter or permanent shanty can be a rewarding DIY project. Not only can you save money, but you’ll also be able to customize every detail. Here’s a simple breakdown inspired by classic DIY guides.
Materials You’ll Need:
-
Plywood or lightweight composite panels for the walls and floor
-
2x2 or 2x4 lumber for framing
-
Heavy-duty waterproof tarp or tent fabric
-
Screws, hinges, and handles
-
Foam insulation (optional for cold climates)
-
Ice anchors for stability
Basic Construction Steps:
-
Start with a solid base. Use a lightweight plywood platform to keep you off the ice and dry.
-
Build a frame. A simple box-shaped frame from 2x2 lumber works well for portability.
-
Add walls and roof. Attach panels or tarp material securely, making sure all seams are tight and weatherproof.
-
Include ventilation. A small vent keeps fresh air flowing if you’re using a heater.
-
Add windows and a door. Clear vinyl windows let in sunlight and help you watch your lines.
-
Seal and insulate. Use waterproof sealant or foam tape to block drafts.
For extra portability, mount your shelter on skis or a sled base so you can tow it across the ice.
Maintaining Your Ice Fishing Shelter
A well-built shelter can last for years — but only if you take care of it. Here’s how to keep your ice fishing shelter in top shape all season long.
1. Dry It After Every Trip
Moisture is your worst enemy. Always dry your ice fishing tent thoroughly before packing it away. Mold and mildew can ruin the fabric and create unpleasant smells.
2. Inspect for Damage
After each trip, check zippers, seams, and poles for signs of wear. Even the best ice fishing shelter can develop small tears or broken parts over time. Repair damage immediately with waterproof fabric tape or replacement poles.
3. Reapply Waterproofing
Most fabric shelters are waterproof when new, but waterproof coatings fade with use. Reapply a water-repellent spray once or twice a season to keep the material performing its best.
4. Store It Properly
Store your shelter in a cool, dry place during the off-season. Avoid folding it while wet or leaving it in direct sunlight for long periods.
5. Maintain Moving Parts
If your shelter has hinges, zippers, or extendable poles, lubricate them lightly with silicone spray to prevent corrosion and freezing.
Upgrading Your Setup
Once you’ve mastered the basics, you can customize your shelter for ultimate comfort and efficiency. Here are a few upgrade ideas:
-
Install LED lighting for night fishing.
-
Add insulation panels to reduce heat loss.
-
Include a small heater with a carbon monoxide detector.
-
Attach rod holders or shelves for gear organization.
-
Add reflective tape for safety on busy lakes.
A custom setup not only keeps you comfortable but also boosts your productivity on the ice.
Safety Tips for Ice Fishing Shelters
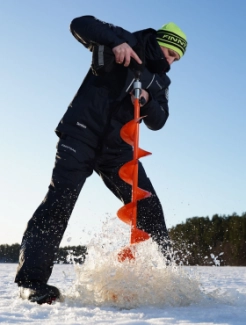
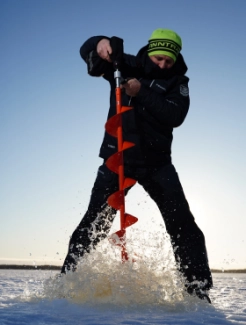
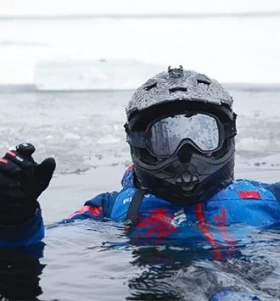
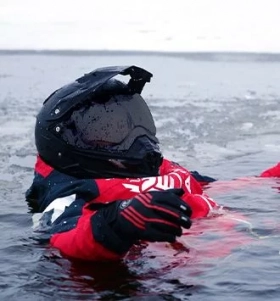
Before heading out, always check the ice thickness — at least four inches for walking, and more if you’re towing a sled or shelter. Avoid cracks, pressure ridges, or slushy areas. Make sure your shelter has adequate ventilation if you use propane heaters, and always carry a CO detector and safety spikes.
Final Thoughts
Building and maintaining your own ice fishing shelter is one of the most satisfying parts of the sport. Whether you choose a DIY project or invest in a portable shelter, the key is preparation and care. A durable, waterproof ice fishing shelter will keep you warm, dry, and ready to land your next trophy fish — no matter how cold the winter gets.
So grab your auger, pack your gear, and step onto the ice with confidence. With the right shelter, every frozen lake becomes a cozy cabin and every cold day a great fishing adventure.