How to Fix Common ATV Problems in the Field
Thrashing through mud, swamps, and fields at high speed on your ATV or UTV is a rush, and you don’t want to have to end the day early because of a niggling problem with your ride.
As long as you have the right riding gear to protect your hands while you’re performing repairs, you should be able to fix a few of the most common problems and continue with your ride!
Equipment
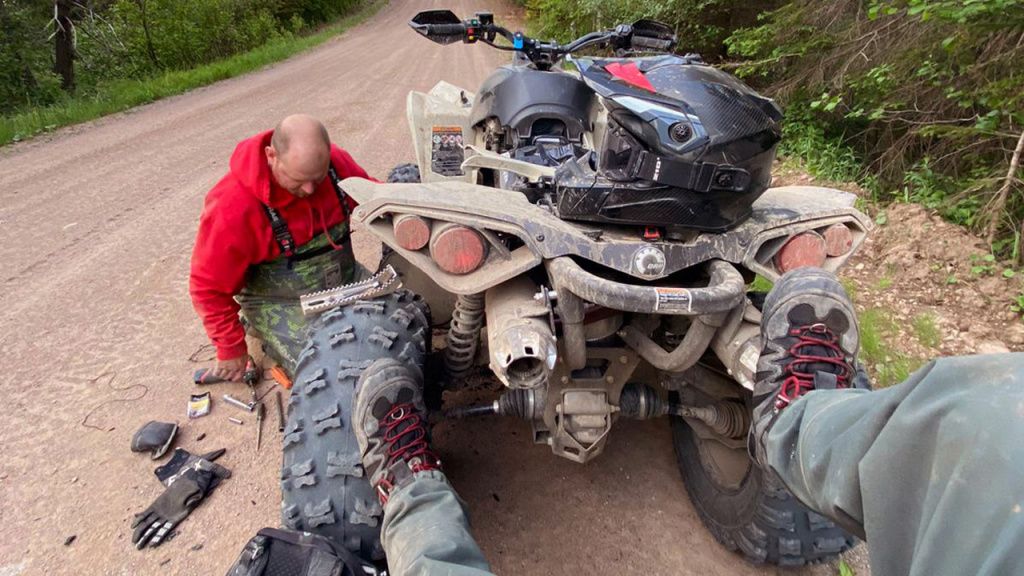
To make your life easier, we suggest you bring a small case of tools with you on each ride. In it, keep a metric socket-wrench set, pliers, screwdrivers, duct tape, zip ties, a multi-tool, and a tire plugger kit.
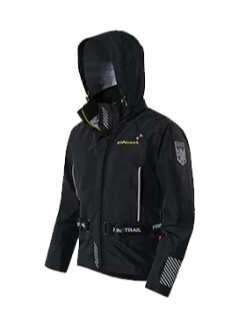
Make sure you’re wearing proper riding gloves that protect your hands and arms. This covers most of the requirements for repairs you can perform out in the field.
Tire puncture
Preventing flat tires means ensuring you’ve got the optimum air pressure in your tires and dodging obstacles that could puncture your tire. Even with these best practices, a tire puncture can still occur.
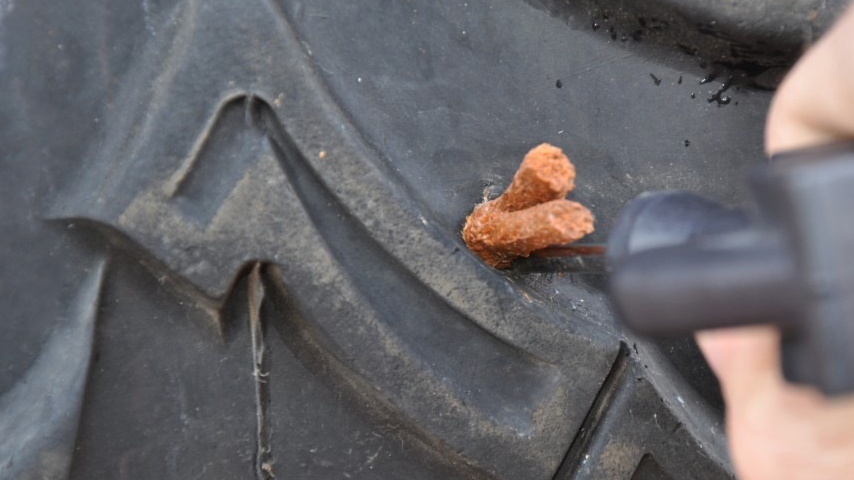
You can plug the tire using a tire plugger kit. This is much faster than the old-school method of patching a tire.
To use a tire plugger, clean the puncture location and add cement to the area around it. Lace a plug into the eye of the install tool and insert it into the puncture. Remove the tool and use the supplied CO2 cartridges or an air compressor to inflate the tire. After checking for leaks, you’re ready to continue riding.

Lack of battery power
If your battery won’t turn over or struggles to turn over, you’ll want to do some tests back in the garage, but to get you moving again if it won’t start, you have a few options.
First, you can try a compression start. You want to get your ATV or UTV rolling up to 10 MPH while in first or second gear. Let out the gas and engage the clutch as the engine tries to turn. With a little luck, the engine will fire and begin charging the battery.
You can also jump-start a battery from another ATV if you have jumper cables. Connect the cables to the good battery first. Start the good battery first and let it idle for a few minutes, then try starting the bad battery. If it starts, first remove the red wire, then the black from the problem ATV.
Leaking oil
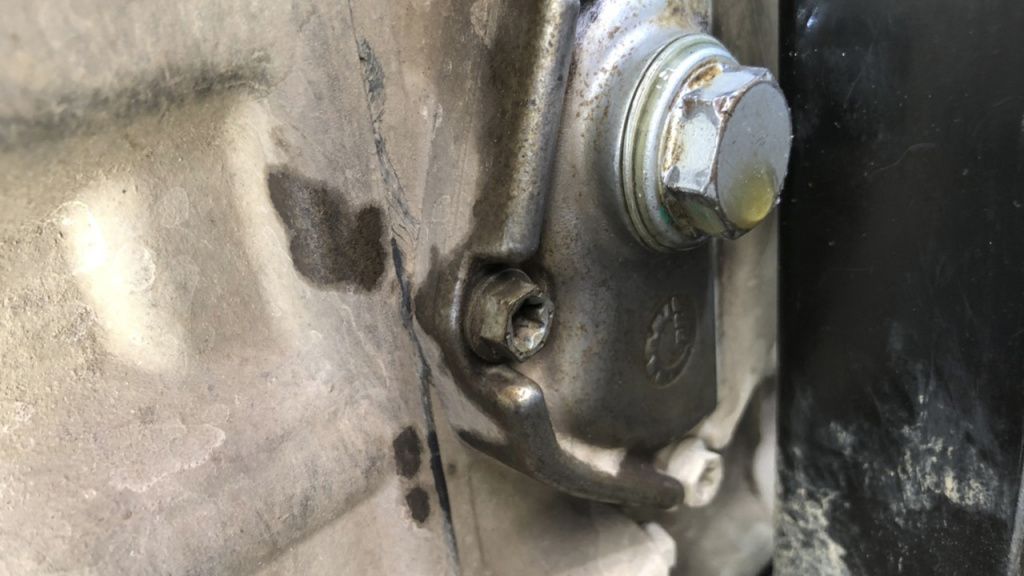
Leaking oil from the engine case can indicate several problems from worn gaskets, damaged piston rings, or a poor air filter allowing dirt to get past.
If the leak isn’t major, you’ll no doubt be able to get through the day before you return to the shop for a better look. Common short-term fixes are quick-setting epoxies like J-B Weld or RTV silicone rubber. These temporary fixes should be followed up by an investigation into the cause of the leak.
Check your drain plugs, too — sometimes these can rattle loose and it’s a quick fix to tighten them.
Clogged air filter
Sluggish response, engine stalls, and hard starts can suggest a clogged air filter. The air filter needs to be cleaned regularly, particularly if you ride in dunes or other sandy conditions.
It’s relatively easy to clean a clogged air filter. You’ll typically find it under the seat, latched in back. The air filter cover will be held in place by bolts. Once you’ve removed the cover, you’ll see a small gasket. It’s quite delicate, and if it’s in bad condition it’ll need to be replaced. You’ll typically find a screw at the center of the air filter so you can remove it and clean it with soap and water.
While it's technically possible to do this out in the field, it’s just easier to do it in your garage before the season if you’re a casual rider or once a week or so if you ride more often.

Preparation matters
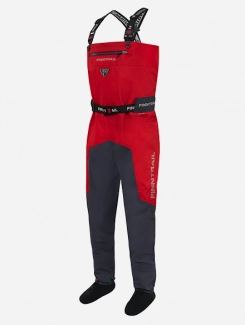
So, make sure your ATV or UTV is in fighting condition before heading out, and bring a small set of useful tools to help you out if you get in trouble. Finally, remember to wear the right protective gear that’ll keep you safe and dry if you need to make repairs on the fly.

