ATV Photo Tips for Epic Shots
Off-roaders have much to photograph, your ATV or UTV, the landscape you ride in, or the adventures you’re on with friends or family. There have to be pictures! This post will help you best capture the moment. Below are simple secret tricks provided by the top off-road riders who always inspire us with their powerful action shots.
It’s Not What You Have, It’s What You Know
You may be thinking you have to buy a high-end camera to get great ATV pictures. Those are nice to have, but you don’t have to wait for one to get photos you’ll love. Your phone camera or an existing camera you have is probably capable of more than you realize. You may also be able download apps to your phone to enhance its capabilities. Familiarize yourself with the phone’s camera settings so you’ll be prepared to change shutter speeds and select options for different types of photographs while you’re in the moment.

"What I like to tell everyone is you don't need to spend $15,000 on a new Canon R3 and L-Series lenses like I have. It always comes down to the right light, the right composition and the right moment. If you know the sport you are shooting then you likely know exactly where to stand with your cellphone when your goofball buddy comes barrelling through the skeg to get that banger of a shot.
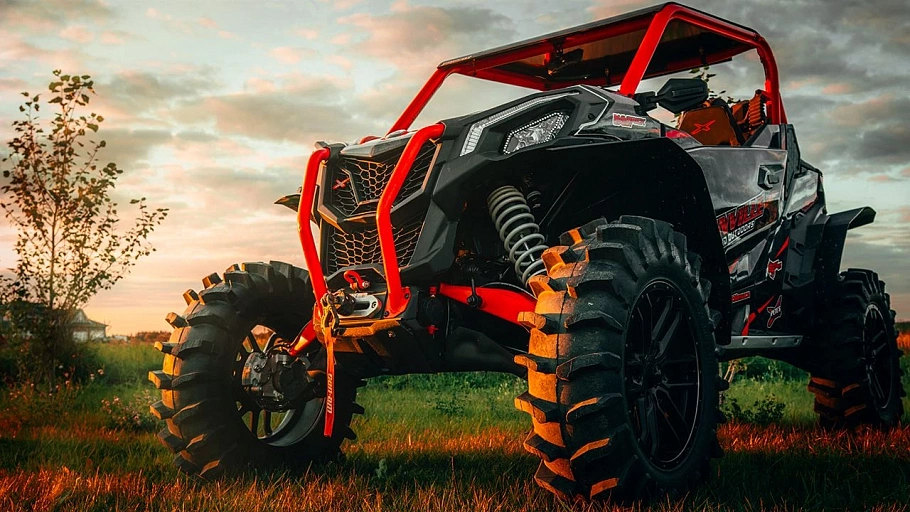
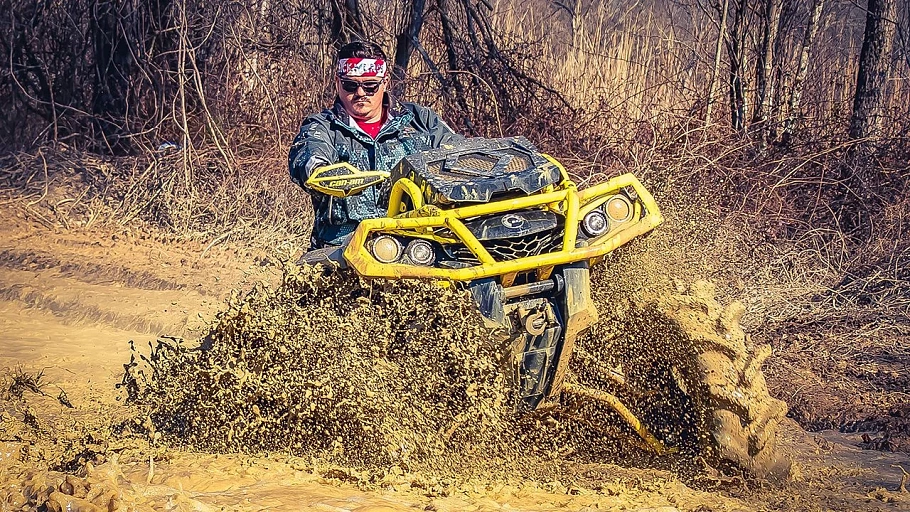
I'll leave you with a personal tip; every ATV and UTV looks best from a three-quarter angle. If you want it seem grand and larger than life, take the shot low and with a wide angle.
Get out there and take those bangers!"
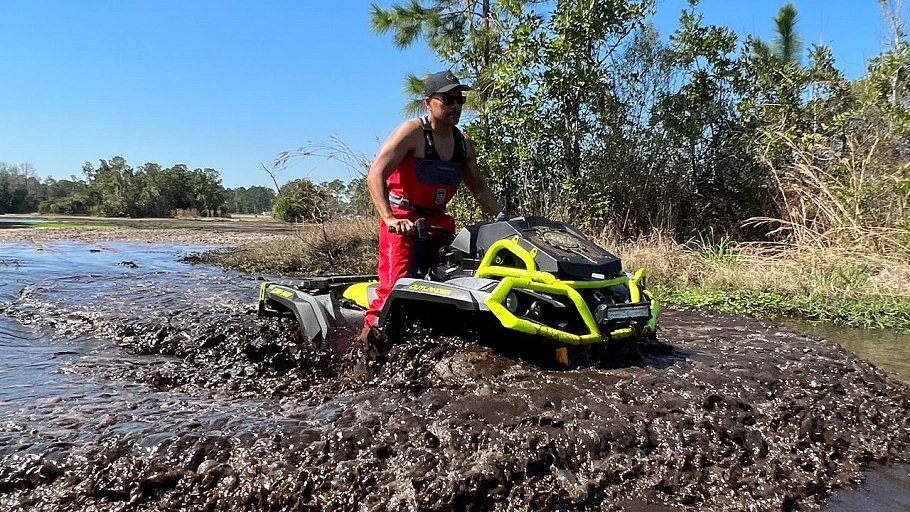
Compose The Shot
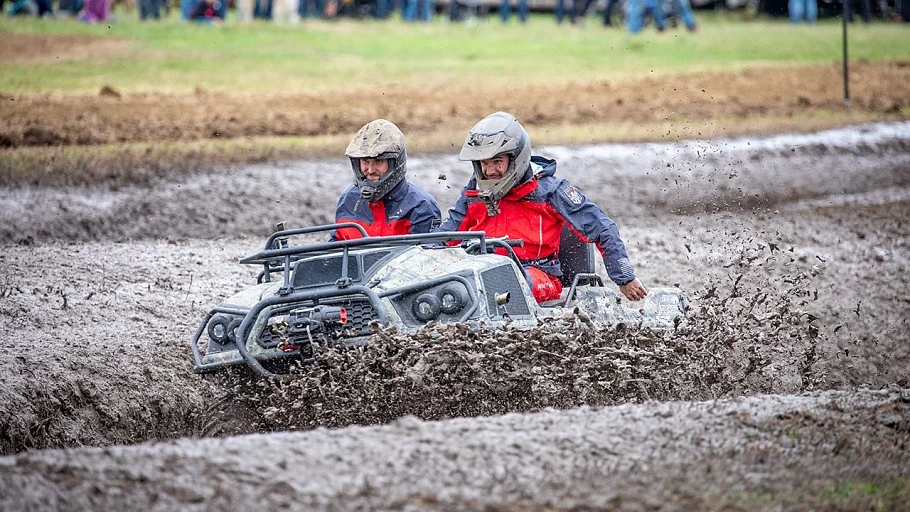
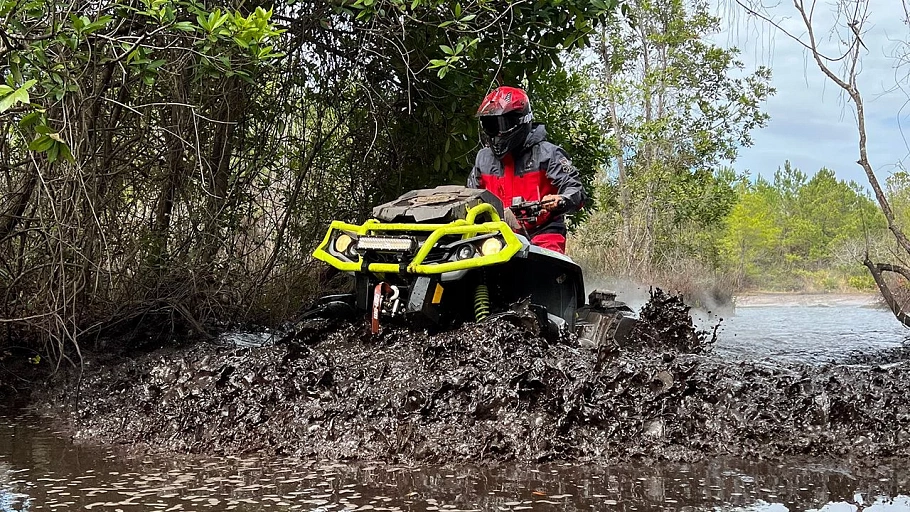
One of the most important parts of great ATV pics is the composition. Where and how is your ATV positioned in the shot? How does it appear in relation to trees, mountains, streams, roads, other vehicles, or whatever else is in your shot? By that, I mean how is it framed for the best impact or meaning? If you’re in the woods, you could show trees behind and one partially obscuring your vehicle to give the photograph depth and emphasize how you’re surrounded by nature. You can also direct a viewer’s attention to your ATV by lining it up with a road or object in the photograph, something else that literally leads to the ATV.
Colors and Patterns
Strategically using colors and patterns adds extra oomph to an ATV photo. You could shoot your blue ATV next to an equally blue river or your blue tent. The opposite can also have great impact. If your ATV is the only thing in the shot of a certain color, it can make a powerful contrast against the background. You have to judge by the individual photo op.
Avoid Busy
Some other vehicles and people can be impactful in a shot, but once you get too many of them, it can just look busy and distracting. Focus on what’s important in the shot, the vehicle or group vehicles and the landscape.
Imperfection
Having something dead center in a shot is often not the ideal look. It seems a bit too perfect. Compose the shot so the ATV is slightly off-center, or more, depending on your photo op. If it is dead center, it could at least be turned so it isn’t a straight shot.
See the Vehicle Not the Light
It’s very easy for outdoor pictures of four wheelers to end up overexposed. If you’re in very bright light, you probably need to adjust the ISO setting.
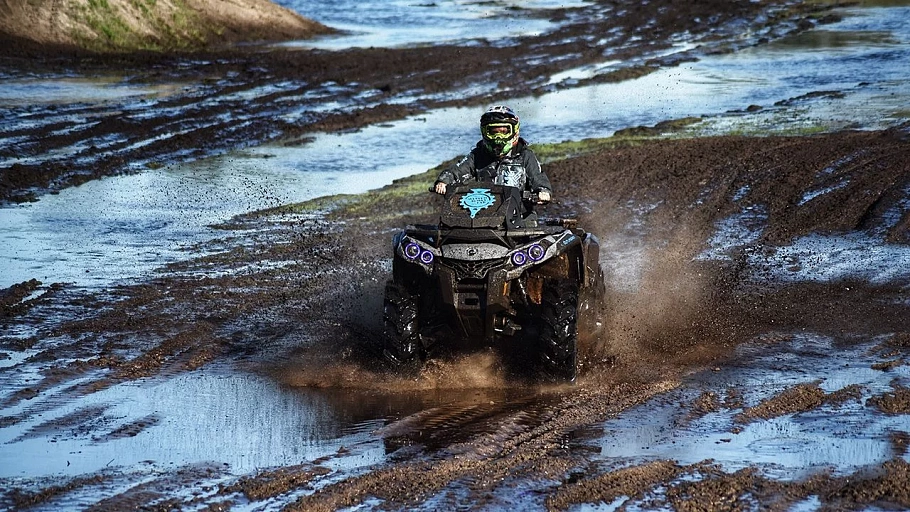
Shoot for the ATV
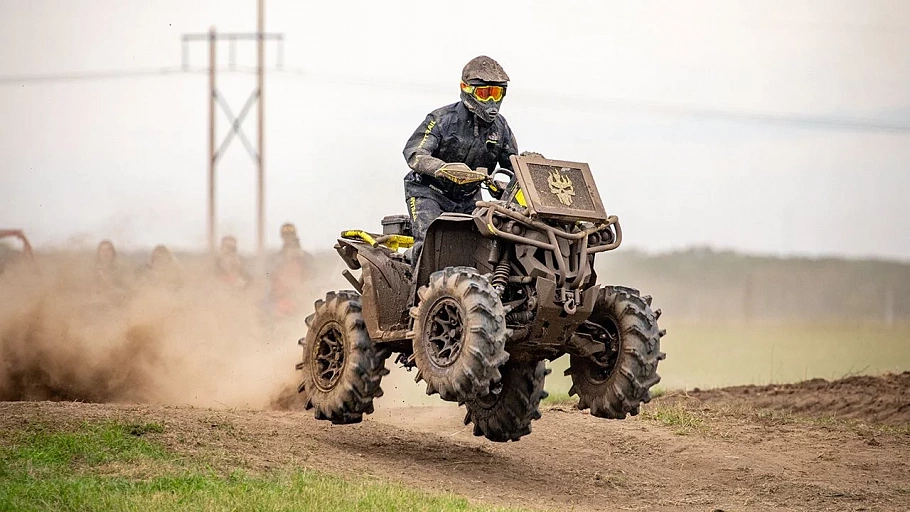
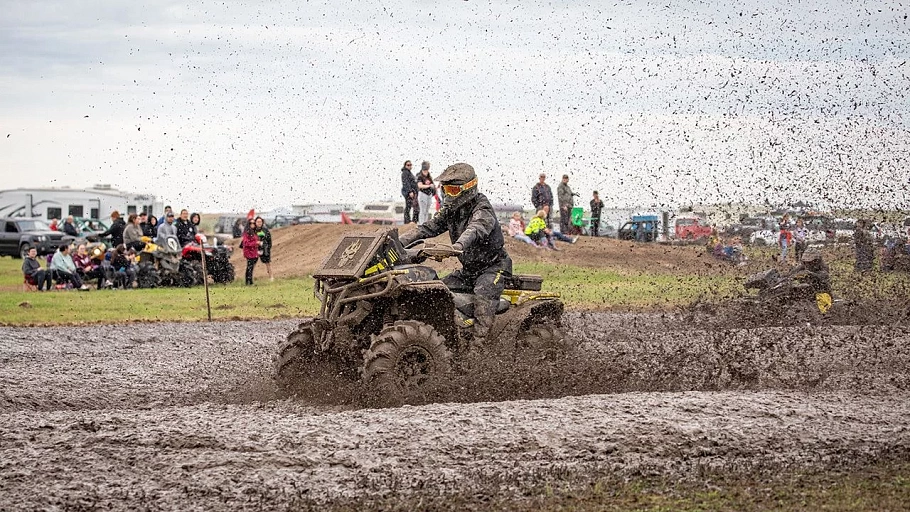
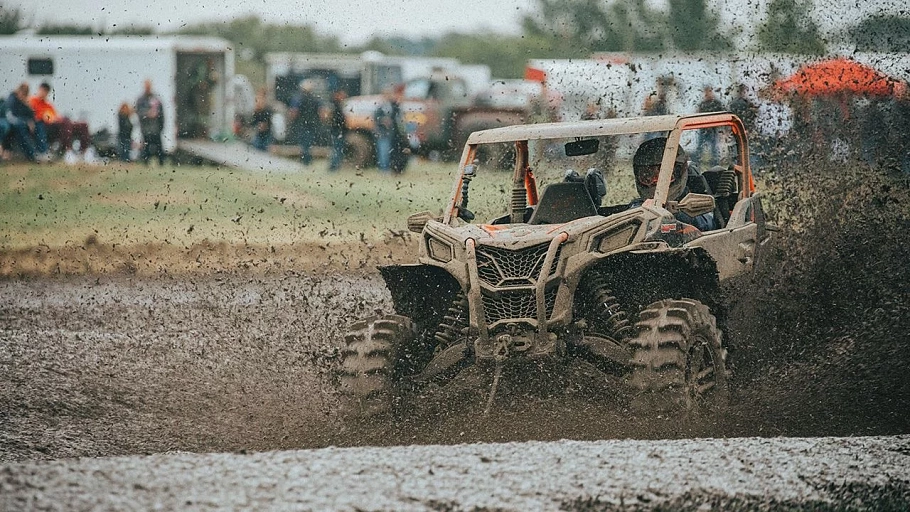
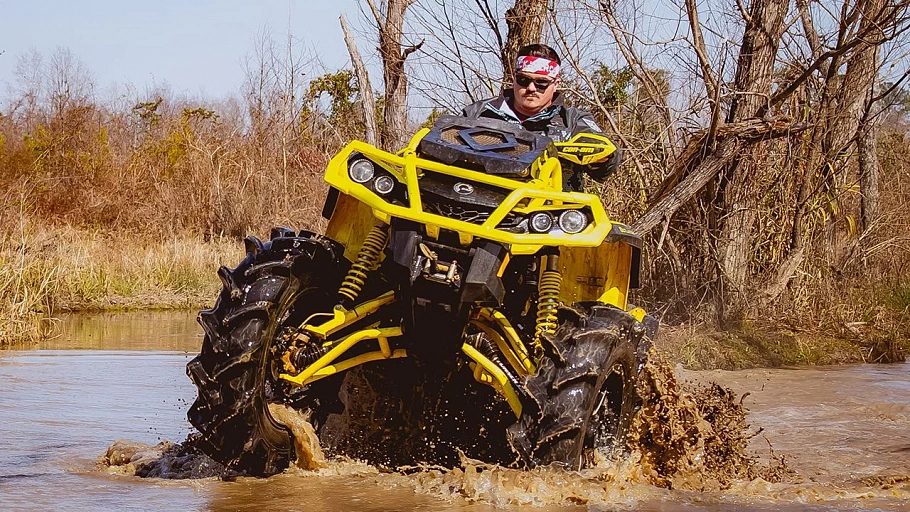
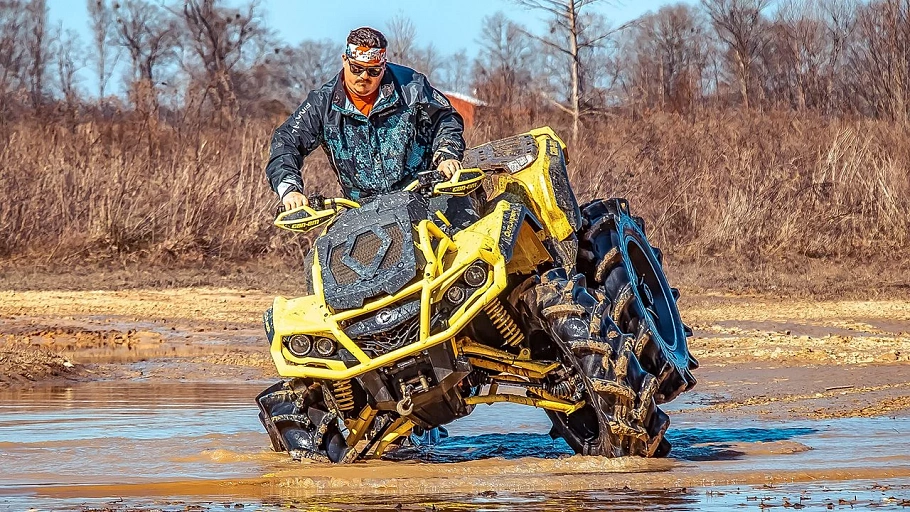
ATVs have good camera angles just like people do. Make sure the most exciting parts of your ATV are shown in prominence and detail. Lower angles, such as around the same height of the ATV or lower than the ATV are best, depending on how close you are to it. They make the vehicle look more powerful. Shallower depth of field can also help you make sure details you want to include stand out.

"You want to pick and choose where you’re shooting at such as in the front, to the side, or behind of the action that’s going on. Or that’s about to go on. Mainly you want to get your shots from the front because you want to see what ride someone is on. You want to see the persons face, and just generally be in the area to where the action is coming towards you.
Another key comment is angles. Generally you want to be middle level or lower than your subject so as to catch a little bit of everything you’re trying to shoot. Angles are important because it can define a good shoot from a bad shot. If you’re 10ft above your subject, it’s going to be a bad shot because you can’t see generally any of the things mentioned in the positions section."

Action Shots
You’ve got to know how to take action shots. What are ATVs without action? Thankfully, all you really need to know about this is to make the shutter speed faster or set the phone to action mode.
Pose with Your ATV
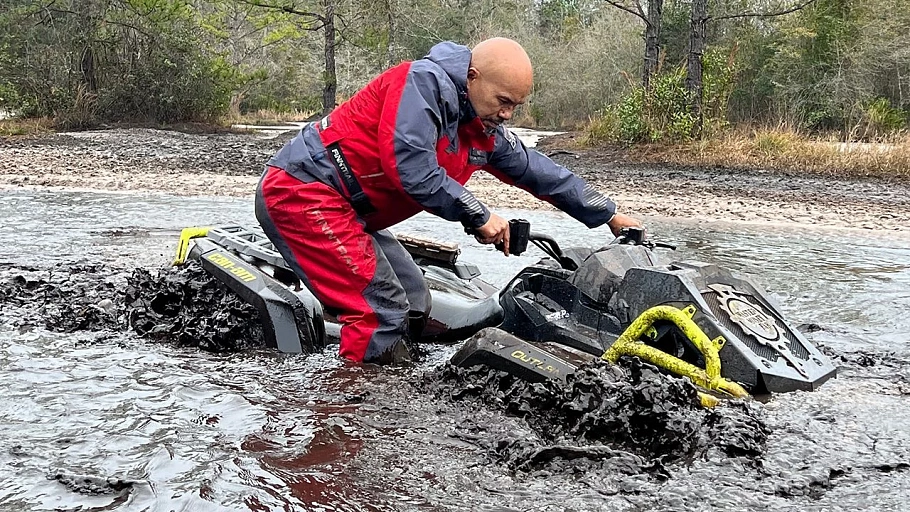
Who own’s the ATV? You do! Who’s doing that stuff? You and your friends! So, you’ll probably want people in some of your shots. In action shots, people will naturally be in the shot. Don’t do any fancy poses for action pictures of quads. Still put safety first, or your photo will be a before-the-accident photo. If you’re taking a still shot of an ATV, the starring person can be sitting on the ATV in the seat, on the front, wherever. They can be leaning against the ATV or standing beside it. ATV selfies are a thing too! Go for it! Again, just take the selfie while you’re parked.
Learn from other riders
Bonus secret tricks for you who read till the end.


If you’re using a cellphone camera
-
Make sure your light source (most likely the sun) is behind you. This way the subject(s) will be fully visible and not backlit.
-
If possible try to frame the subject close enough so that you can capture all the action without sacrificing detail, which happens if the subject is too far away.
-
Most cellphones have a zoom feature. Learn how to control it manually so you can smoothly zoom in. (On an iPhone, I like to not exceed the 3x zoom as the video tends to start to look grainy.)
-
Check your settings to ensure you are filming on the optimum setting for what you will be using your photo or videos for. If you are filming in 4K and plan to upload to Instagram, the video file may not look as good as if you film in 1080 due to compression.
-
Get low. Sometimes a change in perspective can make a video more dynamic and appealing. Try filming from the water or mud level and angle the camera up to capture the action.
-
Frame grabs can make great action photos! This is a go to trick for me. On the iPhone, I will pause the video and use the slider bar to go frame-by-frame. Once I find a frame I like, I screen grab it. Then I use an editing app to make any adjustment I may want.
-
Consider where you plan to upload videos before you shoot. If you want video for social media (especially Reels or TikTok), then orient your camera vertically (portrait). If you plan to upload to YouTube, orient your camera horizontally (landscape). That way you won’t lose any of your framing when it’s uploaded to your desired format.
If you decide to step it up and grab a higher end camera
-
Crop later - Try to leave some room around your subject and the machine in the frame. You can always crop in closer, but you can’t zoom out when you edit.
-
Quantity can help with quality - Assuming you’re not using film, photos are free. And storage is plentiful. So shoot away! Shoot to your heart’s content! And delete the junk shots later. It’s not uncommon for me to shoot over 1,500 pics in a day.
-
Get off your bike - Maybe, I should say, be WILLING to get off your bike. Go wherever you need to get “the shot”.
-
Experiment - Try different angles. Shoot from low. Shoot from high. Shoot from a tree. Get in the mud. In other words, don’t shoot the same thing that everyone else is.
-
Zoom Zoom! - If you’re shooting with a DSLR, a nice zoom lens will give you a lot more options. The potential downside is that, depending on the lens, you might not be able to get shots of objects close to you.
-
Doesn’t hurt to ask - Most people love to get their photos taken when they’re riding. If you didn’t get the shot you wanted, ask them to do it again.
-
Be a director - If you’ve got an idea, throw it out there and see if they’re game (they usually are).
-
Shoot on manual - I got this advice from a fellow photographer last year. I used to shoot on auto but you’ll get better results in manual. It takes some getting used to but once you do, you won’t go back.
-
Where’s the sun? - In most cases, it’s best to have the sun/light source to your back so your subject is well lit and not blown out.
-
What’s in the background? - You don’t always get the luxury of choosing your background but if you do, it can be the difference between a good shot and a great shot. It may mean waiting until something/someone moves away. It may mean moving yourself… left, right, up, down. Sometimes even the slightest change makes a big difference.
-
Edit. Edit. Edit. - NOTHING I post is unedited. Usually, it’s minor tweaks/corrections but it is amazing how much of difference it makes. I use Photoshop but you don’t have to spend big bucks to do good edits. There are plenty of good low-cost or free apps available. But DON’T overdo it! Your subject should still be the focus, not the edits.