How To Change The A-Arms On Your ATV
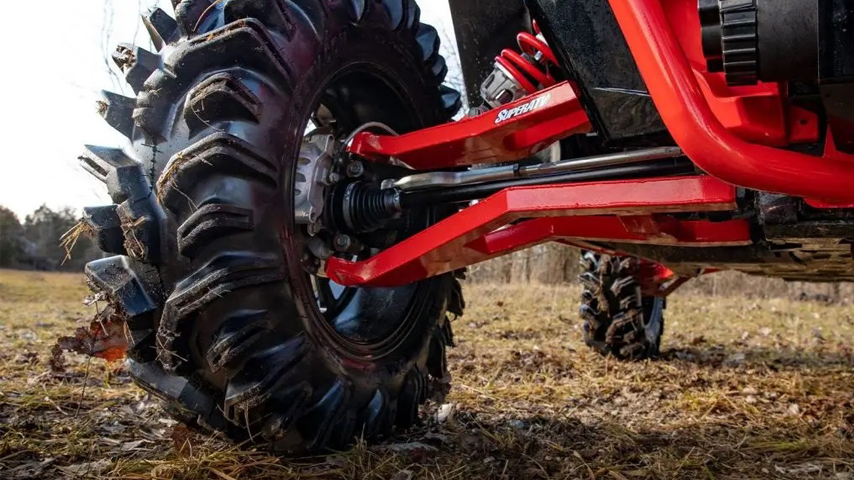
A-arms, also known as control arms, are stable links that hold your shocks in place. They’re pretty strong, typically made from Chromoly steel and carbon steel. A good set of aftermarket A-Arms should last a lifetime, but you might need to replace them if you’re in an accident or if you want to install higher performance parts that require a wider ATV. Stick massive tires on your ATV, for instance, and you may need to balance out the additional height with longer A-Arms.
In this guide, we’ll list the steps for changing the A-Arms on your ATV. As always, check your owner’s manual for more specific details.
1 - Raise the wheel of the quad
Place the ATV on jack stands or use an ATV lift to raise the vehicle. Though you won’t be shuttling the ATV around much when replacing the A-Arms, it still makes sense to ensure the ATV won’t budge.
2 - Remove the wheel
Take out the lug nuts of the wheel where the A-Arm will be replaced and remove the wheel. We recommend concentrating on one side at a time instead of trying to do both sides at once.
3 - Loosen the lock nut on the tie rod
The tie rod connects to the tie rod ends, which in turn connect to the steering components. To replace the A-Arm, you’ll need to remove the tie rod from this end by loosening the lock nut until the tie rod is disconnected.
4 - Remove the brake caliper
For some ATVs, access to the ball joint castle nut is restricted by the brake caliper. In these cases, you can remove the brake caliper and set it out of the way for the rest of the operation.
5 - Release the ball joint castle nut
The ball joint castle nut is held in place with a cotter pin. Take this out, and you’ll be able to release the castle nut. The spindle will now rotate freely, so use something to keep it out of the way for the time being.
Prying out the ball joint castle nut can be done with a large screwdriver. Even better, you can use a ball joint separator tool.
6 - Disengage the shock from the A-Arm
Next is to remove the shock from the A-Arm. There might be a cotter pin holding it in place. There’ll also be a bolt at the shock’s bottom that connects to the A-Arm.
7 - Remove the A-Arm
Now the bolt has been removed, it’s easy to take the old A-Arm off. Now is an excellent time to clean the spindle in preparation for your new ball joint, if there is one.
8 - Take off the ball joints
In some cases, the new A-Arm won’t come with ball joints, so you’ll need to rescue the originals from your old A-Arm. There are a few different ball joint setups, so how to perform this step will be slightly different in each case.
Some A-Arms require lubricating the A-Arm’s ball joint and knocking it out with hammer hits on the opposite side of the A-Arm. On the other hand, some ball joints will pop right out. And another type of ball joint is held in with a clip, for check for that.
9 - Install the ball joint in the new A-Arm
If your new A-Arm has no ball joint, you can use the old one you’ve just taken out of your old A-Arm. Make sure both the new A-Arm and your ball joint are spotlessly clean.
Installing a ball joint often requires using a rubber hammer or similar tool, though you must be careful not to damage the ball joint. You can buy a ball joint press set if you perform this operation often. Or, just make sure to purchase replacement A-Arms that already have a new ball joint installed.
10 - Install the new A-Arm
Installing your new A-Arm is now done by reversing through all the steps outlined above. Re-attach the A-Arm on the machine and add the shock and ball joints. If you removed the brake caliper, re-install it now. Use a new cotter pin to re-install the castle nut, and tighten up the tie rod in the tie rod ends.
Repeat the above steps for the other side of the ATV if you’re replacing both A-Arms. It’s now essential to perform a front-end alignment to get your wheels and tires perfectly in alignment.

