How to Fix ATV Brakes
It goes without saying that if your ATV’s brakes aren’t doing their job, you’re going to have a bad time. The symptoms of brake issues are all too apparent when they rear their ugly head, but it’s not always so clear exactly where the issue in the brake system lies.
Whether your brakes are grinding, dragging, skipping, or feeling mushy, there’s a fix for it. It’s up to you to diagnose the correct issue and make the prescribed repairs.
Assess the situation
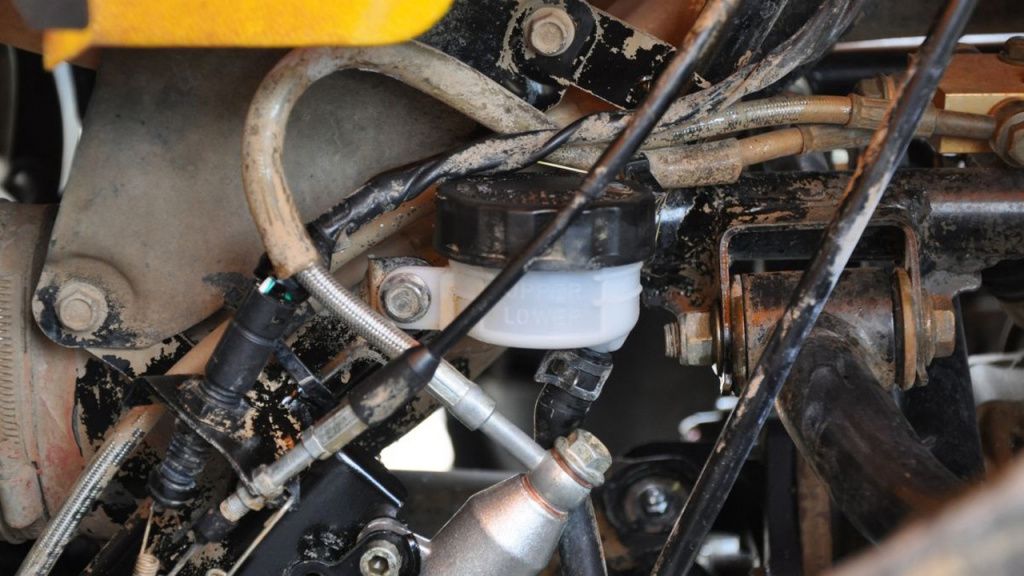
Before you rip apart your brake system, first check that the area is clean. You should be cleaning your ATV periodically as part of your ongoing vehicle maintenance. Check that the wheels are properly centered, as a misaligned wheel will rub along brake pads, wearing them down prematurely.
Locked-up ATV brakes
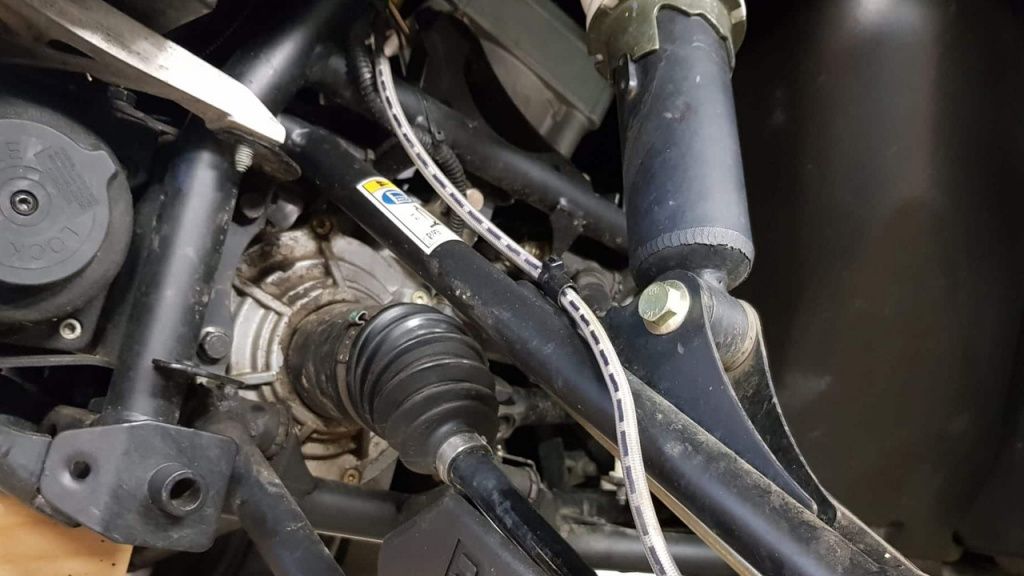
If your four-wheeler’s brakes have suddenly locked up completely, it can be a massive pain if you’re miles from the shop. In this case, the brake cable is our most likely culprit. Brake cables are made of braided steel wrapped in a protective rubber casing. Older cables can accumulate rust, which causes the brake cable to stick, leaving you in a tough predicament.
A spray lubricant like WD40 will often be enough to free up your brakes. You’ll need to pull back the rubber casing that’s covering the cable and place the WD40 straw underneath the rubber. Spray the lubricant down into the rubber casing. Do this for both ends of the cable, then pump the lever several times till the brakes are free.
Replacing brake fluid
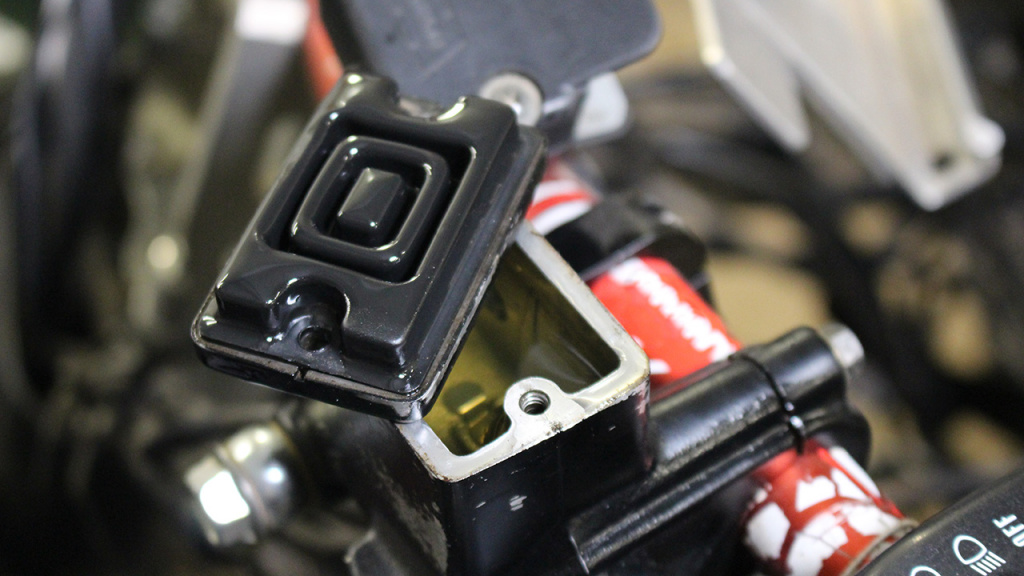
ATVs with hydraulic braking systems require the use of brake fluid. Just like with a car, you need to change this brake fluid from time to time (check your manual) for it to keep working at full capacity. You can squeeze the fluid out of your brake fluid reservoir to check—it should be relatively clear and certainly not brown or black.
To replace the brake fluid, you add new fluid to the reservoir and open the bleeder valve on all brake calipers. Place a container under each caliper, as the old fluid will begin seeping out. Once the color of the seeping liquid turns clear, you can tighten the bleeder valve and fill up the brake fluid reservoir again.
Weak braking
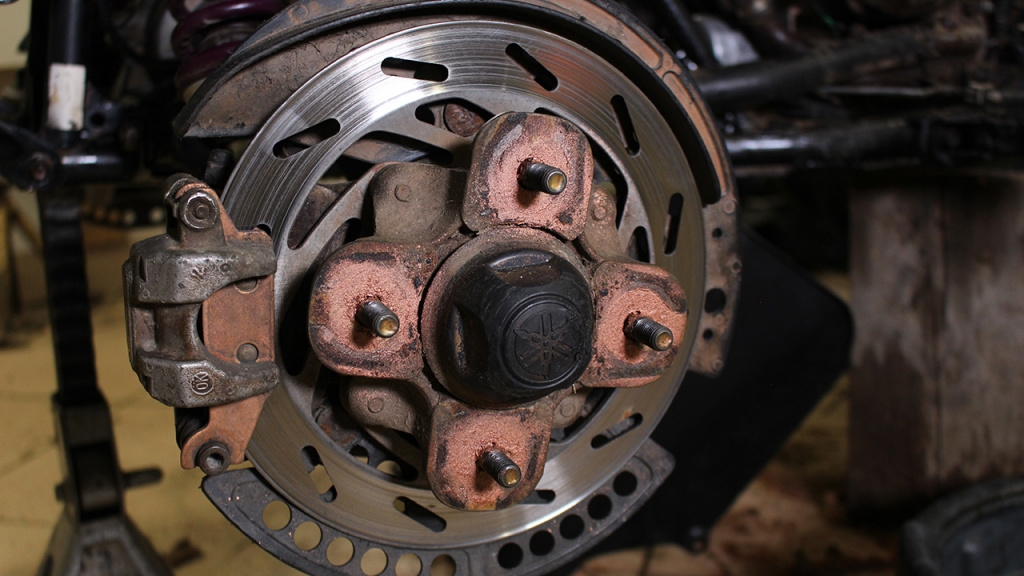
When you want to slow down, the brake caliper squeezes the brake pads against the brake rotor. So, it also comes to bear that the brake rotor can wear down over time. You can check this by using a micrometer to measure the rotor’s thickness. Your ATV’s service manual will specify appropriate thickness measurements.
Skipping or mushy brakes
If your brakes feel inconsistent, with a squishy, lumpy, or mushy feeling, there’s a chance that dirt or air bubbles are in the brake line. This can happen after you change brake components.
To bleed the brakes, you’ll need to loosen the drainage nipple on the brake caliper and drain the brake fluid until the air or dirt is dispelled.
Squealing brakes
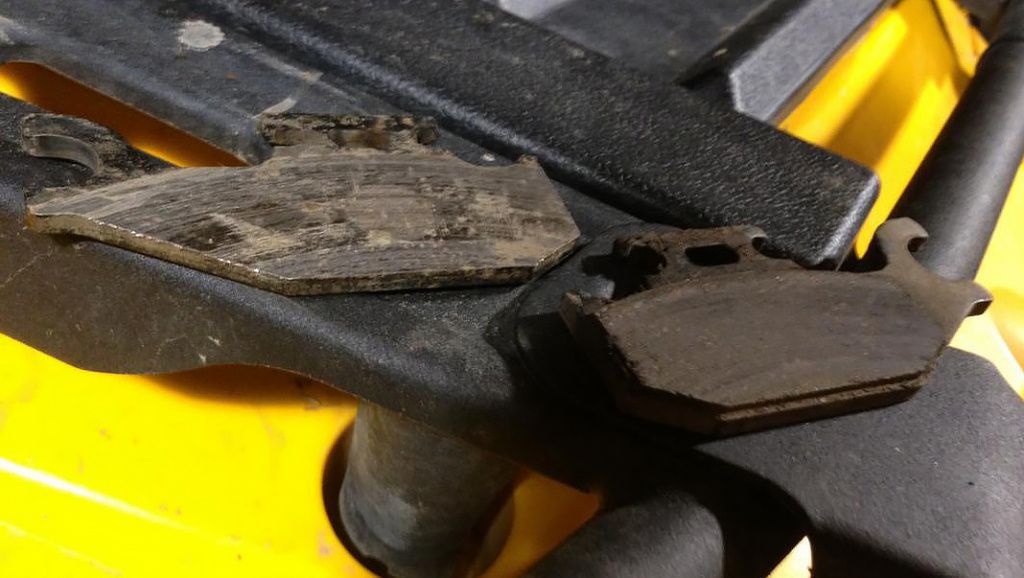
Many symptoms come from worn brake pads, and squealing brakes are one of the most noticeable. Unless your brake pads are new, grinding noises when you depress the brake certainly point to the brake pads.
If you have this issue with new brake pads, are you sure you’ve installed the right brake pads for your ATV? Brake pad installation should be simple. The wrong brake pads are arguably worse than worn brake pads.
Replacing brake pads is quite easy. Most new ATVs have hydraulic disk brakes. Remove the tire and wheel while the ATV is off the ground. Unbolt the caliper with a socket set. Take out the old brake pads by suppressing the pins in vice grips.
Now, compress the caliper piston with a c-clamp. Insert the new brake pads back on the caliper pins like the old pads were installed. Re-bolt the caliper and put the wheel and tire back on the vehicle.
We recommend bleeding your brake lines after replacing the brake pads. This ensures there are no air pockets and your new brake pads will work at 100% efficiency. Now it’s time to check your brakes to ensure your replacement has been a complete success.

