How To Install Rear Seat On ATV
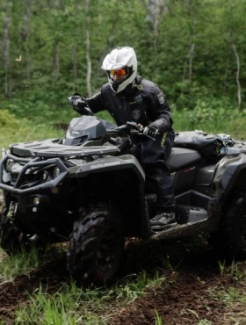
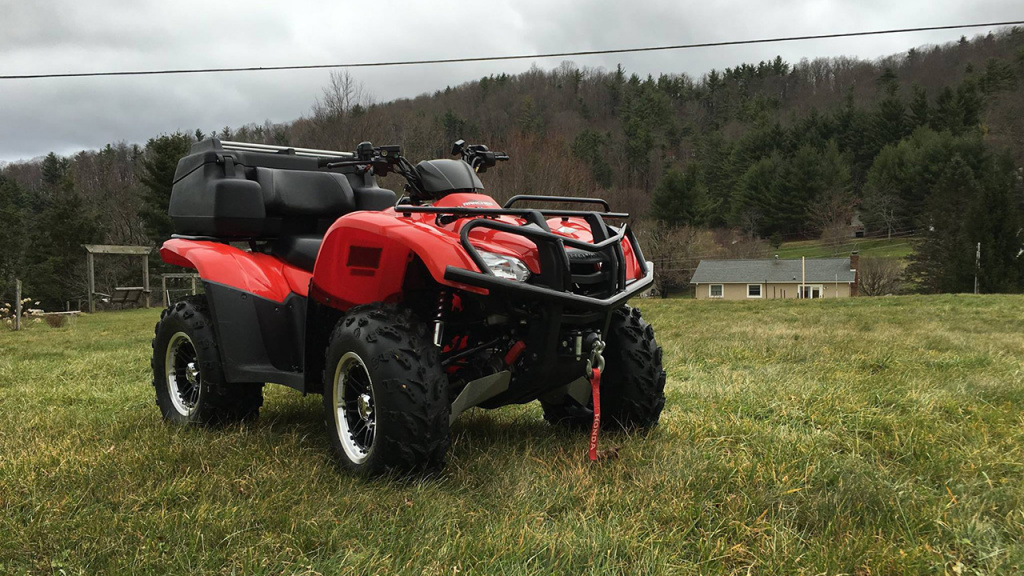
A rear seat on your ATV will help to give you the option of bringing a fellow rider along, whether that be your kid or partner, on your trip! These rear seats also add a huge amount of storage space where you can keep anything from gear to spare helmets.
The process to install a rear seat on an ATV is surprisingly quick and easy. You should be able to get this done in under an hour if you have all the right tools and the know-how. Here, we’ll give you the know-how to install a rear seat on an ATV.
Take Rear Rack Off
Start off by removing your rear rack. This will make it significantly easier to drill holes into the seat in the proper place, otherwise you’ll be left guessing and eyeballing while drilling holes that can’t be undone. This is another easy task, simply find the bolts that attach the rear rack and pull the rack off.
Drill Holes in Rear Seat
Line the rear rack up with the seat and pre-drill the holes that you need in order to mount the rear seat. This should be a simple process of marking the position on the rear seat around the bars of the rack. You want two holes for each mounting position, and preferably four different places to mount.
You will be using U-bolts to install the rear seat, so make sure you’re drilling in a place where you can utilize the U-bolt both underneath the seat and tighten down the nuts on the top.
Install Rear Rack
Now you just need to put the rear rack back on the ATV. The holes have been made and you are almost ready to get the rear seat installed.
Bolt the rear rack back onto the ATV ensuring that everything is nice and tight as it was before. We recommend keeping all of your bolts in one place after removing the rack so you don’t miss any major spots to reconnect.
Mount Rear Seat
Finally you can install the rear seat onto the rack. You should already have all of the correct positions for the seat to be bolted into so all this part takes is for you to connect it and tighten everything down.
U-bolts work great for this install because you might not always want the rear seat on the back of the ATV. This way you can remove the rear seat by only unscrewing 8 bolts and taking the seat off. It makes for a simple process to switch up your rig in a short amount of time.
It’s probably best to try out the rear seat before putting someone in it and racing around. Fill up the rear seats with some gear and go ride around to make sure you’ve attached everything well and nothing is shaking loose. Now you’re ready to get out and ride!


