How To Put ATV Tires On Rims
If you’re the DIY kind of person, then another task to add to the list is learning how to install ATV tires on rims at home. Mounting an ATV tire on a rim is a pretty simple process, but you may need some special tools that make the process go a lot smoother. If you’re DIY to the bone, there are plenty of other ways to get around buying specialty tools that can sometimes be expensive.
The Tools You Need
Before you start putting an ATV tire on a rim, you’ll want to make sure you have all the necessary tools. These all will make the entire process much easier, and some of them are totally necessary for doing a good at-home job.
- Tire changing spoons or large screwdrivers (x3)
-
Valve stem tool
-
Lubricant
-
Air compressor
Remove the Wheel
First things first, you need to get the wheel off of the ATV. Start by loosening the lug nuts while the ATV is still fully on the ground. Once these are loose, you can jack the ATV up and get the wheel completely off.
Deflate the Tire
Now that you have the wheel off, you’ll need to completely deflate the tire. Take the cap off of the valve stem and release the pressure from the tire. This can be done quickly by using a valve stem core removal tool, but can also be done by pressing down with a screwdriver.
Break the Bead
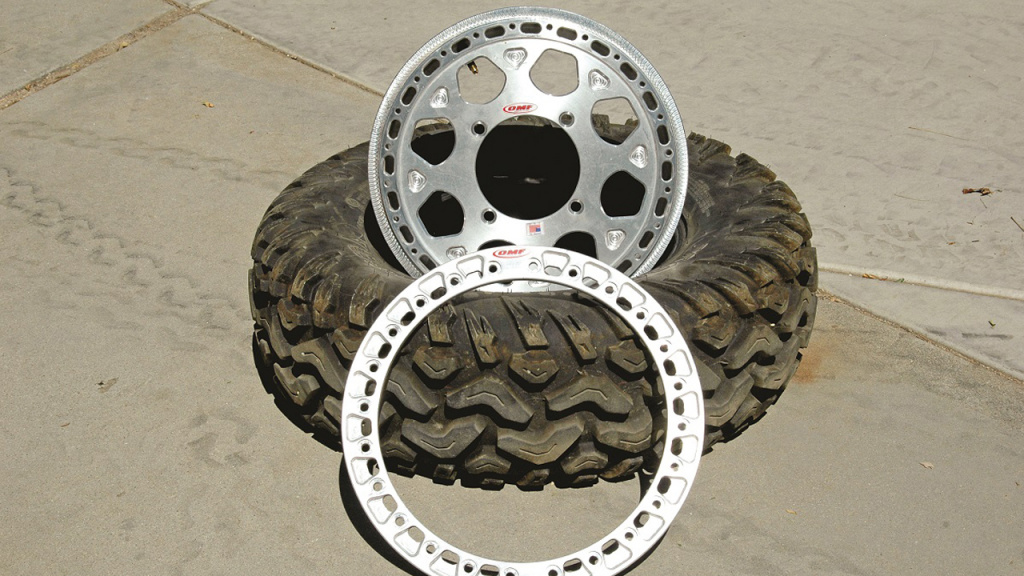
The biggest difference between changing a tire on an ATV and doing so on a car is that the bead is set much more firmly on off-road tires. The bead of the tire sits inside of a small ridge along the outside of the rim. This provides more stability for the tire and makes sure it doesn’t slip out, but it makes taking the tire off the rim even harder.
A BeadBuster or another tire removal tool found at any automotive shop are the easiest methods for this, but it’s likely that you don’t have the tool and maybe don’t want to buy another tool that you don’t need often.
The DIY method will require some brute force, but can work just as well. Some soap or lubricant will allow the bead to move around easier and 3-5 psi left in the tire will make this job a bit easier. Use a 2x4 to apply pressure as close to the rim as possible and pry the bead out.
When you’ve succeeded on one side, flip the wheel and get to work on the other side. Using tire spoons or large screwdrivers you will be able to work your way around the entire wheel and remove the tire.
Clean Rim Lip and Apply Sealer
For the best success, you’ll want to scrub the rim lip free of any debris or mud that was left behind from removing the tire. This will allow the new tire to seal perfectly with the rim, free of anything in its way.
If you have it, use a sealer around the rim lip to make up for any nicks or bumps that your rim may have gotten in the years of riding.
Lube the New Tire Bead
A little bit of tire lubricant or soapy water will help you get the new ATV tire onto the rim without having to fight it too much. Throw some more lubricant on the rim edge for the best results.
Mount and Seat Tire
First, check if your tire is directional. Many will need to be lined up with respect to the way the treads are designed. Once you know the correct positioning to put the tire on, work on seating the tire and getting the bead in place.
To do this, place the tire on the floor and push the rim into the correct position. You can push the rim over the first bead, but to get the next bead into position you’ll need to use your tire spoons or screwdrivers. Work your way around the whole tire to get the bead in place on both sides.
Using the air compressor, put air in the tires quickly and allow for the beads to seat themselves. If you’re having trouble getting this to work fast enough, you can use a ratchet strap around the tire to push the tire walls out to the lip of the wheel on both sides.
Re-inflate
Finally, reinstall the valve stem and inflate your tire to the appropriate pressure and get back to riding as soon as possible!


