How to Repair an ATV Seat
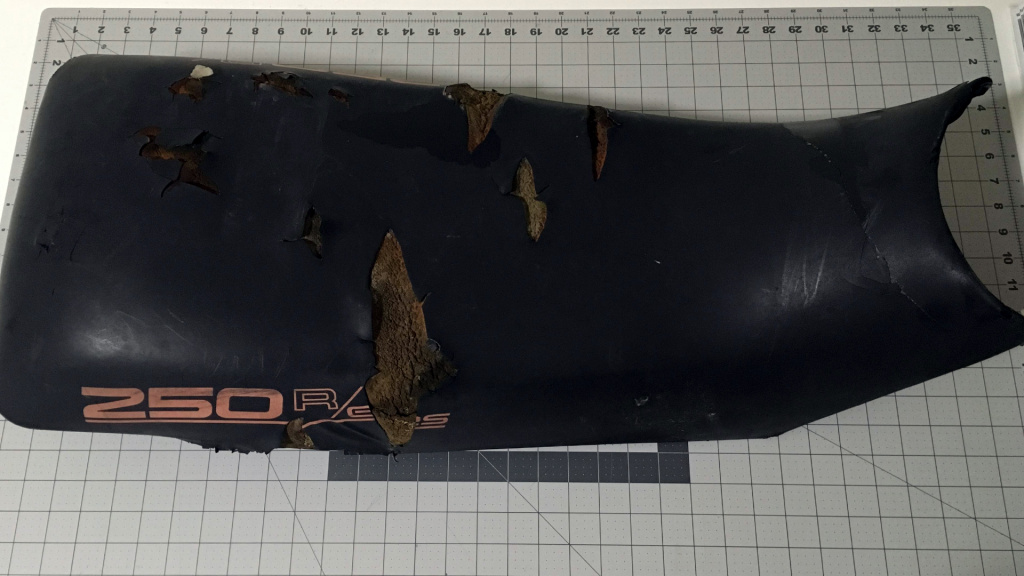
It's going to happen sometime. Whether it comes from the elements or damage of some kind, your ATV seat is going to fade, tear, or crack. This isn't just an aesthetic issue either. Exposed padding is vulnerable to water damage, and holey cushions can be very uncomfortable and even distracting to sit on. But you can be prepared because this post will tell you both how to repair an ATV seat and how to protect it from future (or any) damage.
Tiny Hole or Tear
If the damage is very small, small enough to not need to be stitched together to stay closed, you can just dab something waterproof on it to smooth it over and keep water from damaging the padding.
This could be super glue, Liquid Vinyl, indoor/outdoor sealant, or something similar. Whatever acts as a waterproof adhesive or sealant.
Medium-sized Holes or Tears
You can purchase an ATV seat patch kit or make your own patch with vinyl fabric and VLP.
The purchased patch kit is simpler than making your own patch, but either option with improve the appearance of the seat and restore its waterproofing to protect the padding.
Both of these options are inexpensive.
Larger Tears
To repair an ATV seat with larger tears, particularly ones that expose padding or create an uncomfortable ridge in the seat, you can stitch the vinyl closed with extra durable thread or dental floss, or cover it with duct tape, and slap an ATV seat cover on it to make it look new and protect it from water damage. Seat covers range from prices in the teens to over $100.
When The Padding's a Wreck Too

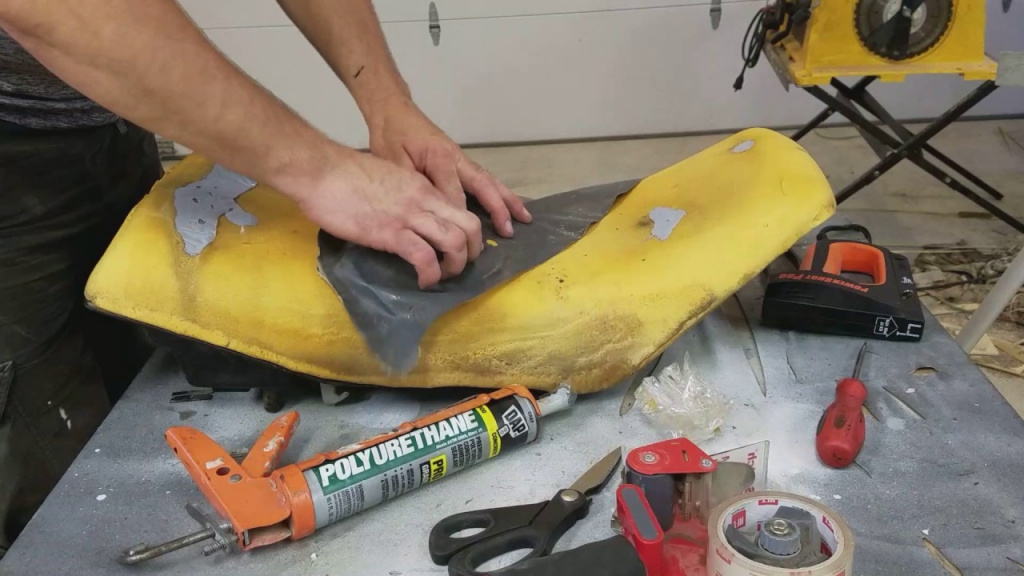
Sometimes you don't have just a tear; some of your cushion is actually gone. This is when you need to reupholster the seat. Although you could reupholster it to do any repair, if that's what you prefer. You might want to do this before selling the ATV if you're expecting to make a bundle on it.
Depending on what you need to remove, you'll need:
-
a screwdriver/socket set
-
needle nose pliers
-
a staple gun
-
a pencil or marker
-
a knife or blade
-
cement glue
-
replacement cushion foam
-
replacement seat material
Tip: Working in a warm environment or warming the vinyl with a hair dryer will make the vinyl easier to pull over and mold to the shape of the cushion without wrinkles. Some people put their vinyl in the dryer for a few minutes, but this is not recommended.

You'll have to remove the seat. You can use the screwdriver or socket wrench to unbolt it. Unless you're one of the lucky ones with a model that only requires you to trip a latch on the back of the seat to remove it.
When you flip the seat over, you'll see the fabric is stapled to the frame. You can remove these with the needle nose pliers, or anything sturdy and flat enough. Yes, it's tedious, but not too bad.
Cut the existing foam from the frame. This is the real pain in reupholstering because the foam is probably still glued to the frame. If you don't need to replace the entire cushion, you can always cut just part that's damaged. Cutting the damaged part to make it a defined shape like a square or rectangle could make it easier to shape the replacement foam to make a patch.
For entire seat replacements or patches that go all the way to the bottom, you'll have to cut the foam or seat cushion to fit the frame. You can trace the shape of the frame on the foam with your pencil or marker.
You'll need to glue the foam to the seat frame with the cement glue
You can add batting as extra cushion at this stage if you want to. Cut it, attach it with spray adhesive, and cut away any excess.
Cut the replacement fabric to cover all of the seat and staple it to the underside of the frame. You may find it easier to cut the replacement fabric if you do it before you've taken the original seat apart. You could wrap the new fabric over the seat and use it as a guide. Cut the piece larger than you need to allow for errors, particularly if you'll be adding batting.
Once the fabric is in place and stapled, you're done. You can reattach the seat, and you're ready to ride!
Protect Your Seat
To keep your seat from needing a repair, you can purchase an ATV seat protector to cover the seat and add extra padding for comfort. With this protector, the seat won't be exposed to the elements, and it'll be next to impossible for anything to damage it. They're really inexpensive, and it's easy to install and remove with straps with buckles.
#CATALOG_ITEM_2#

