How To Vinyl Wrap A UTV
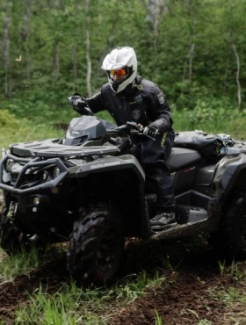
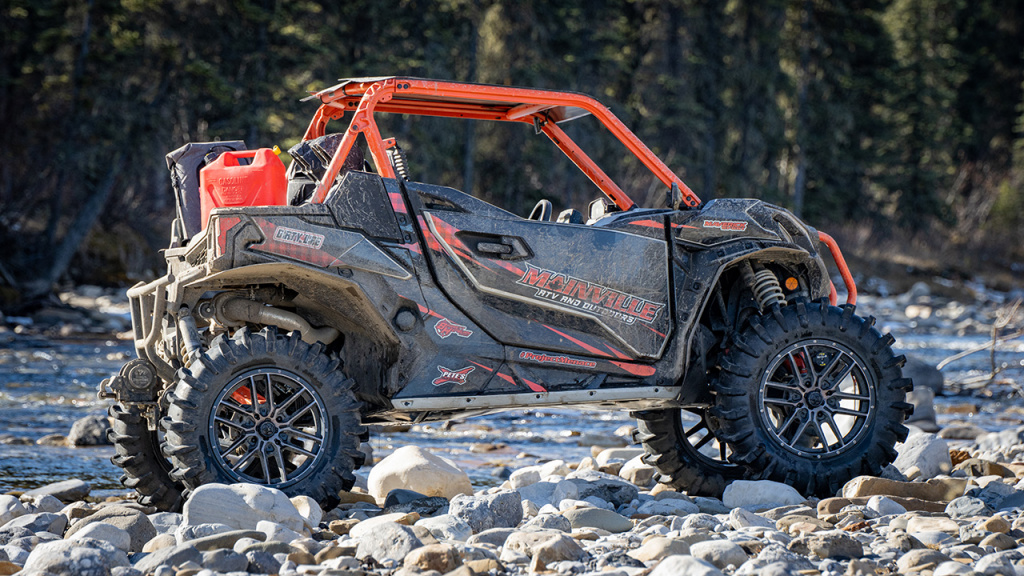
UTV wraps are vinyl materials that fit over your UTV's framework, protecting it from scratches while adding some style to your vehicle.
UTV wraps are cheaper, durable, and easy to install and remove. Plus, they look amazing on any type of UTV and come in a vast variety of colors and designs, allowing you to choose what suits you and your UTV best.
However, vinyl wrapping your UTV requires the right guide, especially if this is your first time wrapping your vehicle.
This guide walks you through how to vinyl wrap your UTV to create a beautiful transformation on your UTV and all you need to know about the installation.
Types of UTV Wraps:
UTV wraps are available in different types, and each type comes with a few pros and cons. Common types of UTV wraps include:
-
Plastic Wraps: Cheap and easy to install.
-
Leather Wraps: Expensive but more durable than the plastic option.
-
Fabric Wraps: More durable than all others but not easy to install.
Why Vinyl Wrap Your UTV?
-
Ease of spotting your vehicle easily.
-
Rust prevention
-
Protection of the paintwork.
-
Ease of installation and removal.
-
Scratch prevention
-
Protection of your UTV from UV rays.
-
Affordability.
How To Vinyl Wrap Your Quad/UTV
You can install UTV vinyl wrap on your vehicle with less hassle. The good part of the installation is that the wrap usually comes with an adhesive back that sticks to the surface of your UTV, so you don't need an adhesive or gluing material for the installation.
Follow these steps, and you are good to go:
Step 1: Take good measurements of your UTV and the wraps to install.
Step 2: Clean the surface of your ATV with soap and water. Make sure you dry the surface well before moving on to the next step.
Step 3: Start with the center section. It is a good idea to start with a centerpiece because that enables a good flow of the wrap on the sides, and it deals with most challenges faced when wrapping a UTV.
Step 4: Fix the vinyl deep into the recessed area and the curves.
Step 5: Wrap the material round and properly.
Step 6: Make sure all edges are aligned to prevent wrinkles.
Step 7: When the material bunches up, apply heat to release bunched-up areas.
Step 8: Remove all excess film. The remaining excess film is cut off and removed in an orderly manner, and then the edges are sealed.
Step 9: Wrap the rear. It's quite complicated here, and you must be careful when wrapping to bring out the beauty of the letters written behind.
Step 10: Wrap the Front: Once you are done with the rear, it is time to move to the front and get the job done there too. You have to be careful here too, especially with the design logos and letters on the front.
Step 11: Check for unwrapped edges and fix them. This includes observing and fixing any area that isn't covered with a vinyl wrap.
In conclusion, side-by-side wrapping can be an easy and cheap way to give your UTV the sleekness, durability, and good looks it needs. It's superb on areas exposed to scratches, as it will help prevent them from getting scratched by road debris and branches.

