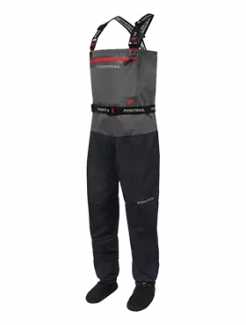
How to repair your riding gear
How to Repair Your Waders
Waders are one of the most crucial pieces of gear for many off-road adventures. They allow you to stay dry and have fun whether you are crossing mud puddles or cold streams. Although waders are made to function in pretty rough conditions for hours, yet they demand your care and attention.
Punctures and cuts are the most common damages to waders. When you realize that your favorite waders start to leak, don’t panic. Most of the waders come with a repair kit. It contains everything you need to perform basic repairs – a patch and a tube of Aquaseal or Aquasure. These waterproof glues allow to repair any puncture up to 2 inches long without using a patch.
So, let’s start recovering your gear.
Step 1. Find a leak
The first step you should make in wader repair is to find where the leak is. It’s not necessary that there are blatant ruptures. Inspect your gear carefully and try to detect any tear or hole. Sometimes the puncture in membrane is so small that you can’t even see it. In this case the most effective way to locate the leak is to fill your waders with water. Follow the instructions below.
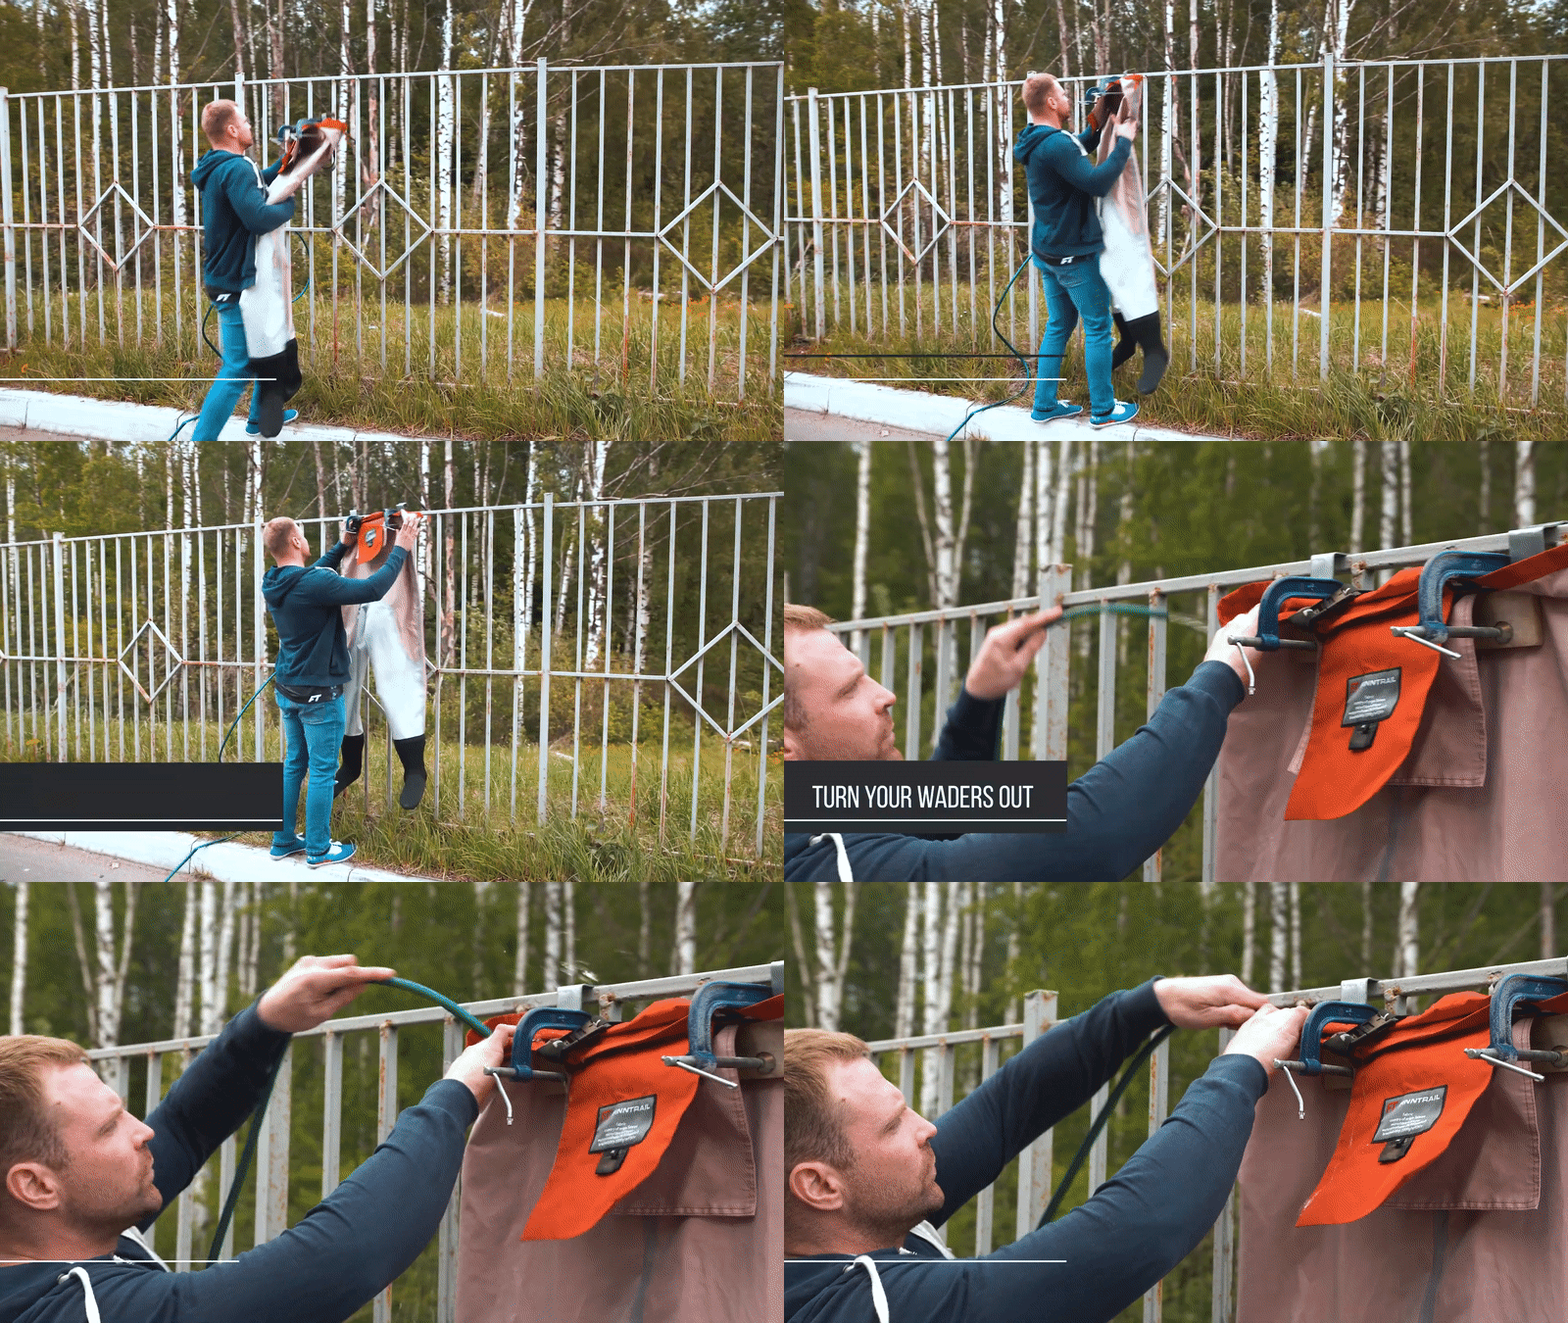
1. Turn the waders inside out.
2. Hang your waders upright, fixing them firmly by the upper part. Make sure that they don’t touch the ground.
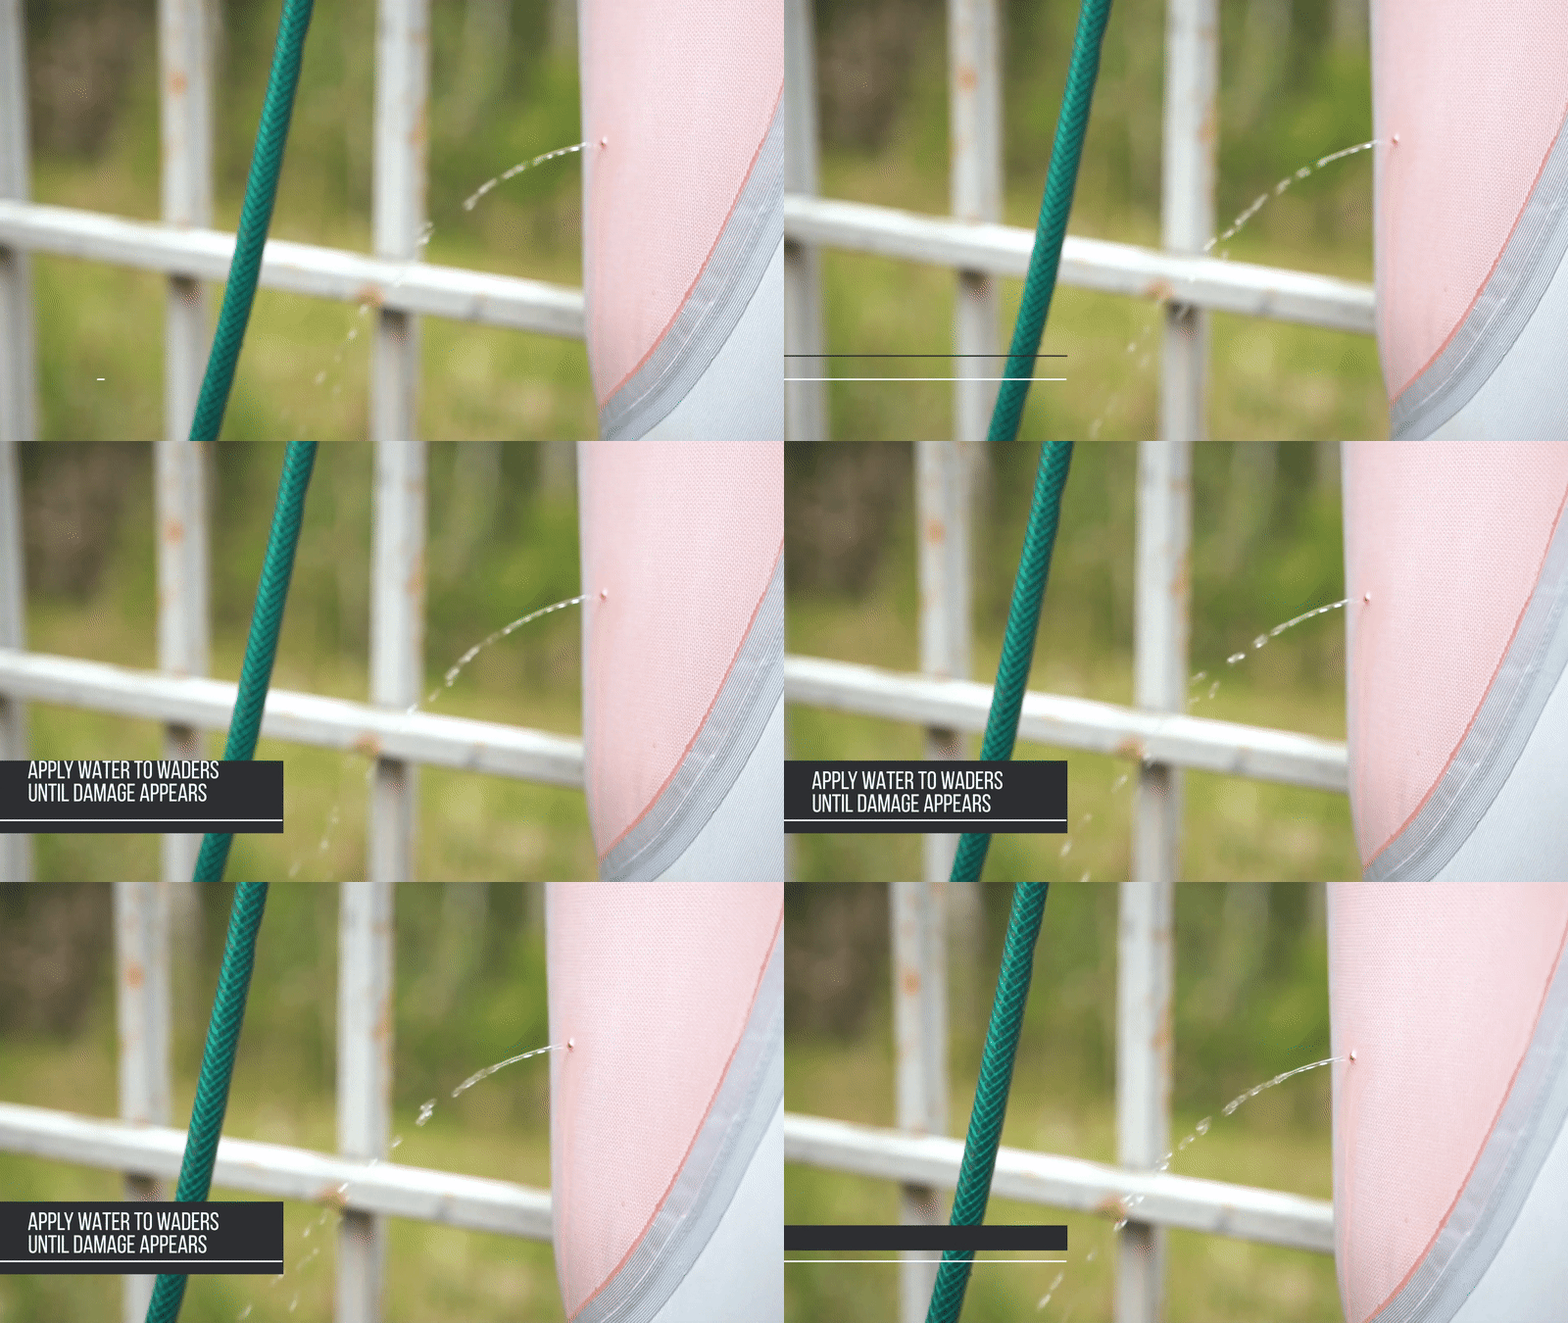
3. Apply water to the waders until the pinhole appears. High water pressure makes every smallest puncture leak.
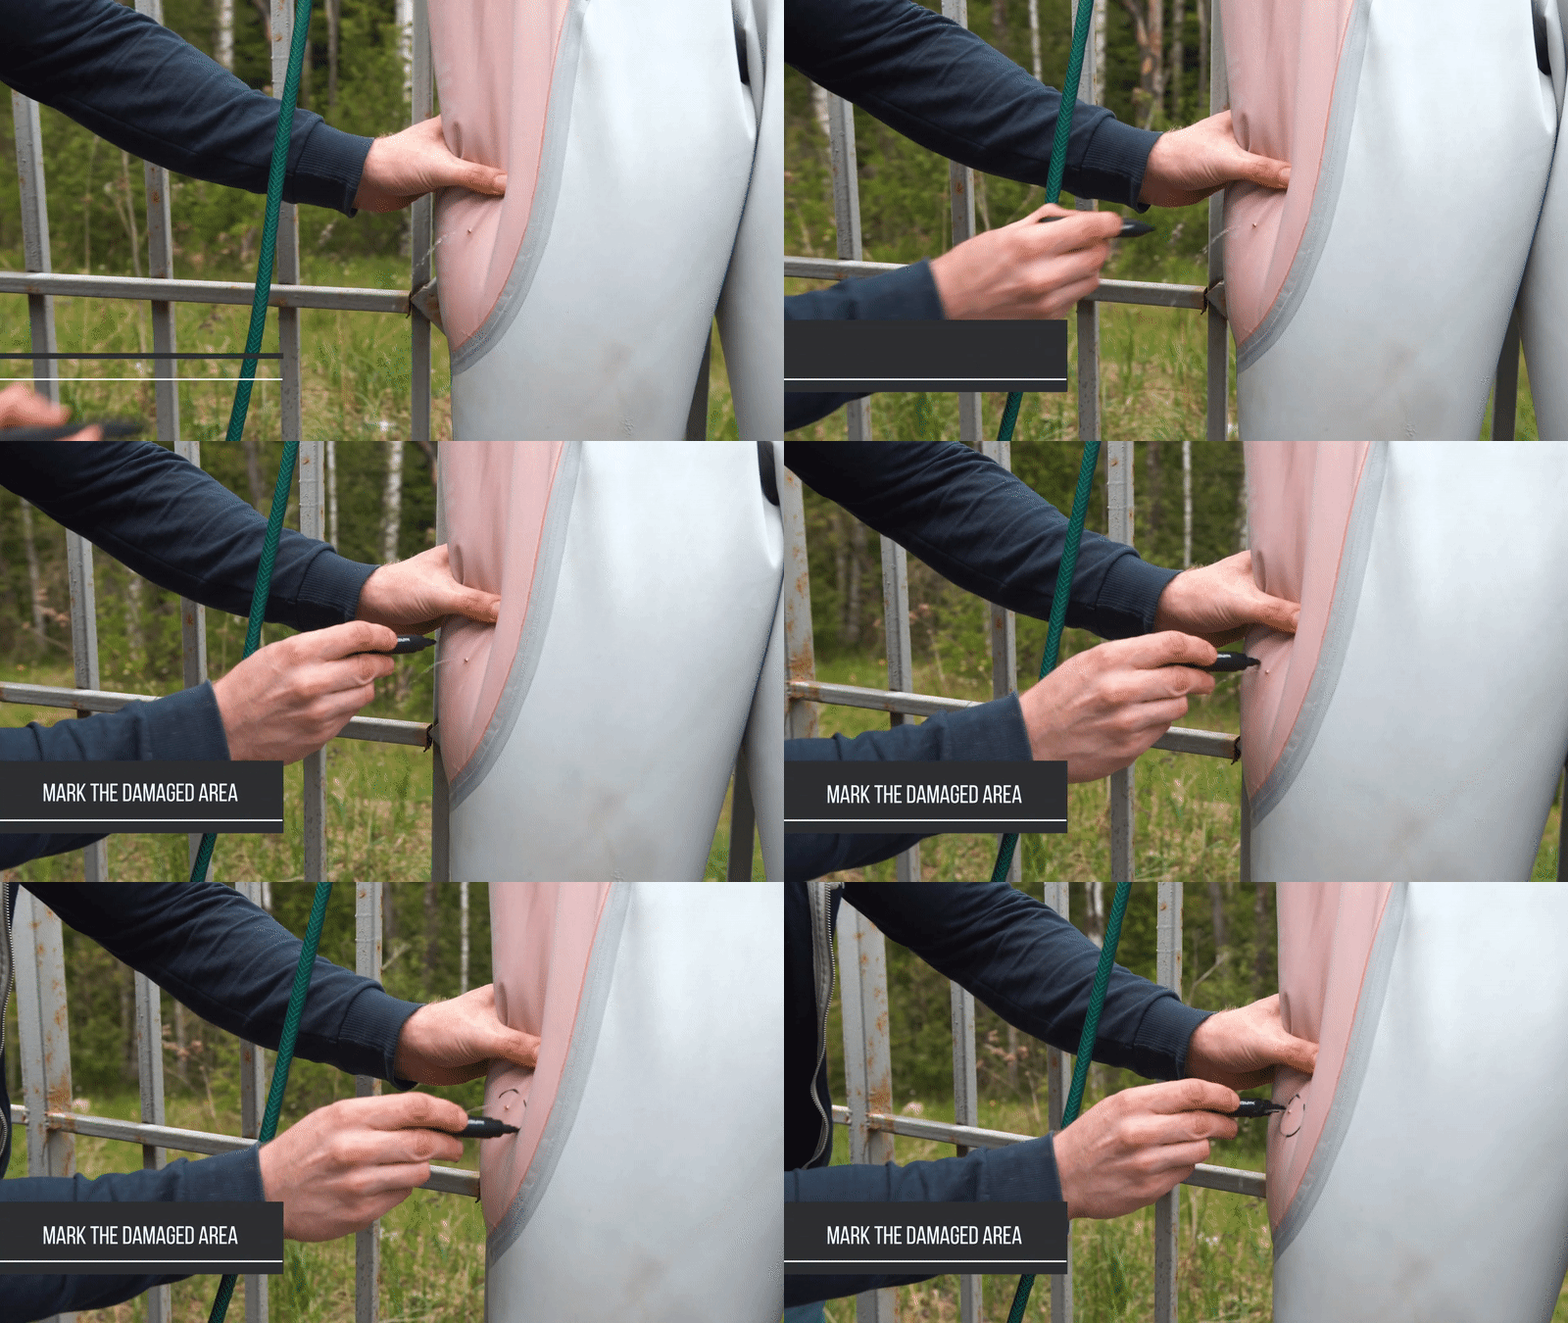
4. Mark the damaged area with a marker.
5. Then dry the waders and move on to the repair process.
Step 2. Repair the waders
How to repair a small pinhole
1. Get prepared a pair of gloves, alcohol, paper towel, masking tape, brush, and a repair kit.
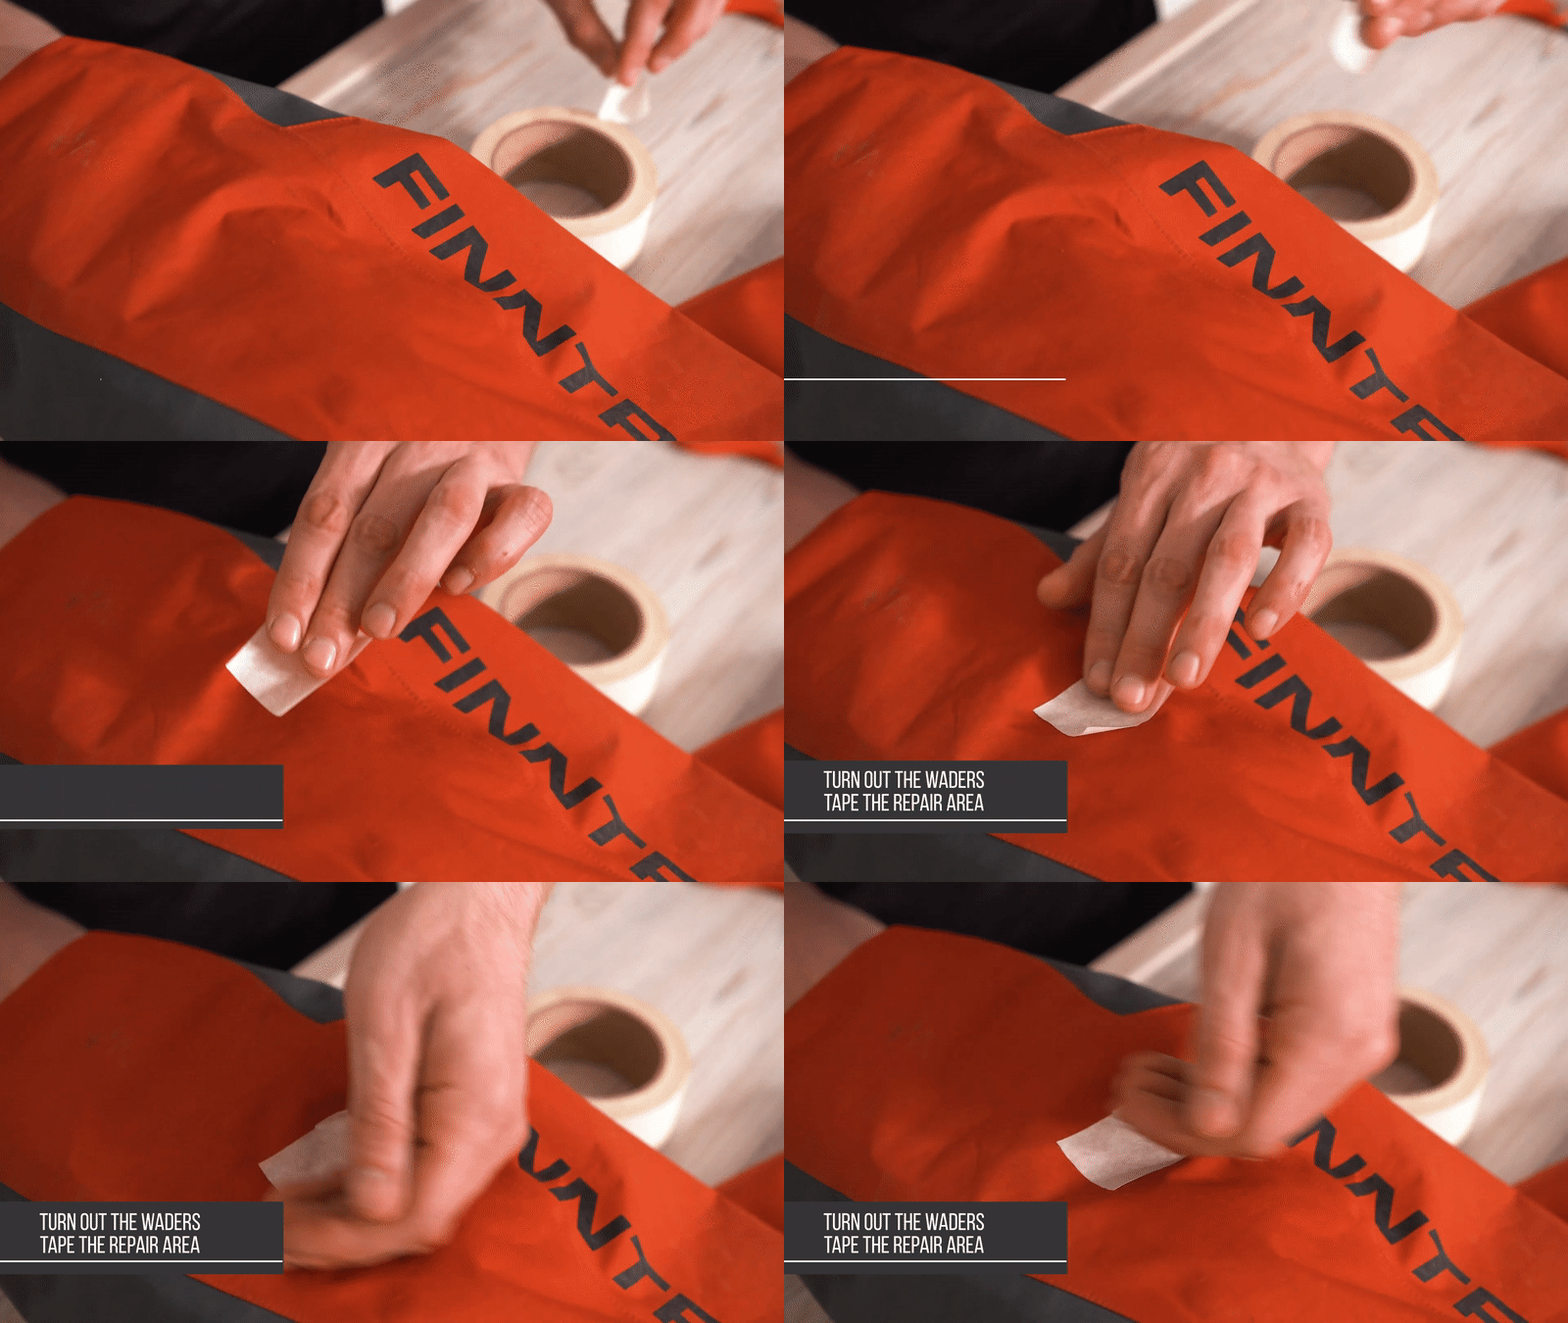
2. Once you detect the leak, put the masking tape around the damaged area outside the waders. It will help to detach the hole and keep the glue in a neat area over the repair.
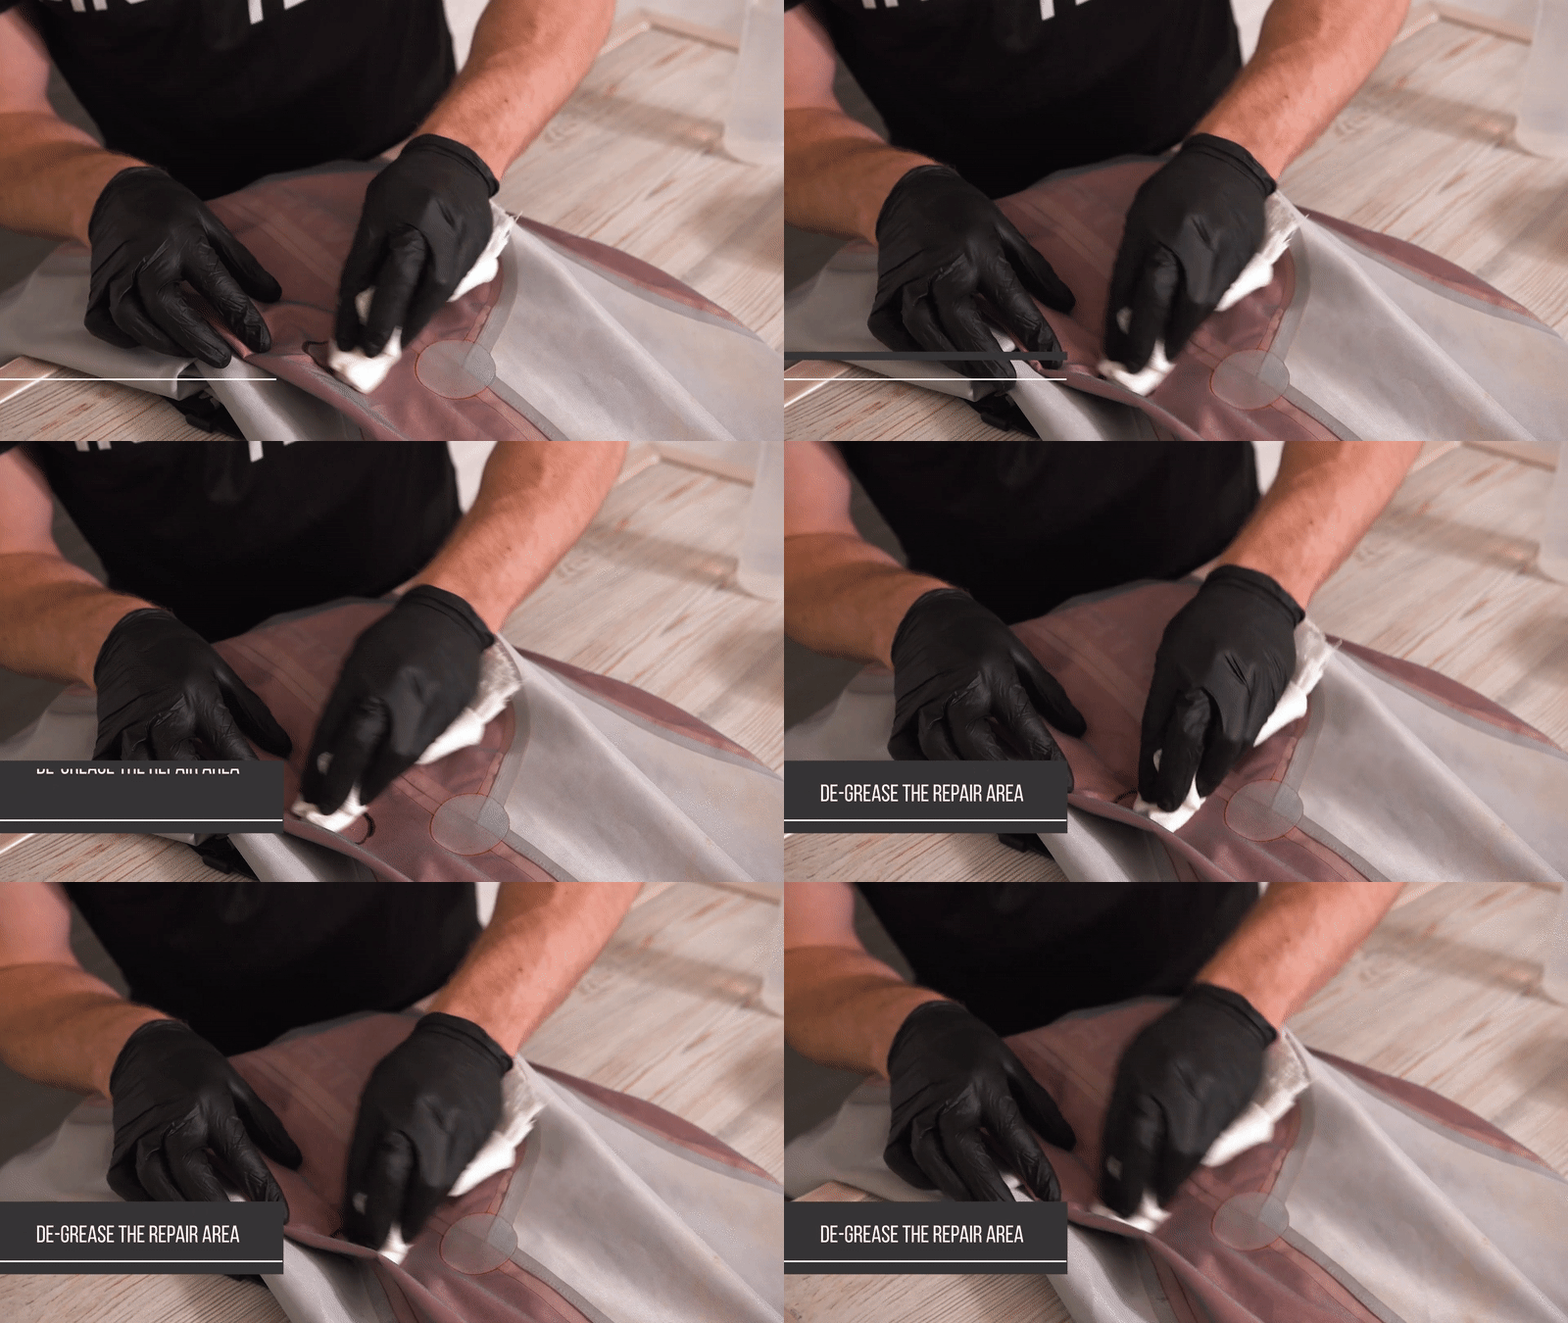
3. Turn out the waders again. Soak a piece of paper towel in a little alcohol and de-grease the repair area.
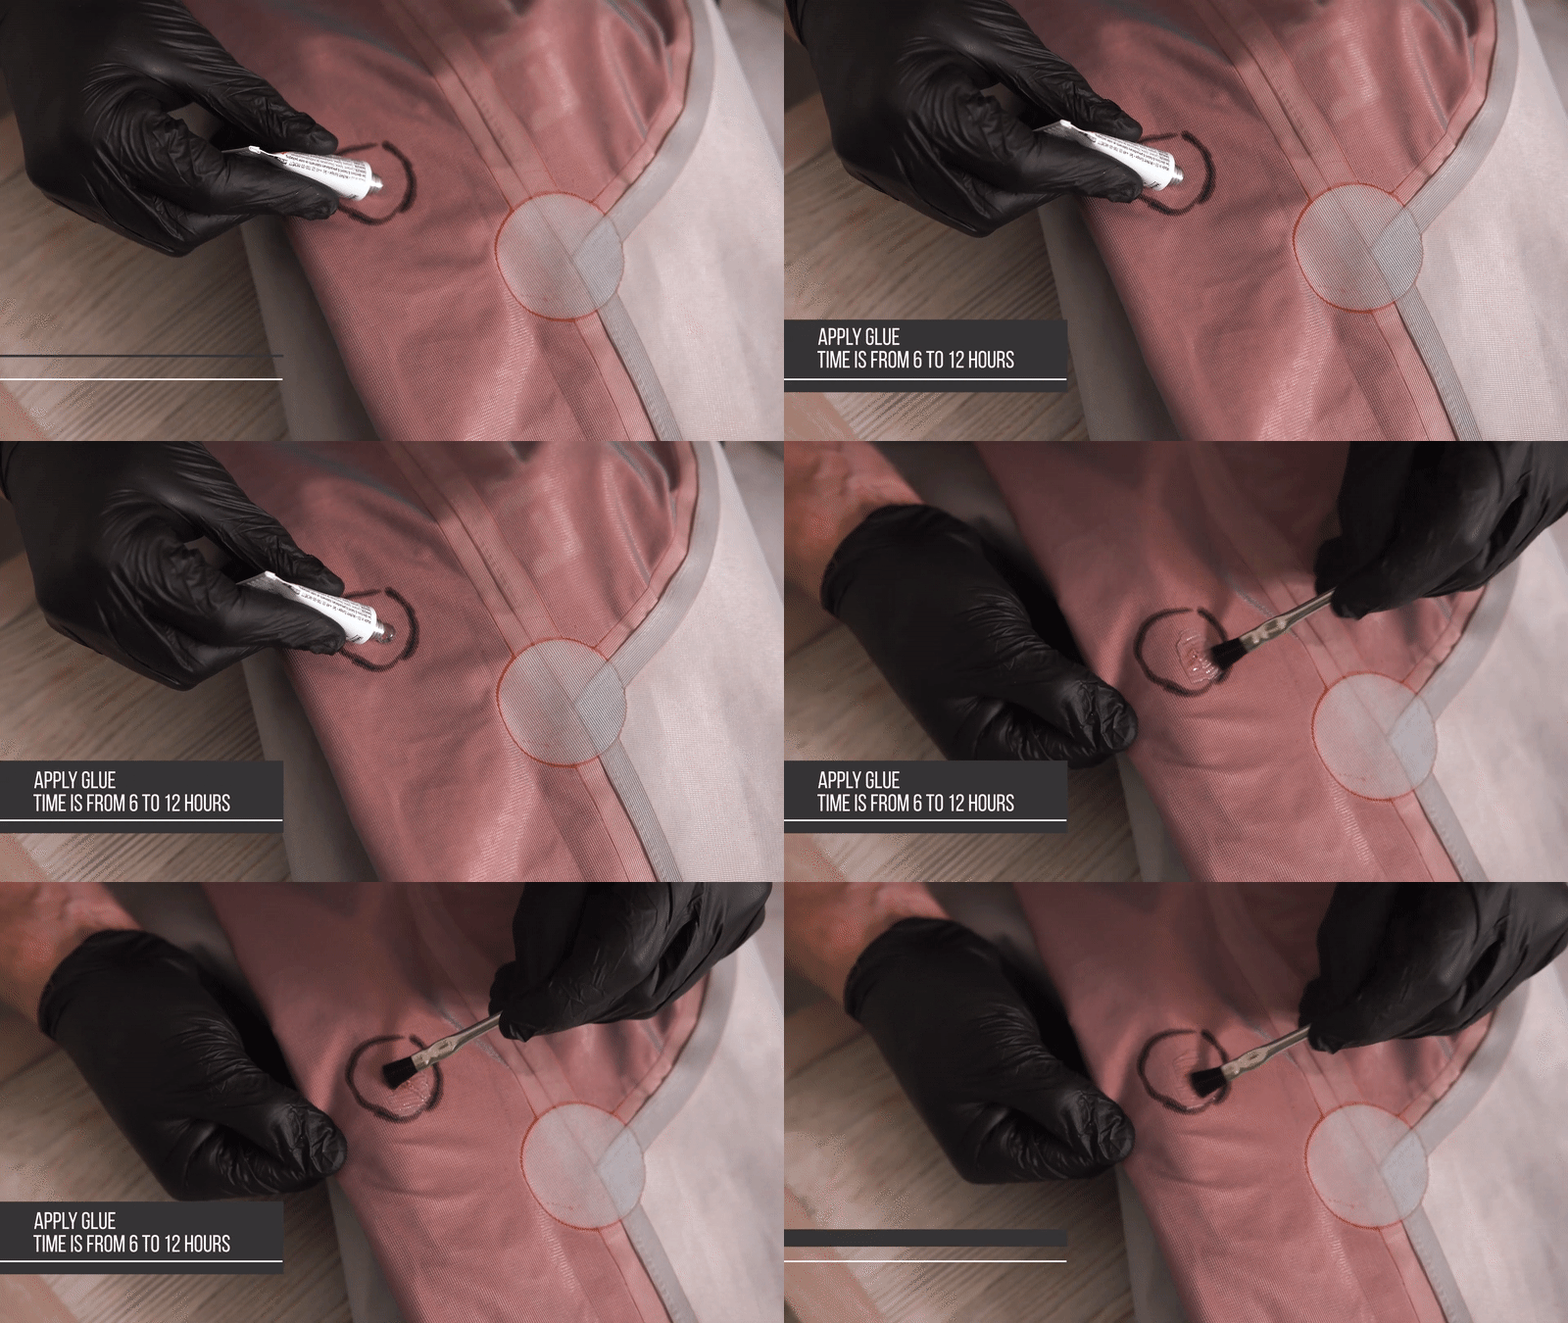
4. Apply glue to the cut on the inner side of your waders, extending the glue 1⁄3 inch (10 mm) beyond the hole.
5. Let it dry for 10-12 hours depending on humidity. In 5-6 hours the repair area will be dry enough to touch it safely with a finger. But still keep in mind that the glue needs time to actually cure.
How to repair a cut 2 inches long
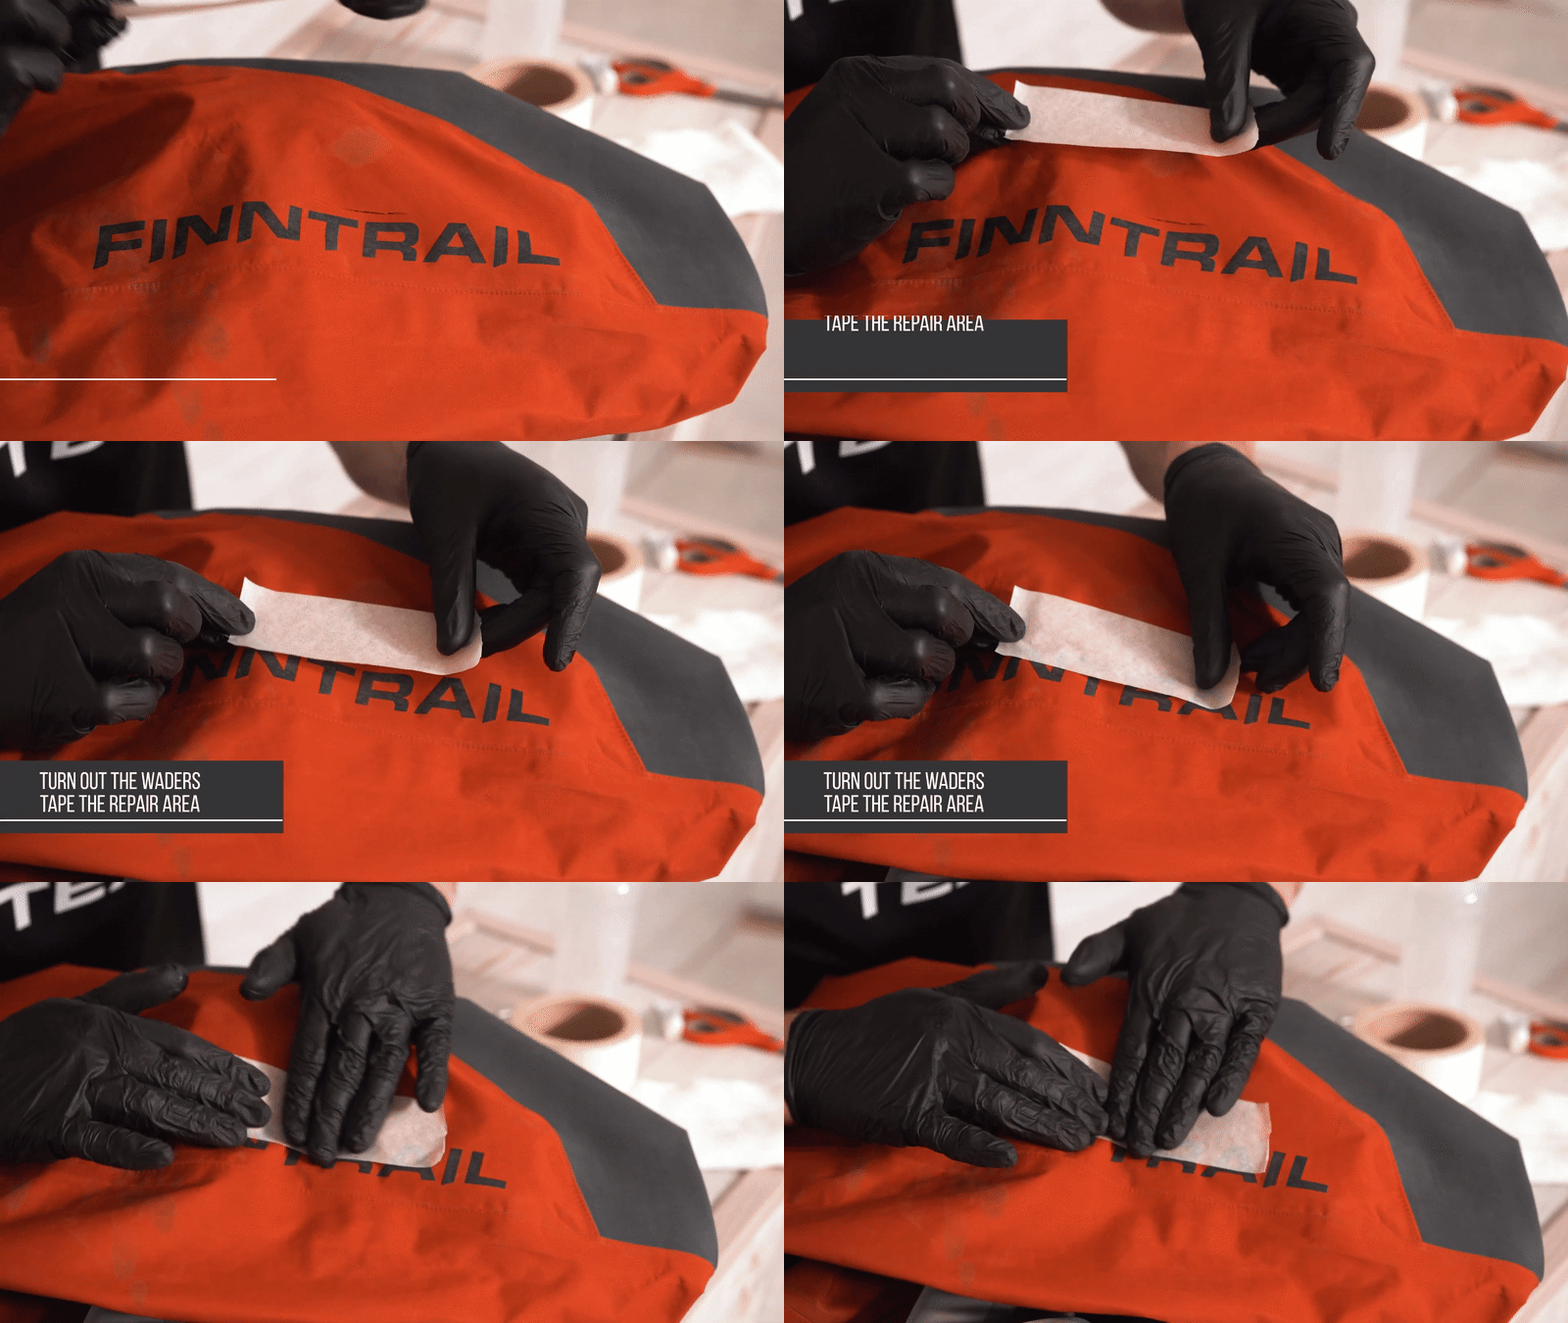
1. Bring the edges of torn fabric together and put the masking tape around the damaged area outside the waders.
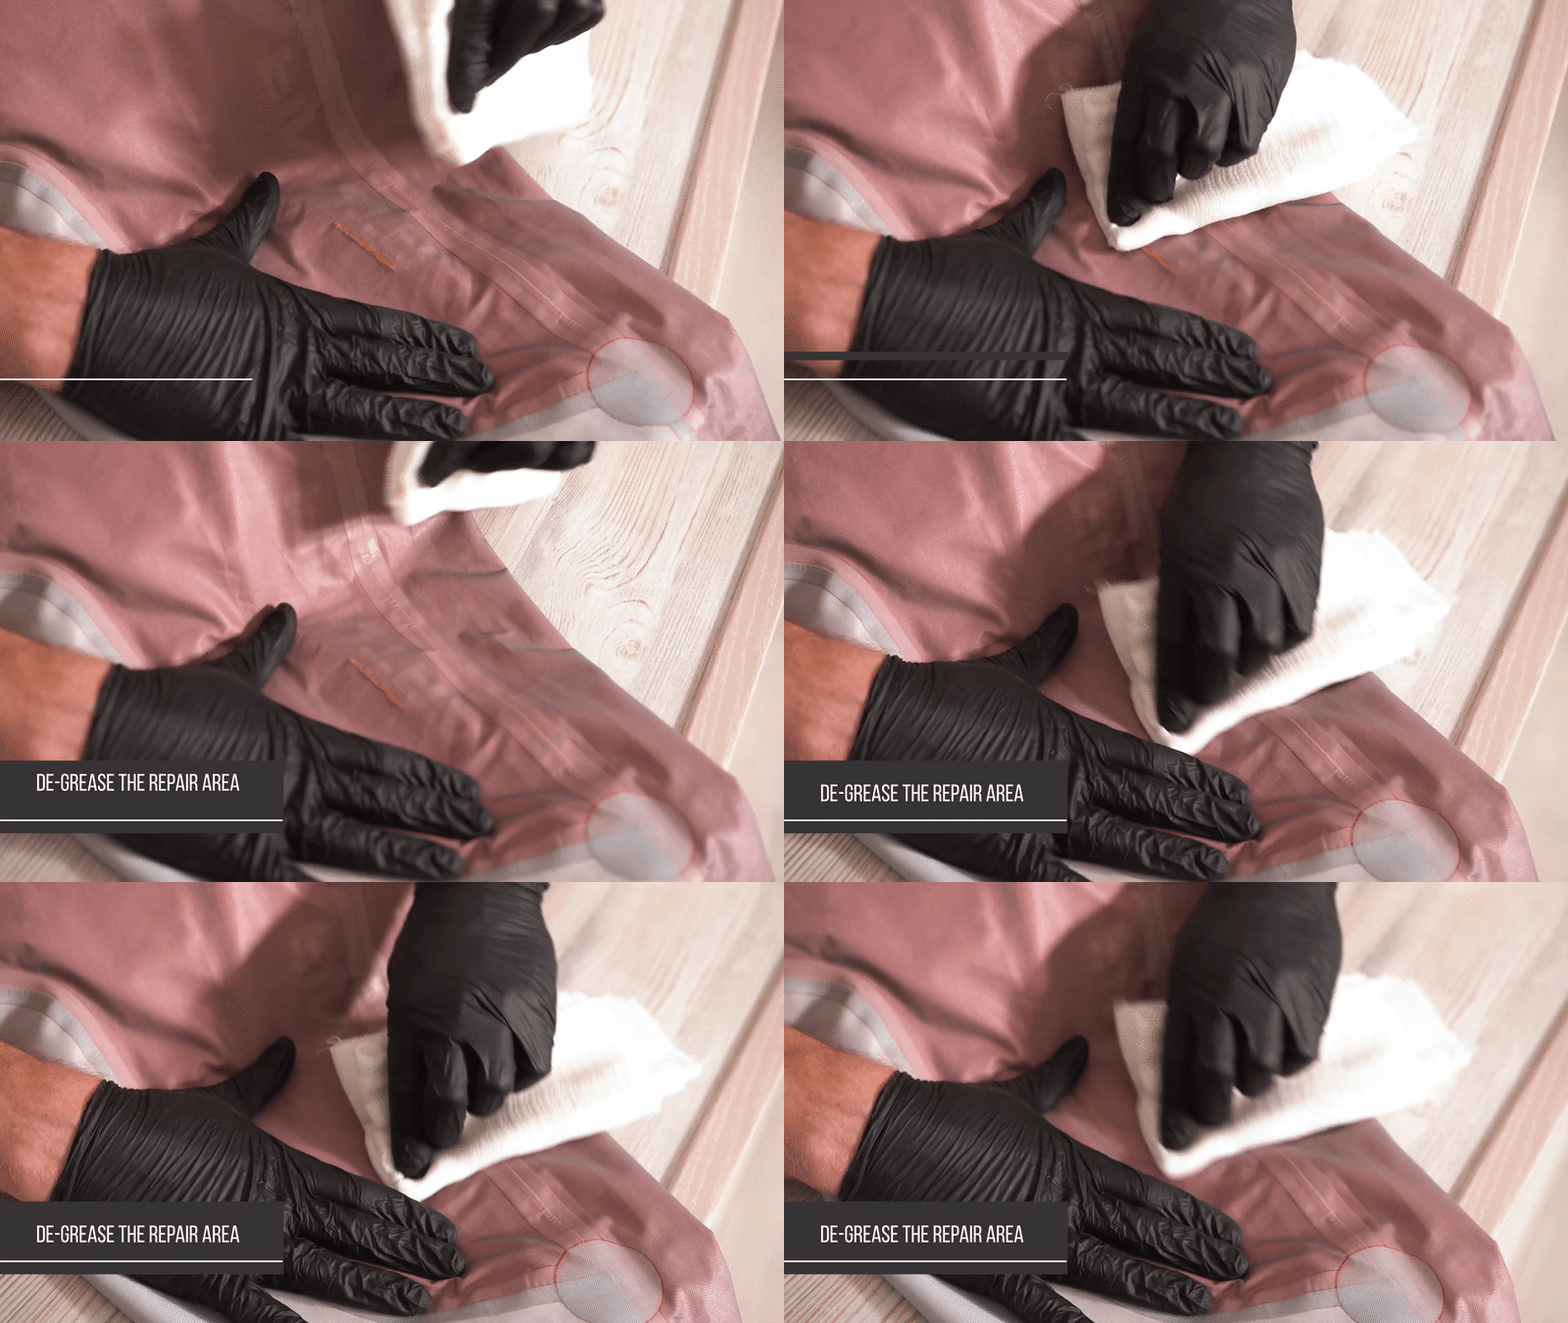
2. Turn out the waders again. Soak a piece of paper towel with a little alcohol and de-grease the repair area.
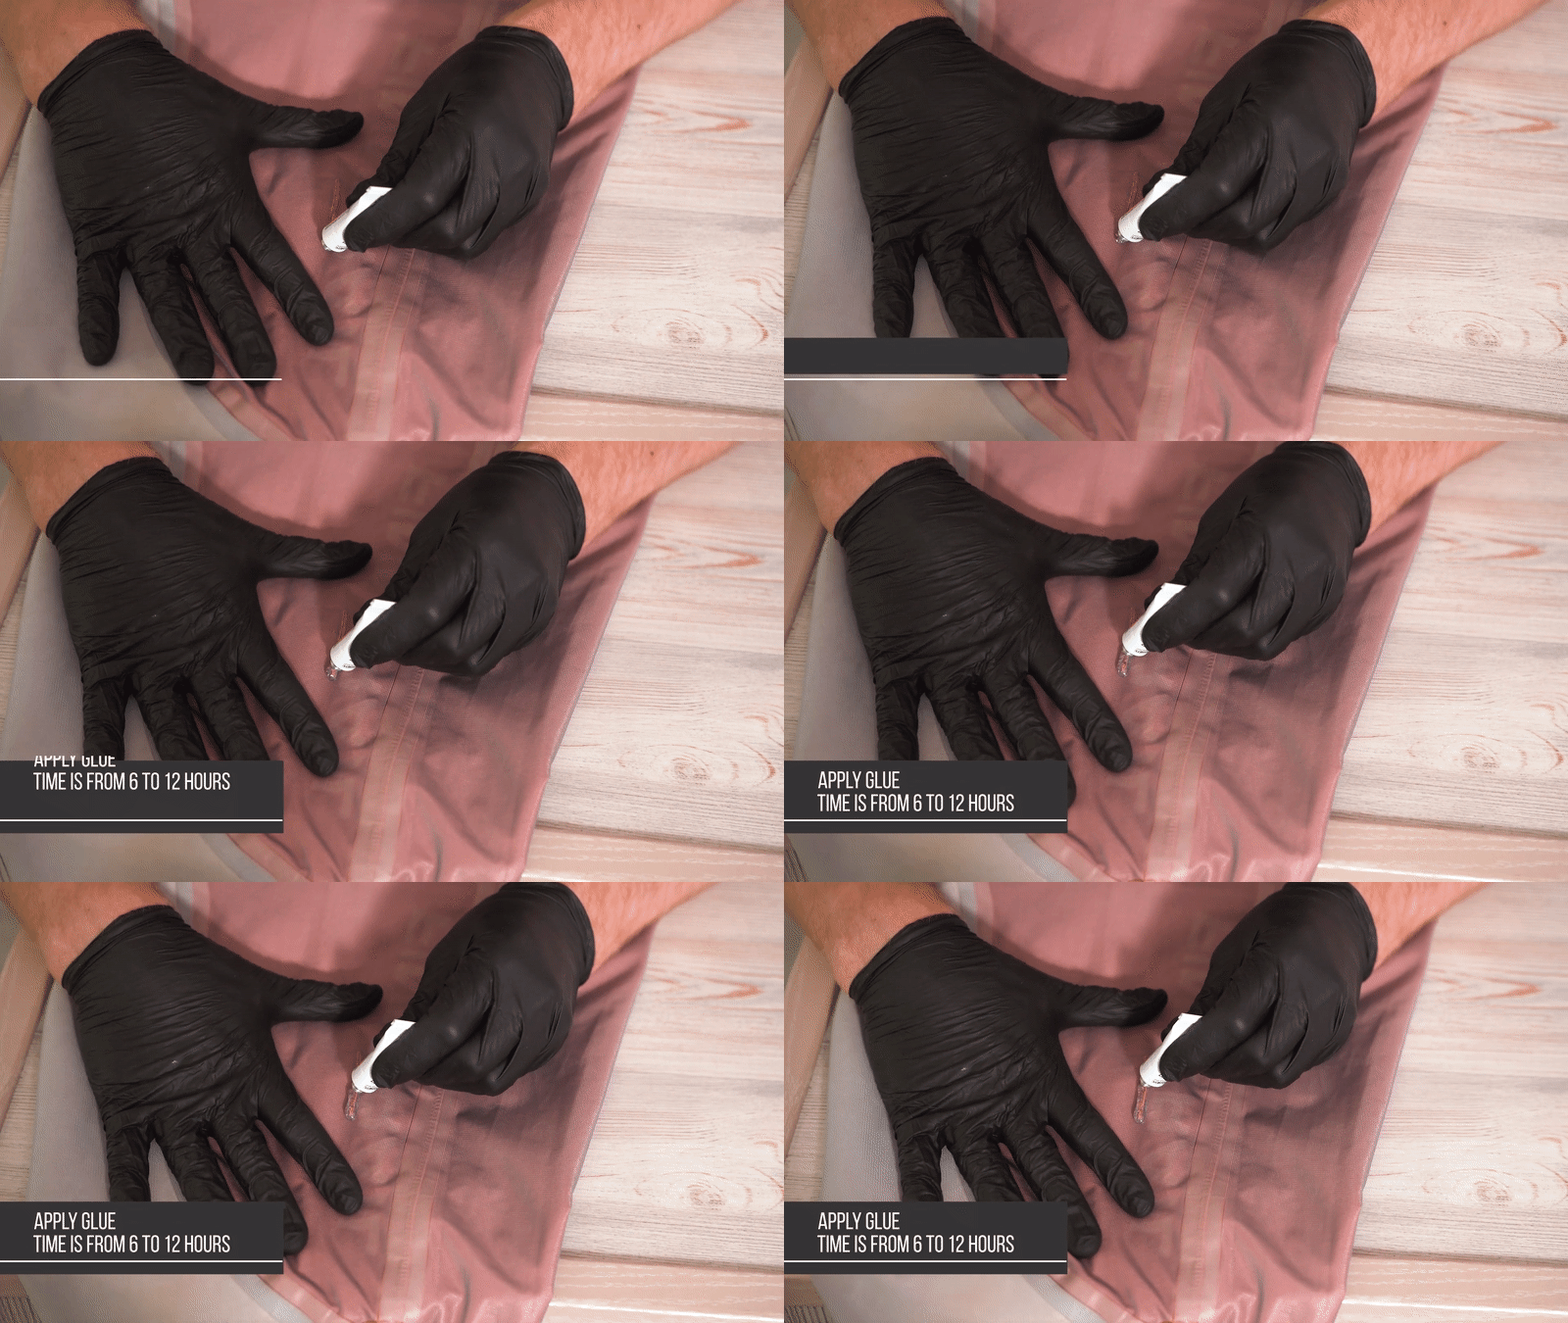
3. Apply glue to the cut on the inner side of your waders, extending the glue 1⁄3 inch (10 mm) beyond the cut.
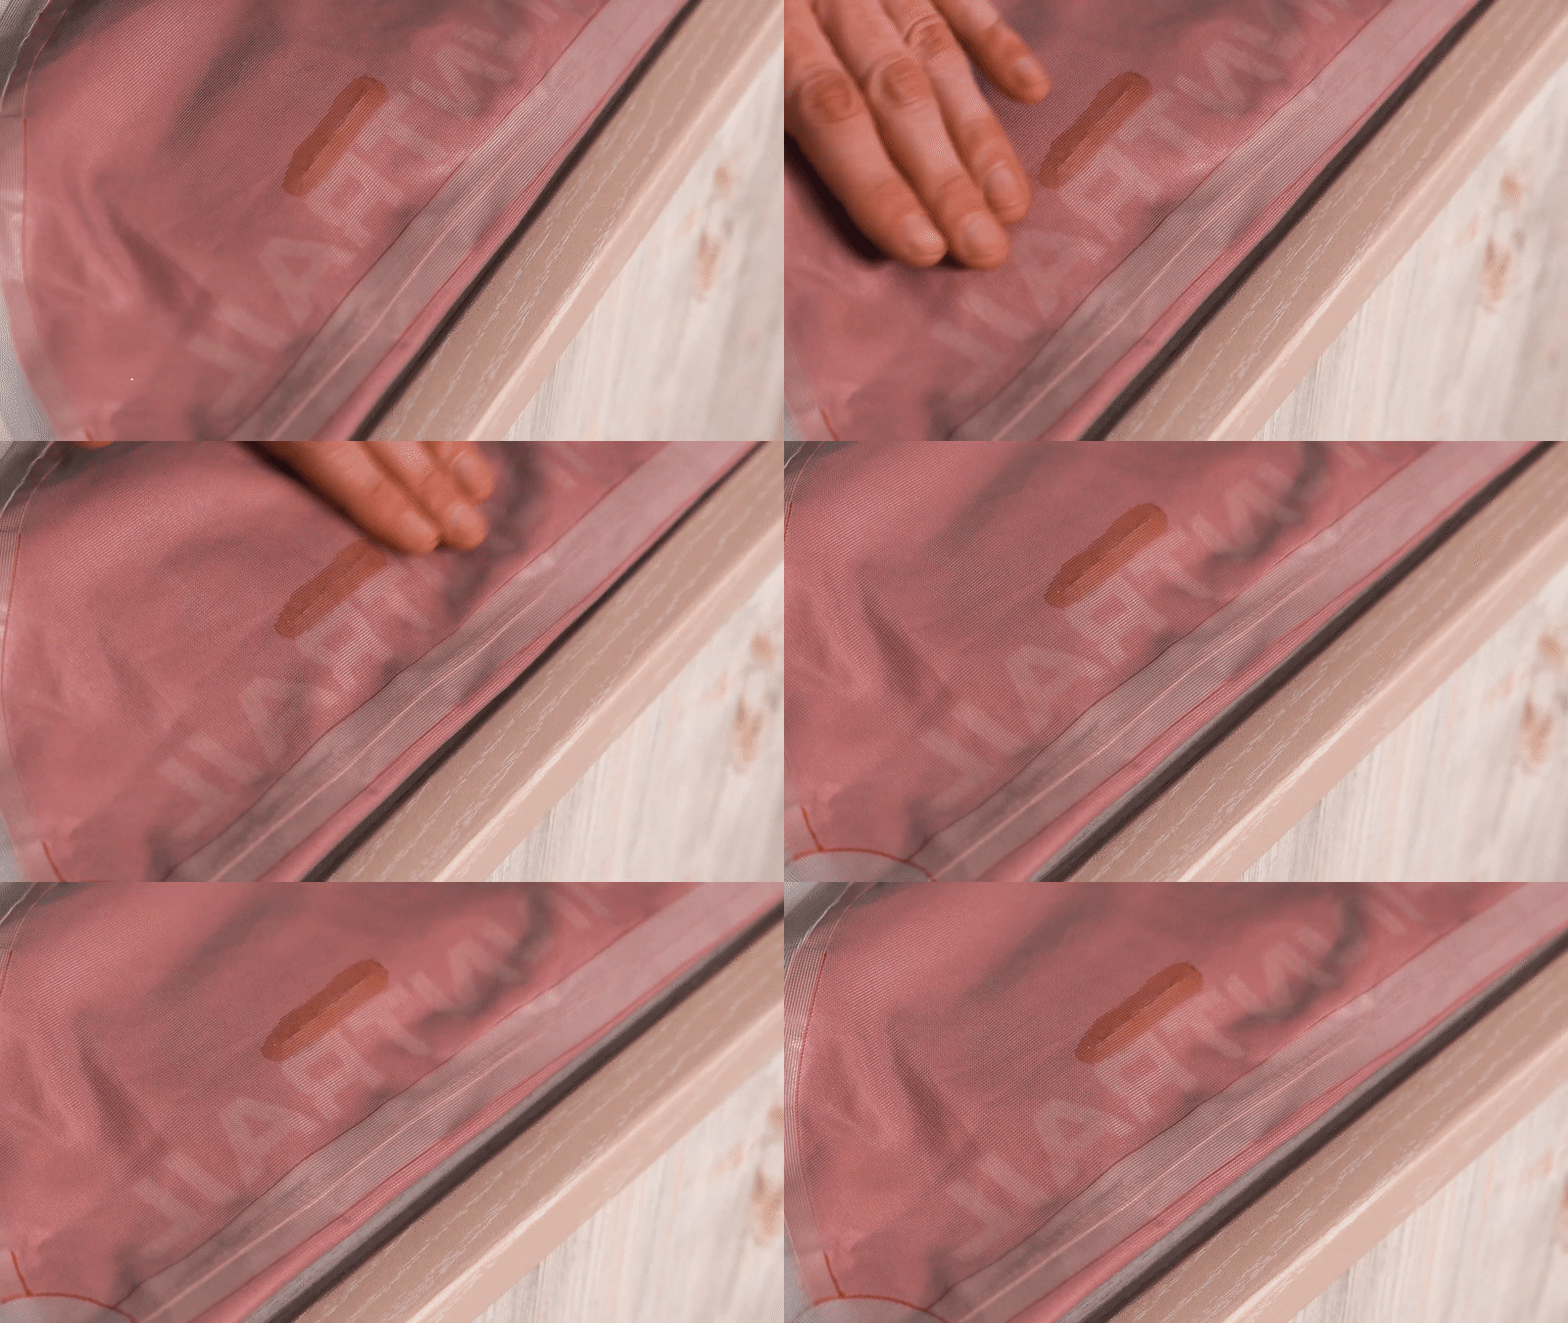
4. Let it dry for 10-12 hours. After the glue dries, the repaired area will be elastic and smooth. You will feel no discomfort when wearing your fixed waders.
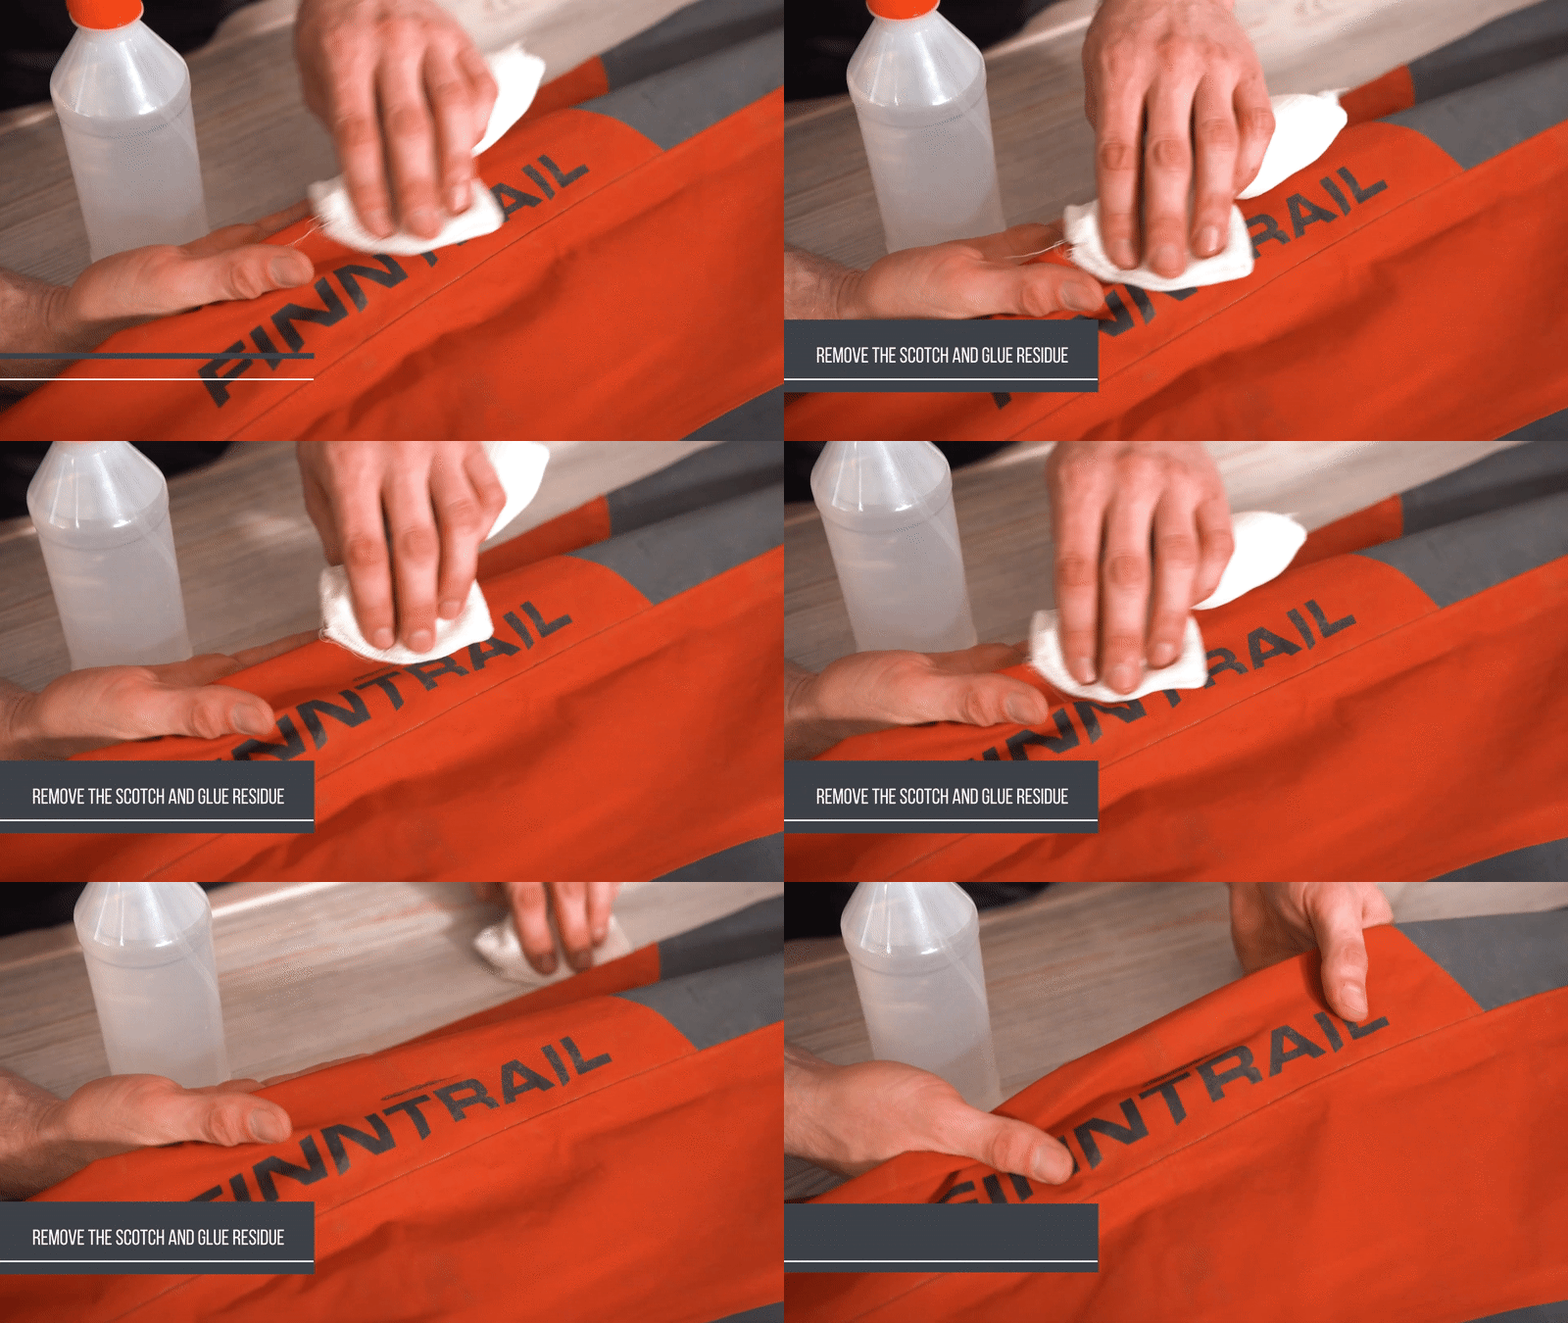
5. Turn out the waders. Remove the tape and glue residue with an alcohol-soaked towel.
How to repair a major tear
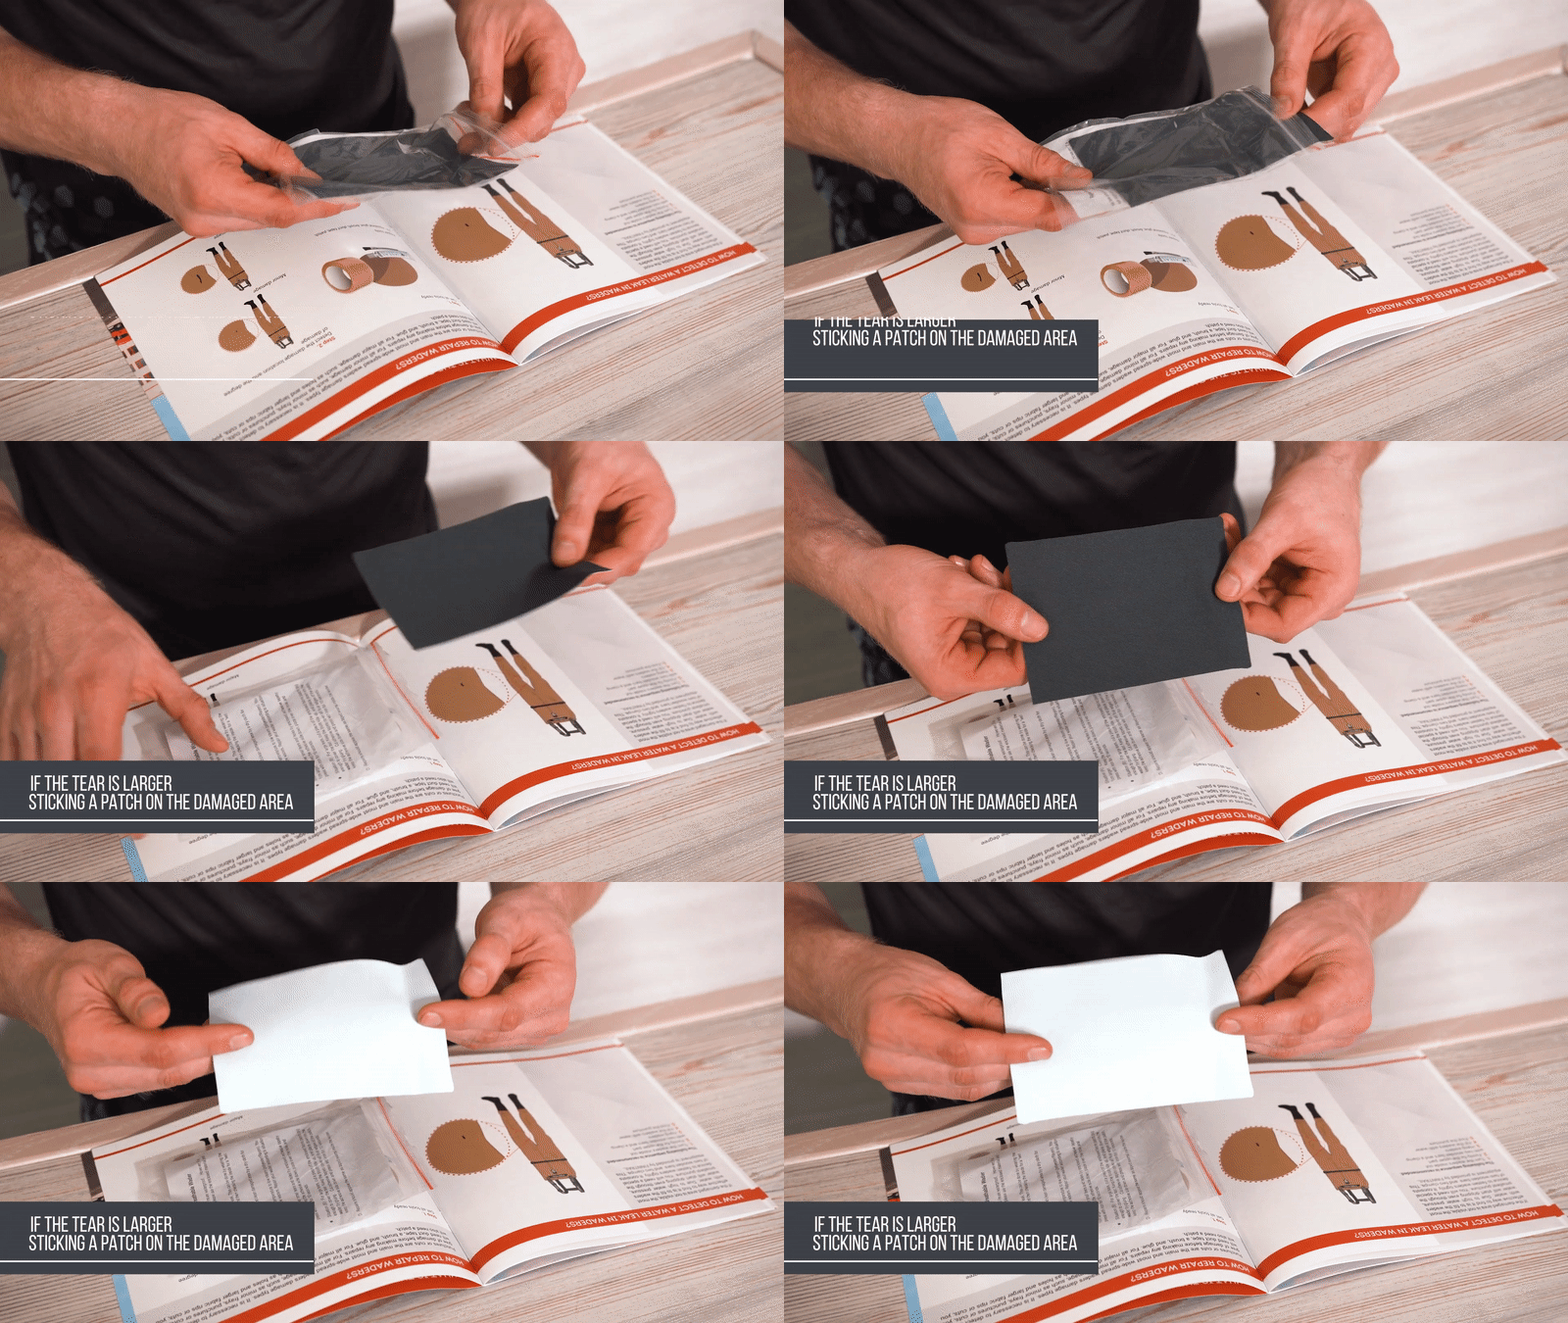
If the hole is larger we recommend you to patch your waders.
1. Put the masking tape around the damaged area outside the waders.
2. Turn out the waders again. Soak a piece of paper towel with a little alcohol and de-grease the repair area.
3. Cut a patch to cover the hole.
4. Apply a little glue to the cut. Spread the glue around the cut, extending it 1⁄3 inch (10 mm) beyond the patch size.
5. Then apply glue to the patch and lay it flat over the cut.
6. Lay the waders flat to dry for 12 hours.
How to Repair Your Jacket
Jackets can also have mechanical damages. If you find your jacket leaking, look closely for the holes and tears. In most cases it is pretty simple to visually determined the puncture. However, if you’re not sure about the exact location, the quickest way to find it is to turn your jacket inside out and spray it with rubbing alcohol. Pinholes and small tears will remarkably darken and become very obvious. Mark the spots with a marker. As soon as the alcohol dries, start the repair process, as described above.
Note:
As you can see, many waders and jackets repairs can be made at home and your gear will still look great. However, if you realize that the repair needs expert assistance, please, contact our department at shop@finntrail.com

