ATV Won’t Shut Off: How to Fix It
As alarming as it is, you may encounter a situation where everything may seem normal until you turn the machine off, and, wait, it doesn't stop. This post will tell you how to fix an ATV that won't shut off.
How Do the Ignition Key and Kill Switch Shut Off an ATV Engine
The first step to address this mysterious problem is to understand how this aspect of your machine works.
The ignition key is part of an electric circuit. When you turn the ATV on, the ignition key sends an electric signal to the CDI or ECU which powers the coil that then charges the spark plugs.
When we turn off our ATV, this electrical charge is stopped and the engine no longer receives any power. Voila! The ATV shuts off.
When something goes wrong, the electrical charge isn't blocked, so you lose control over stopping the engine.
How to Troubleshoot and Fix ATV Shut Off Failure

You will probably need a multimeter and a service manual for your ATV that contains a wiring diagram.
When your ATV will turn off, but there is a delay
Sometimes the ATV does turn off, but it waits a few seconds to stop. This is called an "overrun," or "dieseling," and it's usually caused by the cylinder and spark plug retaining enough to heat to spark fuel even after you've turned it off.
Check the spark plugs and make sure they are the correct ones for your needs.
Make sure the carburetor is set to manufacturer specifications.
Check the magneto and make sure the timing marks are lined up properly. If they aren't right, you can set the timing yourself if you're skilled enough, but you may need to take the machine to a mechanic.
Determine if the ground wires are connected correctly
This is one of the easier problems to check and fix, so if your ATV doesn't shut off at all, it's a good idea to look here first.
Inspect your ground wires leading from your ignition switch to the kill switch, the CDI, the ignition coil, and main engine ground connection. You want to make sure the connectors are all securely fastened. Gently pull on the back of them to make sure they are correctly seated. If not, tighten them.
If you see corrosion, you can disconnect the wire and clean the connector and its connection with sandpaper.
If there is nothing visibly wrong with the wires or you've addressed the issue, check the system with a multimeter to make sure there is ground present in the ignition, kill switch, and CDI box.
Check the ignition wires
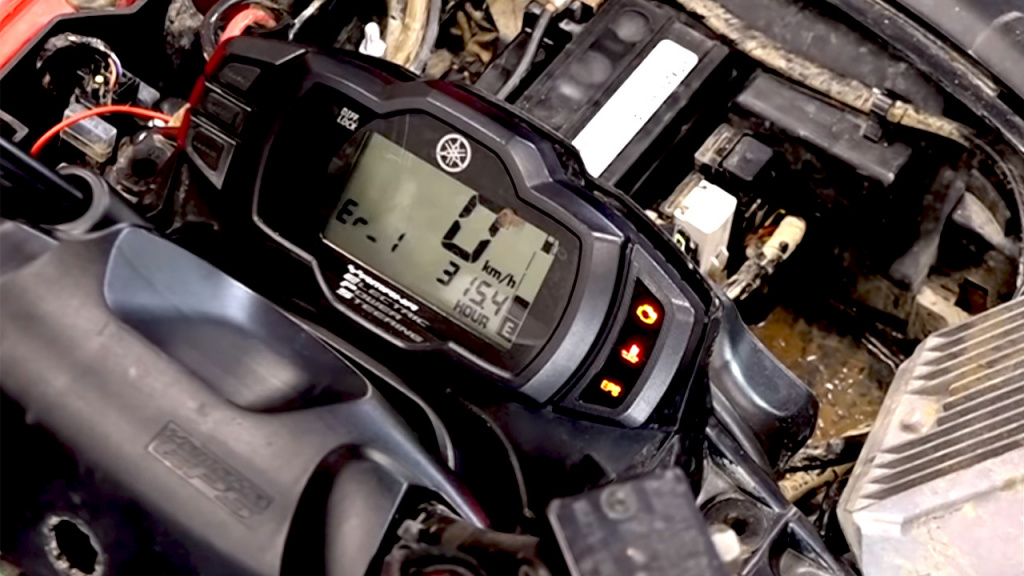
If your ATV will turn off but only with difficulty, start here.
This may be a particularly likely cause if you're riding a used ATV and someone installed and/or removed accessories without properly tending to the wires.
Ignition wires can become pinched or damaged allowing a hot wire to come into contact with a ground cable or a grounded part of the ATV. This will cause a ground fault.
You can determine if this is the problem by inspecting the wires from the ignition switch and kill switch for damage, electrical tape, or burns.
If there is a problem here, you can repair the damaged wire or replace the whole assembly. Do not "fix" the wires with electrical tape. It may work in the short term, but you'll be faced with this problem or another in the future when the tape inevitably comes loose.
Test the ignition switch
If your ATV will turn off, but only when you turn the key very slowly or to a certain amount such as 3/4th of a normal turn, you're probably dealing with a bad ignition switch or kill switch. Even if you don't have these symptoms, you might still check it if your machine passed the steps above.
Wear and corrosion can damage an ignition or kill switch. If it has a short in it, it may always be hot and always be passing a charge along to the CDI.
If you have an ignition switch that can be disassembled, take it apart to examine it for corrosion.
Just a little corrosion can be cleaned, sprayed with electrical cleaner, and protected with di-electric grease to prevent future corrosion. Extensive corrosion means you'll need a new switch.
You can use a multimeter to test the switch for continuity. Check your ATV's service manual to see when the switch should read positive or negative and then test.
If the switch is bad and can't be cleaned, you can replace the assembly.
Look at the ECU or CDI module
If there isn't anything wrong with the wires or switches, the next thing to consider is the EDU or CDI. A CDI controls the spark while an ECU or ECM control the spark and other electrical components of the machine.
These are more difficult to troubleshoot and more expensive to fix, so you check them last.
Water, heat, and time can damage a CDI and ECU. Disconnect the connectors and look for water, corrosion, and signs of damaged or loose seals. Light corrosion might be cleaned and unseated seals may be able to reseated, but otherwise, you're probably looking at a replacement job.


