Checking and Replacing Your ATV’s Wheel Bearings
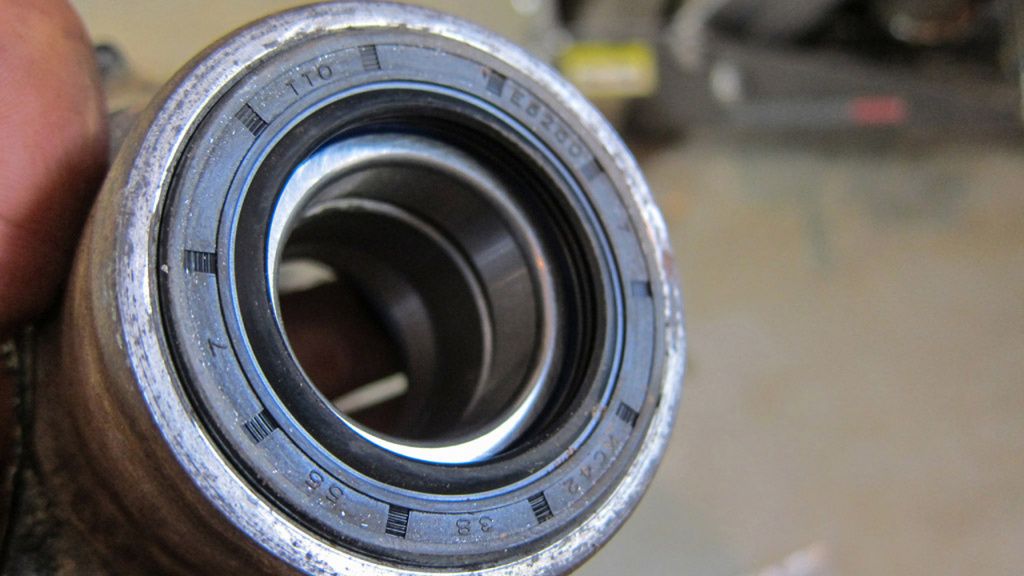
Wheel bearings can go bad if water gets into them. The seals can fail, allowing water and mud to seep into the bearings. Riding in mud a lot and not cleaning your machine after can cause wheel bearings to go bad. Conversely, using a really high-pressurized water hose to clean the bearings can force water into the bearings’ slit.
If you have excess play in your wheel bearings, they need replacing. It’s not a tough job, but it does take a little time as there are many components you must unfasten first.
Do I need to change my wheel bearings?

Usually, the first indication you may have a problem with your wheel hub bearings is a quad that’s handling poorly. You might feel some vibration or wobbling or the machine pulling to the side when braking. There’s often a grinding or clanking sound emanating from the hub of the wheel.
Before you go replacing the bearings in your wheel hub, first check that it’s not simply just a case of unbalanced ATV tires. If your tires are indeed balanced, securely jack up the offending axle and try moving the wheel back and forth manually. If the bolt is tight, but there’s play in the wheel, it’s time for your wheel hub bearings to be replaced.
Each ATV is different, but we’ll outline the general steps you must take to replace the wheel bearings on most vehicles.

1 – Jack up the ATV
Replacing the wheel bearings will take some time, so ensure your ATV is securely jacked up. Loosen the wheel’s lug nuts in question before you begin jacking up the wheel, so the wheel is easier to detach.
2 – Take off the brake caliper and axle nut
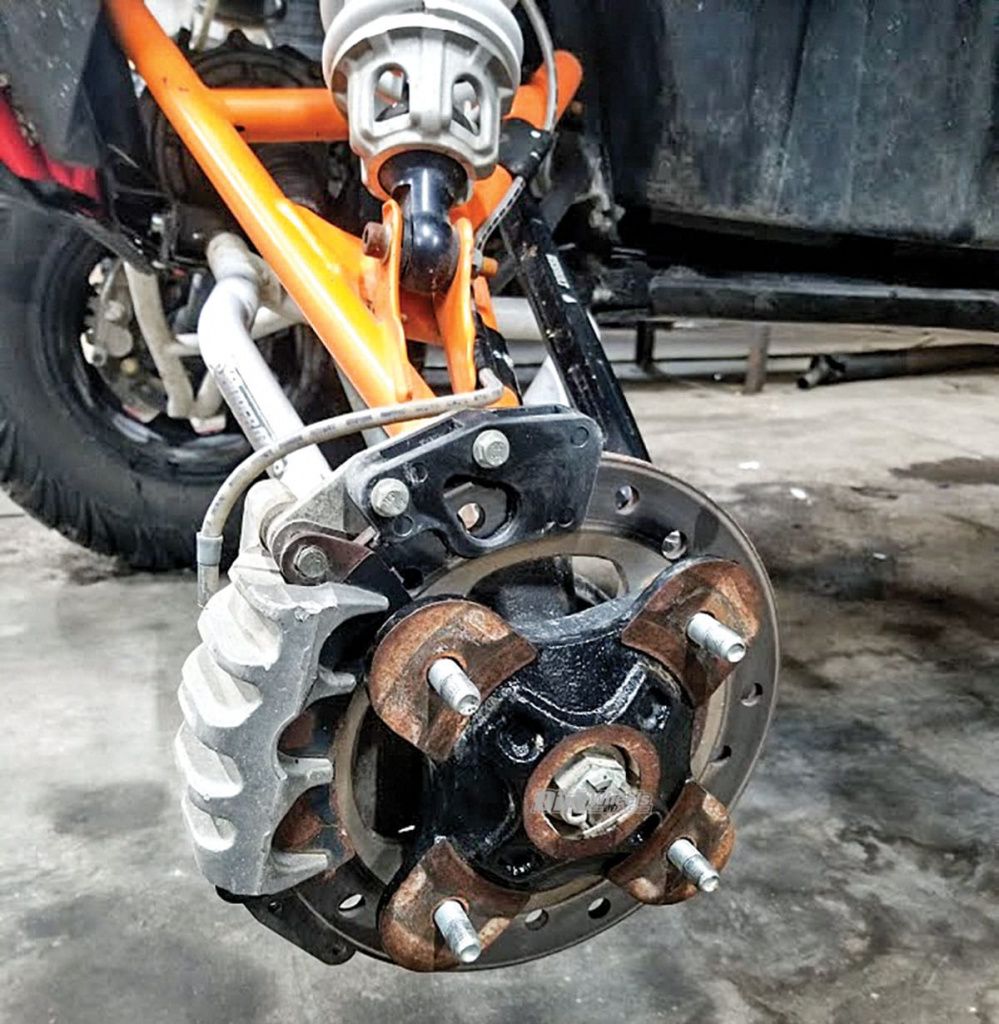
The brake caliper will have two bolts keeping it on. Take off these bolts and shift the brake caliper. You’re not required to unfasten any lines going into the brake caliper; just keep it safe, away from the working area. Some people use bungee cords to help with this task.
If it’s been a long time since you’ve changed your brake pads, now might be a good time to do it since you have the brake caliper off already.
Usually, the wheel hub is held in with a castle nut, which is secured with a cotter pin. Undo the cotter pin with a pair of pliers. The castle nut can be unfastened with a wrench. In some cases, there’s an additional knuckle guard with a few bolts in it.
3 – Detach the ball joint bolts and tie rod ends
The ball joints are held on the knuckle. There are often cotter pins on these you’ll be required to unfasten first, and the nuts can take a bit of elbow grease to take off. Disconnect both the joints.
Using two wrenches, take off the tie rod ends. You’ll probably find that they’re held in with cotter pins, too, and bolts. The tie rod ends should now lift out. Pull them out and keep them away from the work area for the time being.
4 – Disengage the shock absorber bolt and knuckle
The next bolt to detach is at the shock absorber. You need only take off the lower bolt. It’s a similar process to taking off the tie rod ends. When the lower shock absorber bolt has been released, you can keep the shock absorber out of the working area.
Pull the steering knuckle from the axle. Wiggle it off if it’s stubborn.
5 – Pull out the bearings and seal
Finally, we get to the removal of the bearings and seal from the knuckle. For the seal, you can use a specialist tool like a bearing puller, but it’s possible to make do with a screwdriver.
Removing the bearings is best done with a center punch. By tapping the bearing, you can keep it centered as it comes clear from the knuckle.
6 – Install your new bearings
With the old bearings gone, clean up the knuckle. To install bearings, you can use a press tool. But if you don’t have one, you can use a socket that’s approximately the same width as the bearings and hammer them down. Be wary of hitting the inner bearing parts and damaging them. When installed correctly, the new bearings should be flush.
7 – Put all the components back together
Now the wheel hub bearings have been replaced, go back through all the above steps in reverse. Your wheel bearings are now as good as new. Balance the tires again, and take the ATV out for a spin at low speed.


