How To Adjust ATV Shocks
Your ATV’s shocks dictate how hard or soft your ride will be. Set too hard, and you’ll be rattling around on every bump on the road. Set too soft, and you’ll be in for a bone-shattering surprise when you take on more difficult jumps and drops.
Shocks are relatively simple — they have springs and dampeners. Springs alone would see you bouncing around all over the place. Dampeners (or absorbers) take some of the energy fr om the spring and slow it down. They usually have a piston with an oil-filed tube that flattens the energy moving through the spring.
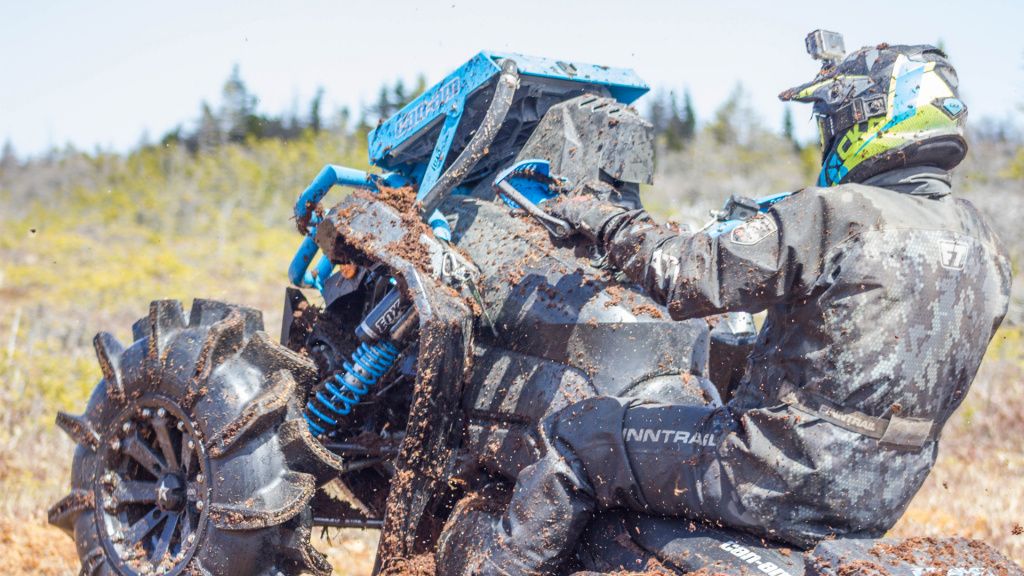
Notably, most off-road ATV shocks have controls that allow you to adjust how quickly the oil can move through the piston. Modern ATV shocks usually have ‘clickers’, which are essentially adjustable switchers for various parts of your shocks.
CLICKERS
Old factory shocks might have no clickers, and you can only adjust the shock’s threaded collar. Most new ATVs, out of the factory, will have one clicker on each shock. This clicker adjusts overall compression. Aftermarket shocks can have two compression clickers, one for high speeds and one for low speeds. Performance shocks even have a third clicker to adjust mid-speed compression.
ADJUSTING YOUR SHOCKS
Changing the compression of your shocks is a lot of fun. Testing different compression ratios until you’ve got the perfect feel for your tastes is like running your own personal F1 pit crew. It’s best to do it somewhere where you have instant access to a ride area where you can trial your new settings quickly.
First, ensure you have the perfect tire pressure in all your tires. Otherwise, all your adjusting will be for naught.
SET THE RIDE HEIGHT
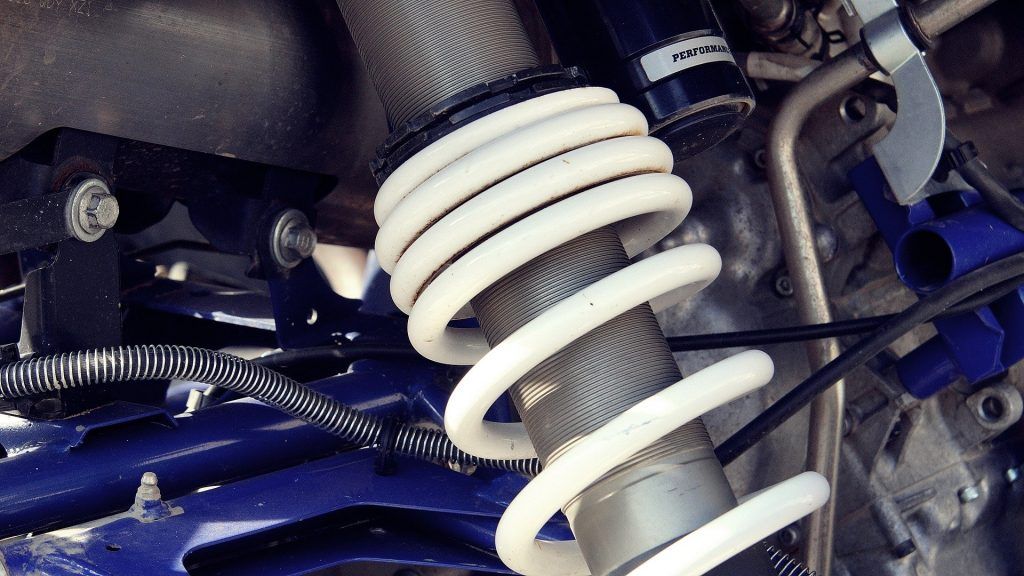
Before adjusting your shocks, set the ride height on your machine. If you have a threaded collar, your owner’s manual will suggest the range of ride heights you want to remain within. Usually, you want all four corners at the same adjustment.
Lift the machine, loosen the locking collar, and adjust the threads up or down (or, if you have a snail cam at the bottom of your shocks, adjust this instead). Tighter collars make for a stiffer ride and a higher ride height.
SET THE HIGH-SPEED ADJUSTER
If your shocks have more than one adjuster, it’s best to start with the high-speed clicker. The changes you make here will affect the compression you get when the shocks are put at higher stress, such as when you land a big jump.
Adjusting the clicker is just a matter of twisting it a few clicks. If you want to tighten your shocks to make them stiffer, turn the clicker to the right. Otherwise, turn it to the left.
Most of the work here is to test out the shocks on a tough jump. If the suspension doesn’t bottom out, you can loosen the compression until you find the suspension does bottom out on a jump. Find the loosest setting that doesn’t bottom out, and then twist the clicker a few clicks clockwise, so the shocks will cushion you but never bottom out. You’ll be able to have complete confidence every time you take on a big jump.
SET THE LOW-SPEED ADJUSTER
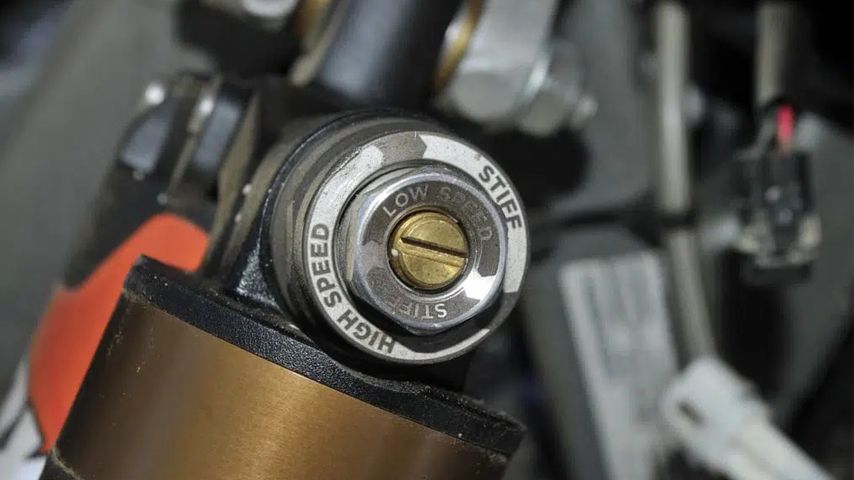
If there’s a low-speed adjuster, adjusting it is more of an art. You’ll need to ride on a section that has some limited bumps to get a feel for how the suspension is. If you find the ATV is rolling forward or back or from side to side while riding at relatively slow speeds, you’ll want to tighten the clickers. On the other hand, if things feel too harsh, you should loosen the clickers.
SET THE REBOUND ADJUSTER
The rebound adjuster, if you have one on your aftermarket shocks, dictates how quickly the shock will rebound after a jump. A loose shock will bounce around a lot after you’ve landed, whereas a tight shock will take longer to come up. Technical riding usually requires a stiffer rebound as you don’t want to be bounced off a rock quickly.
Start with a loose rebound and adjust the rebound until the suspension pops back up quickly without causing your quad to bounce up and down.


