How to Adjust Your ATV Carburetor
If your ATV engine is sputtering, rapidly losing and increasing power, blowing black smoke, or losing power while retaining speed, you probably need to adjust your ATV carburetor. Read this post to learn how to do that in both ideal and emergency situations.
Turn off the ATV
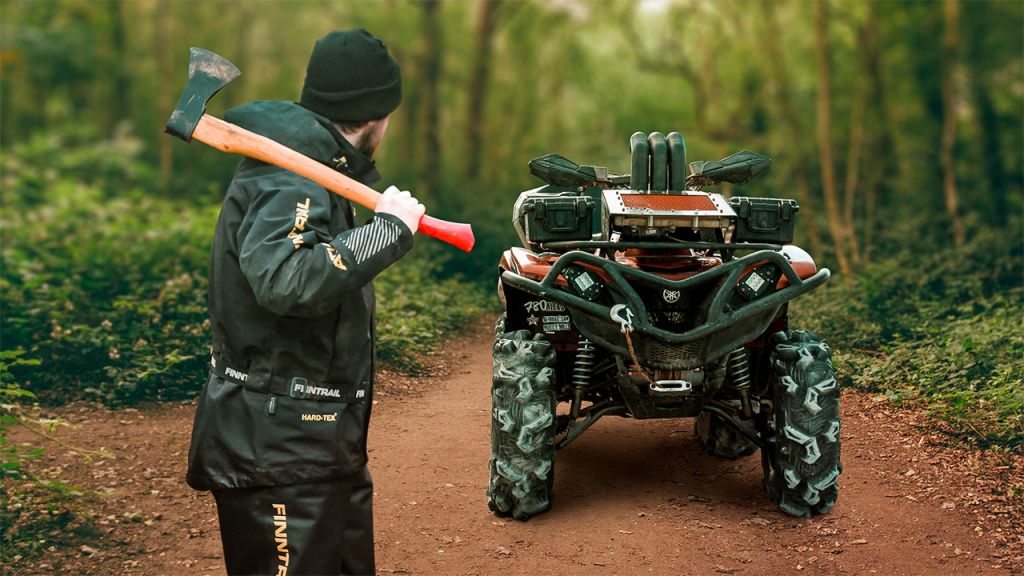
Before you examine the ATV or try to adjust the carburetor, turn off the machine and let it completely cool. You don't want to burn yourself.
When learning how to adjust your ATV carburetor, you'll have to learn about your ATV's individual requirements. Get out your manual and start getting to know the locations of this machine's parts and its tension specifications for the jets and air valves.
Understanding the problem
There is an ideal fuel to air ratio your carburetor is working to achieve, and when the ratio is off, it allows too much or too little fuel to pass into the engine. This is called having a rich mixture or a lean mixture.
A rich mixture will cause the sputtering and fluctuating power, and if the situation is bad enough, it will cause black smoke. The black smoke comes from so much fuel being let into the engine that it has nowhere to go and just burns up. Anytime you have a rich fuel mixture, you can check the spark plugs and find a black, sooty plug.
A lean mixture causes the ATV to lose power while retaining speed. The spark plug will have a white or blistered spark plug.
If you aren't already familiar with your spark plugs, they should be tan.
To fix rich or lean mixtures, you will be adjusting the carburetor to increase or decrease the amount of fuel, depending on your needs.
The ATV carburetor
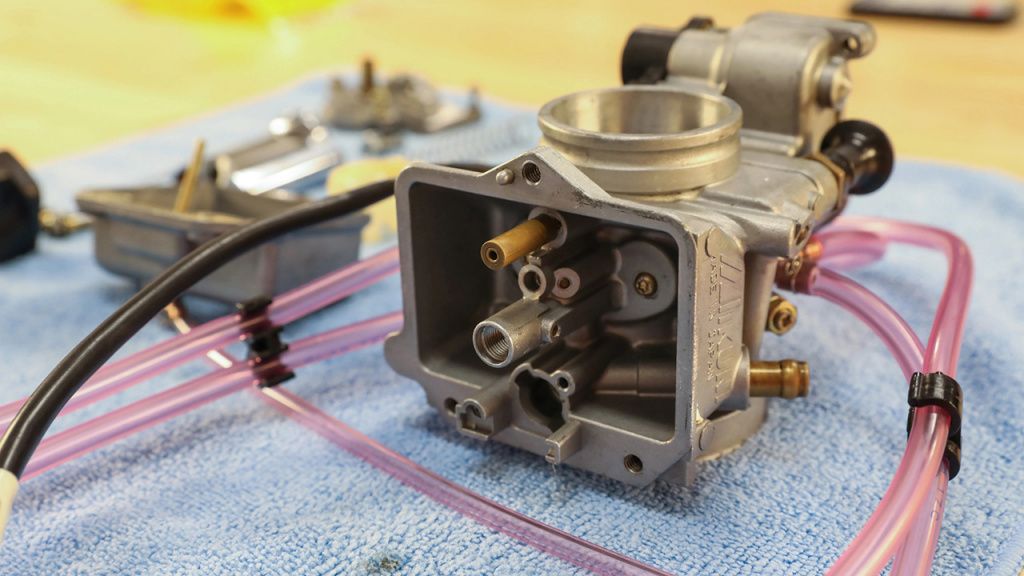
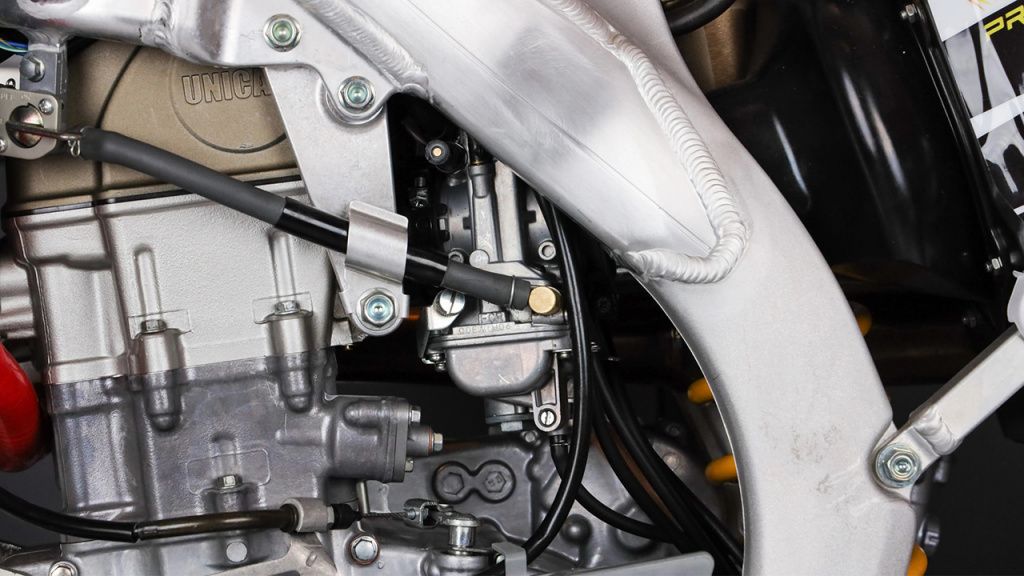
First, locate the carburetor. The owner's manual can tell you exactly where to find it in your model, but it is usually under the seat and the air box.
The carburetor contains several pins/screws that control the fuel and air ratio for different aspects of the carburetor functions. One controls the fuel to air ratio at idle to 1/4 throttle, one controls from 1/4 - 3/4 throttle, and one controls from 3/4 to full throttle.
Of these, the jet pins will be clearly visible, and they look like little gold pins. The air adjustment screw will be on either the lower left or right side of the carburetor.
Adjusting the carburetor
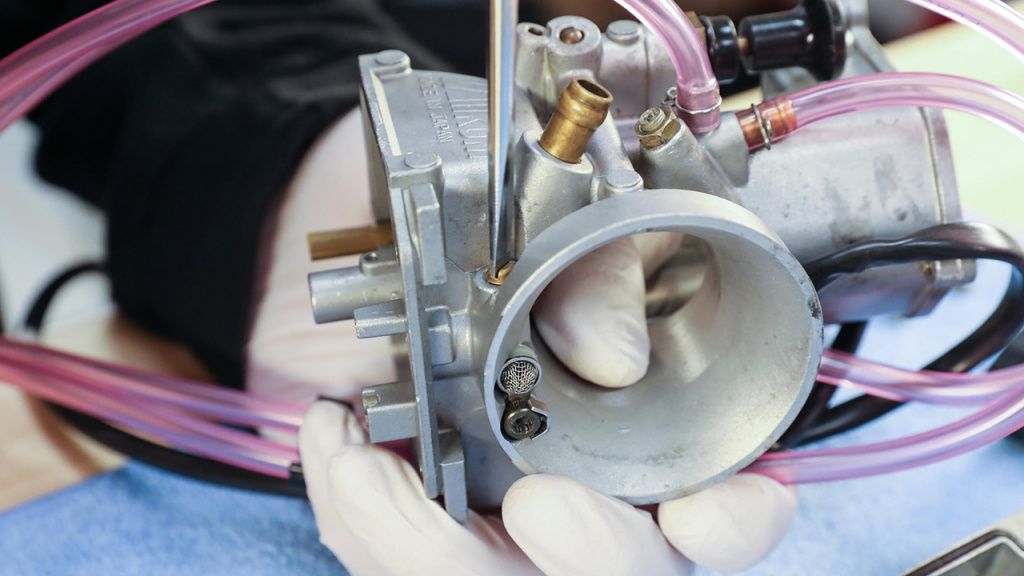
Your ATV's manual will tell you the specific turns of the screws needed to achieve the right balance and how to achieve that balance for your altitude.
The first step is to tighten the jet pins with a screwdriver until they touch the carburetor. Over tightening serves no good purpose and will make the instructions in your manual incorrect. You want to start from the turn just where the pin met the frame. This is the leanest position, and each turn "measures" a certain amount of fuel mixture.
Now unscrew the pins whatever number of times the manual states.
You will repeat this same process with the air valve screw.
How to adjust your ATV carburetor on the trail?
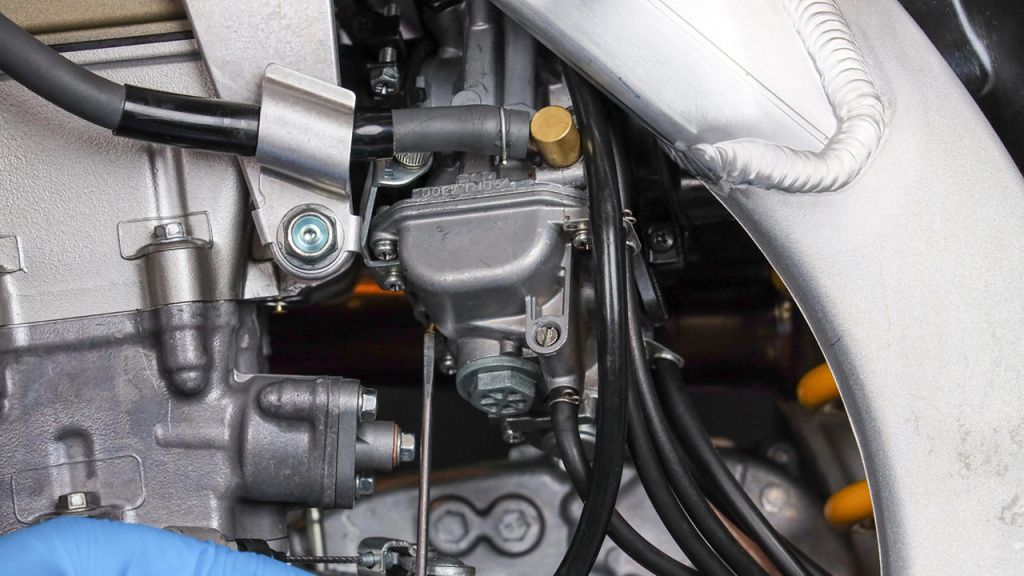
You'll want to adjust your carburetor at home or in the shop, but if an emergency strikes while you're riding, you may have to tend to it so you can get back home.
In a pinch (again, not recommended), you can wing your ATV carburetor tuning by utilizing the same technique as above but doing it a little at time and trying out the results.
Pick the pilot screw that seems to correspond to your problem. If you seem to be running rich, pick the pilot screw on the engine side of the carburetor. If you're running lean, pick the pilot screw nearest the airbox.
Take a screwdriver, if you have one, or a key, credit card, whatever you can make work, and turn the pilot screw corresponding to your problem until it is flat to the carburetor.
Be very careful that you don't turn it the wrong way and let the screw fall out where you might lose it!
Having the screw flat to the carburetor starts you in the lean position, where you can then loosen the screw to let a little more fuel or air in. You'll want to turn the screw in one quarter turns. Do this 1 and half time and start your engine to see how it runs. If it turns on and doesn't sputter or stall, you're good to go. If not, turn it in one quarter turns until it does. Get your engine to run as well as normal without overdoing it and flooding it. If you can get back to your truck or hauler, you can work on it or have someone else work on it to get it perfect later.
If you bring your manual with you on your rides, you can eliminate most of the trial and error here.


