How to Choose and Install a UTV Heater
Some UTVs come with a built-in heater. If your machine didn't and you want one, this post will tell you how to choose and install a UTV heater.
Can You Put a Heater in Your UTV?
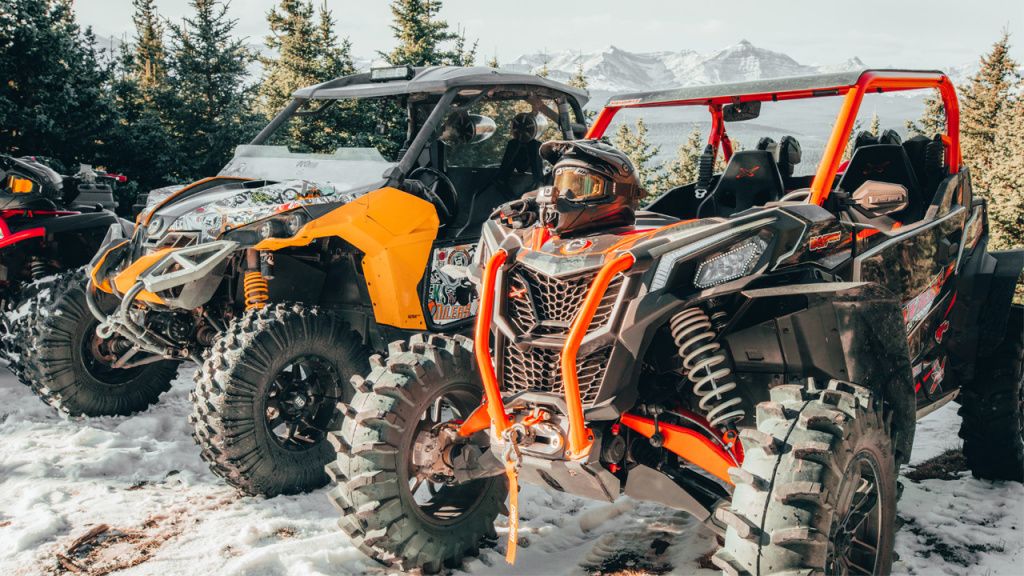
You can install a heater in enclosed UTVs. You could technically put one in any UTV, but it isn't likely to work very well unless the cab can trap the heat.
Having a cab heater can be a necessity for people who live in places where it's cold a significant portion of the year and for people who use their UTVs for farm work and have to have it everyday no matter the weather. Others may not have to miss out on winter weather fun.
How Does a UTV Cab Heater Work?
Well, there are several ways. Different models use fuel, electricity, or your machine's coolant system to heat air and then blow it into the cab.
The way each of those models works varies, but the principle is the same as any heater. It takes in air, heats it, and then propels it somewhere, in this case, in the cab of your UTV.
Types of UTV Cab Heaters
UTV cab heaters can be direct fit or universal fit models.
Direct fit heaters are made for your specific machine model. These cab heaters will blend in with your existing dashboard and help keep the cab clutter-free. They do cost a bit more. They should also be easier to install because there is nothing to do but follow the instructions made for your UTV.
Universal fit heaters are easier on the wallet, but you may have to get creative when installing them to make the appropriate room and figure out how to set everything up for your machine. Both appearance and cab space will probably suffer.
How to Install a Cab Heater in Your UTV?
Take everything out of the box and make sure you have all the parts you need.
The exact steps will vary with your specific heater and machine, so read the instruction manual. This post will give you an idea of how it normally goes.
Grab the heater. There should be a hole in the side of it where you can see the connections on the inside. Reach in there and feel that they're secure.
The instructions should direct you to a bracket you'll need to slide the heater into. Do that, line the holes up in the bracket and the heater, and then put the screws in the holes. Just start them until you have all connecting components in place, then fully tighten them.
Flip everything over.
Slide the defrost vent into the heater.
The instructions should direct you to at least one other bracket.
Attach the bracket to the heater.
You will need to put the heater hoses on and then slide them into the back of the heater. The hoses will then be clamped in. Before siding them in, you may need to cut them. Don't tighten the clamps all the way.
You'll then need to work in the cab of your machine.
If you've never had a heater in your UTV, it will be necessary to cut a hole in the dashboard.
The heater will be mounted under the hood and in the hole with a harness that came with the heater.
Attach the adapter.
Connect the hoses to their corresponding spot on the machine.
Cut the coolant hose. You'll need a drain pain to catch loose coolant. Insert the adapter between the two ends of coolant hose and clamp it.
Repeat that step on the opposite side.
Fully tighten all of your clamps.
How to Bleed the Coolant System After It Has Been Installed
You'll have to bleed your coolant system to flush any air that has likely accumulated in the hoses.
It can take anywhere from an hour to three hours to bleed the coolant.
Crimp off the inlet radiator hose with hose clamps.
Fill the radiator with coolant.
Rev the UTV up to 3000 RPMs and keep doing that until you hear the fan come on.
When the fan comes on, remove the clamps, and then continue revving the machine until the machine's heated up.
Shut the UTV down, and let it cool until it is safe to remove the radiator cap.
You will probably have to repeat this process several times and may need to drive the UTV around a little during the heating up process, but you'll eventually get it done.
You need to do this until nothing but coolant comes out.
During all of this, you should have determined if there were any leaks in your coolant system. If so, you should address those before you take the machine out for a real ride.

