How to Fix ATV Tires
ATV tires are built tough, but inevitability they can have problems as they age or get stuck by nails, screws, debris, or sharp rocks. ATV tires typically last a few years depending on how hard you’re riding and how well you maintain them.
Preventative maintenance
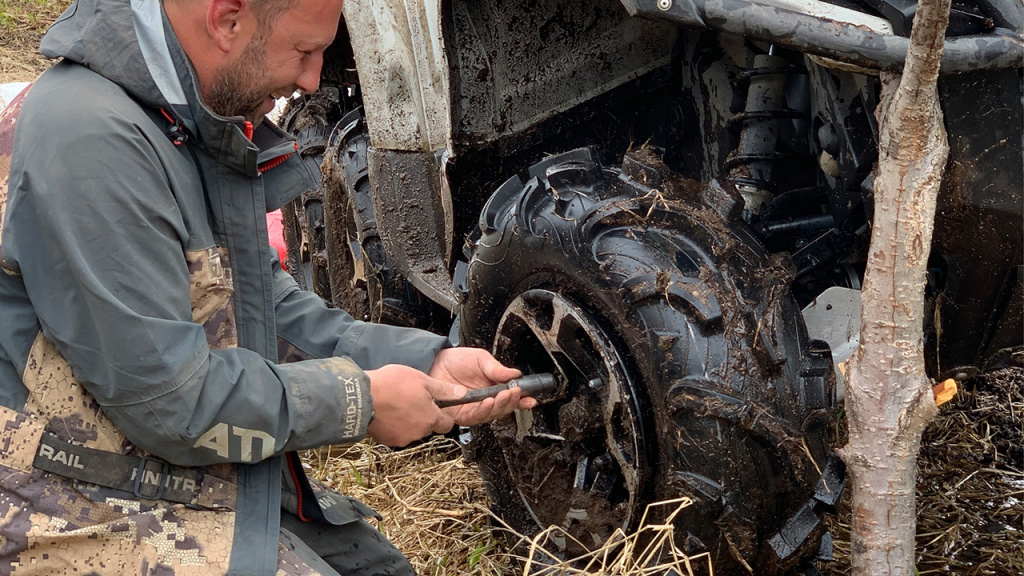
First, a little on maintenance. It pays to periodically check your ATV tires for cracks, punctures, or rips. Check the value stems are clean and don’t have any corrosion or cracking. Overtightening the valve stem cap can damage the valve’s core.
Check for corrosion or dents near the wheel rims. Older ATV tires can develop dry rot (which looks like the tire is crumbling or cracking), Dry rot causes slow leaks and suggest you need to change your tires soon.
Useful tools
As you don’t always get warnings of a tire problem, you need to be prepared. Each time you go out, take a puncture repair kit and pressure gauge. Know the proper PSI for your tires before you leave.
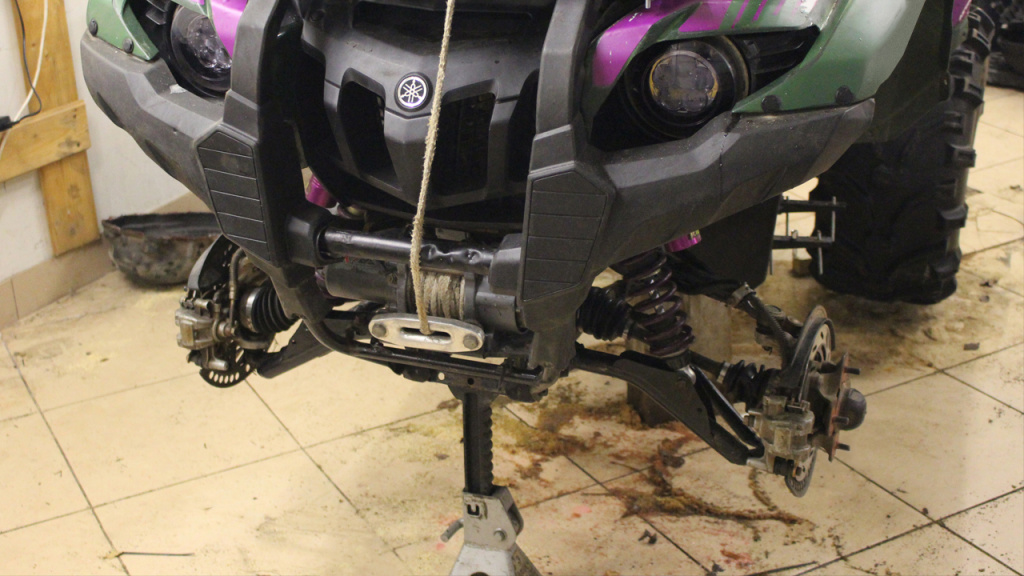
In your shop, tire repair can be simplified with a few tools. A bead breaker helps you remove your tires from the rim with less effort. A tire iron or tire spoon is a cheaper alternative. A valve remover helps you take out and put in the core of your tire without causing damage, and a jack is important for stabilizing your ATV when you’re performing any kind of maintenance.
Finding slow leaks
Slow leaks can occur from slow punctures, lack of use, temperature changes, or tire rot.
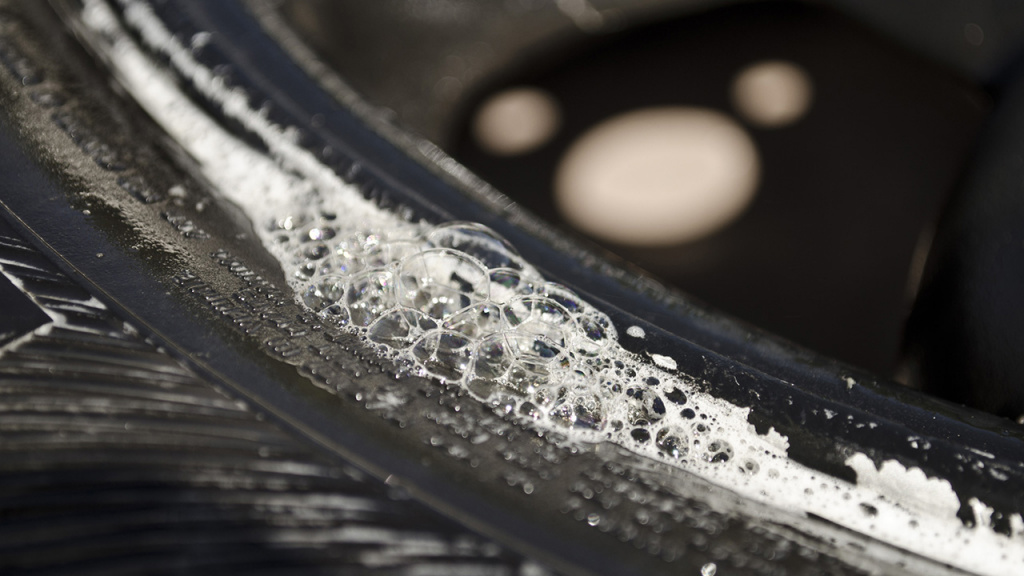
Note that leaks can also come from a cracked or bent rim or the tire valve. To find the source, remove the tire and place it on a flat surface. Listen to see whether you can hear a hissing sound that will indicate the location of the leak. Fill the tire rim with soapy water to check if the leak is in the rim and spray soapy water around it. Mark the location of the leak with chalk or a similar marker.
Fixing leaks from the tire rim
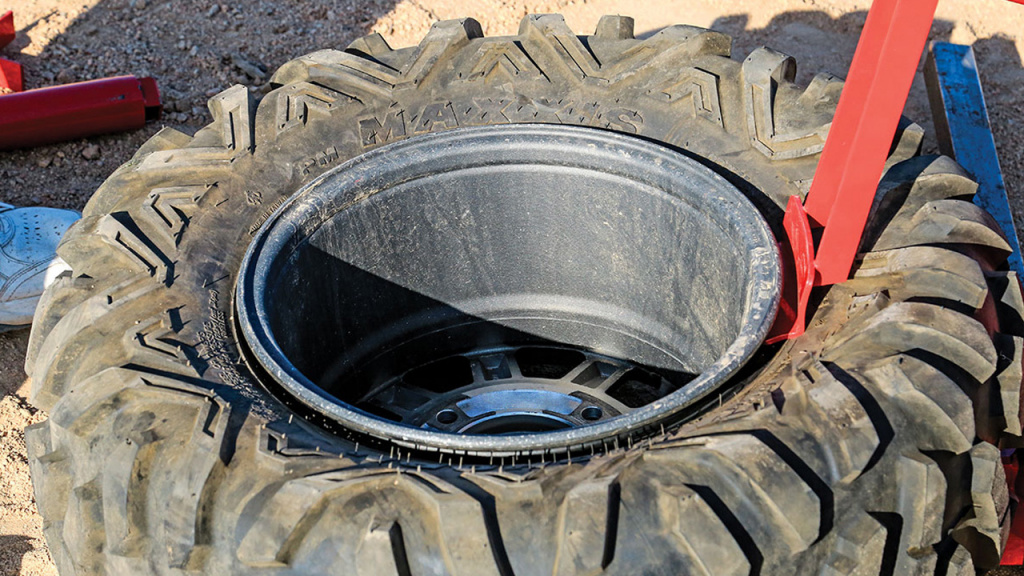
If the leak is coming from the rim of the tire, usually due to rim damage or rust, you’ll need to de-bead (remove) the tire from the rim. If you have a tire bead breaker and lever toolset, this is relatively easy, but otherwise, you can use a heavy hammer and a wooden plank. Place the place close to the tire rim seal and hit it with force.
Clean the edges of the rim and put some repairing solution on the leaking area. This creates a rubber-like surface that fills up the tiny spaces in the tire and rim.
Re-beading the tire to the rim requires an air pump or compressor. Spray the bead second of the rim with soapy water as a lubricant and remove the stem core of the ATV tire. Now, fill the tire until you hear it pop into place on both sides.
Tire blowouts
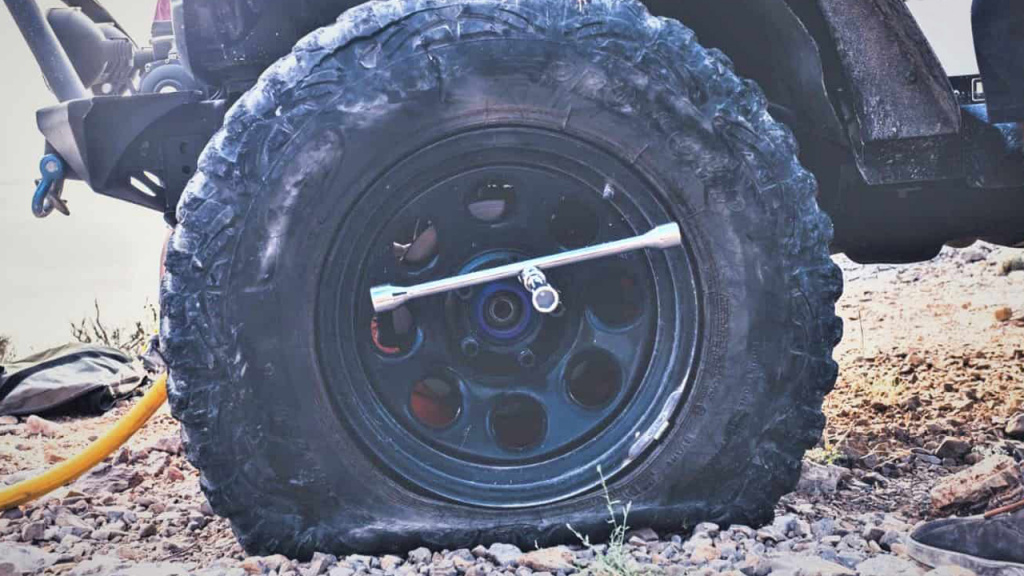
The blowout of an ATV tire can be scary, particularly if you’re traveling at high speed. Again, we recommend preventative maintenance and to never head out on tires displaying bulges or blisters, cracking, or objects embedded in the wall or tread.
Tire blowouts are past the abilities of a puncture repair kit. You’ll need to either replace the tire or the inner tube. Punctures deeper than 3/16” can’t be repaired, as the structural damage is too heavy.
Punctures
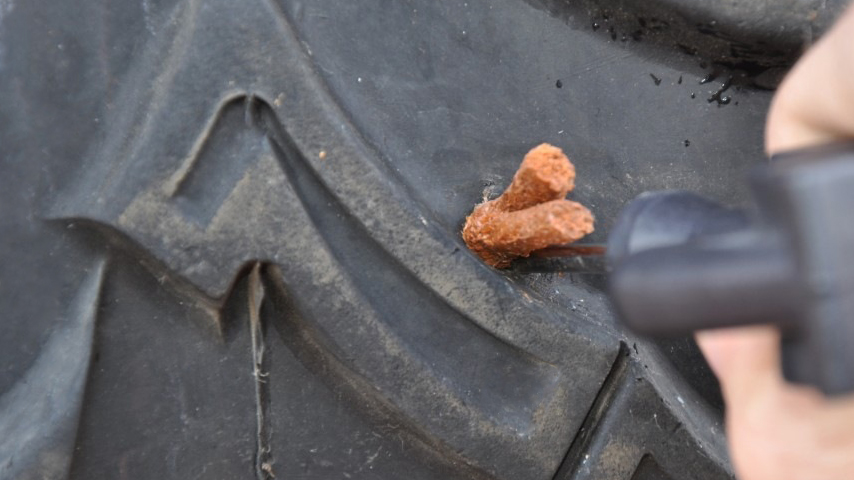
Everyone who has owned an ATM for any real length of time has had to deal with punctures. It’s a big pain to get a puncture when you’re out on the trail, so always take a puncture repair kit with you. A tubeless tire plugger is great, as you don’t need to remove the wheel for it to work.
Locate the puncture and clean the area thoroughly. Use the repair kit’s jagged took to free the puncture of debris. Add the cement to the area around the puncture. Stick a plug through the install tool’s eye and insert it into the puncture. Remove the install tool, and use CO2 cartridges from the kit to inflate the tire. Double-check for leaks, but you should be good to go.
Another important tool here is a pressure gauge so you don’t overinflate your repaired tire. If you didn’t bring one, it’s best to take an easy ride home to prep the tire correctly now your tires are inflated.

