How to Fix Electrical Issues on an ATV
The electrical systems in an ATV often play second fiddle to the mechanical parts, but they’re just as important to take care of. If your ATV doesn’t start, there’s no power on the display, or periodically loses power, then the issue is most likely to be somewhere in the electrics. In this guide, we’ll look at the most common electrical issues you can run into with an ATV and how to troubleshoot them.

IS THE KILL SWITCH ENGAGED?
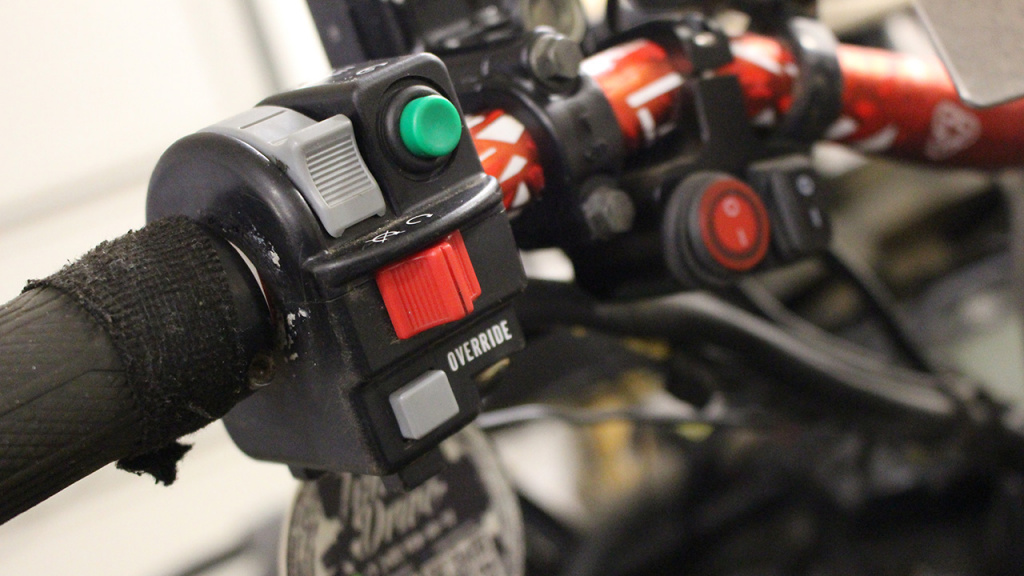
Yes, it’s a simple thing to check, but most riders rarely flip their kill switch away from the run position so can completely forget it’s there. After another rider has borrowed the ATV or maintenance and been performed, the kill switch can be engaged. It’s even possible to bump the switch by accident when you go over a jump.
Just check that the kill switch isn’t engaged to save yourself some embarrassment.

IS THE KILL SWITCH DAMAGED OR STUCK?
We’re not done with that kill switch yet. Check that water hasn’t seeped into the kill switch, causing it to corrode.
A lightly-affected switch can be salvaged with just a spray of WD-40. Spray some in and toggle the switch multiple times. If the switch hasn’t come back to life, you may need to disassemble it, clean it, and add dielectric grease.
WHAT ABOUT THE MAIN POWER SWITCH?
Some ATVs and UTVs have another power switch near the battery. It’s useful for saving the battery when it’s not in use and operating on the vehicle without having to remove the battery. Like the kill switch, it’s often forgotten when not used for a long time.
IS THE BATTERY ADEQUATELY CHARGED?
If you don’t use your ATV often and don’t use a battery maintainer, your battery can run out of juice. Old batteries go bad, too. To test the battery, use a multimeter to see if the voltage is above 12.4V.
ARE ANY OF THE BATTERY CONNECTIONS LOOSE OR DAMAGED?
Next, check that none of the battery connections have come loose and that they’re relatively tight. A stray branch can feasibly dislodge a battery connection, for example.
Corrosion on battery terminals is a common problem and will lead to a lack of power or sporadic power. If you see corrosion, you can disconnect the connectors and clean them using a hot water and baking soda mix. Wear rubber gloves and eye protection.
ARE THE BATTERY CONNECTIONS CORRECT?
If you’ve done any maintenance on your vehicle, you can forget to re-install the connectors, as many ATVs have more than one connector that hooks up to the battery. We suggest taking a photo of your ATV’s electrical wiring before performing any maintenance regarding the electrical system so you’ll always have a guide to follow.
Positive connectors (red wires) should be connected to the positive terminal on the battery and negative connectors (black wires) should be connected to the negative terminal of the battery.
Also, check the ground wires that are connected to the frame of your ATV haven’t come loose, as the electrical function will fail without them.

ARE THE FUSES OK?
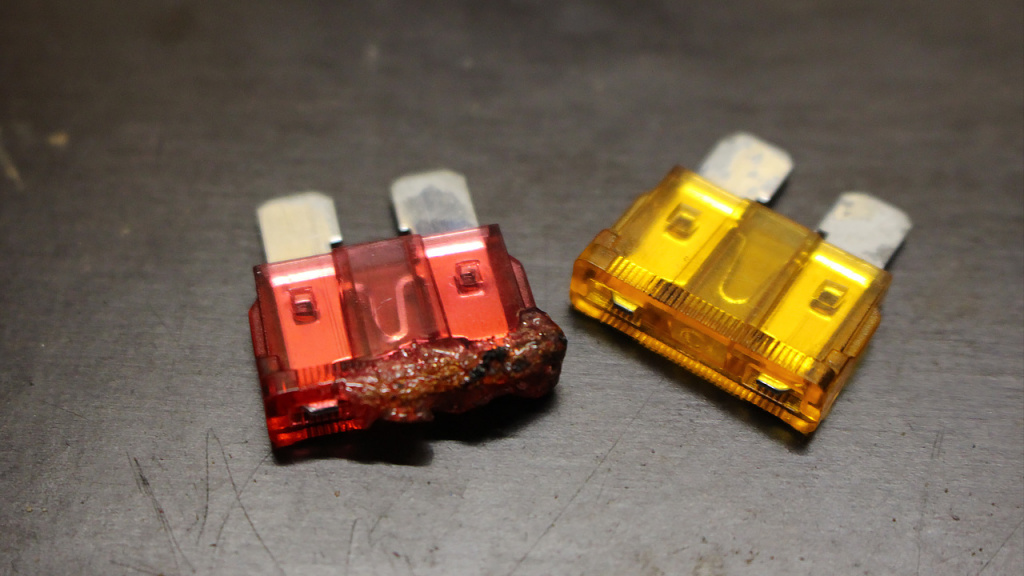
ATVs usually have multiple fuses, and sometimes they are located in multiple places on the vehicle. Refer to the service manual. The best way to check a fuse is with a multimeter in its continuity setting. Connect it to both metal parts of the fuse to see if the fuse is fine.
IS THERE A SHORT CIRCUIT?
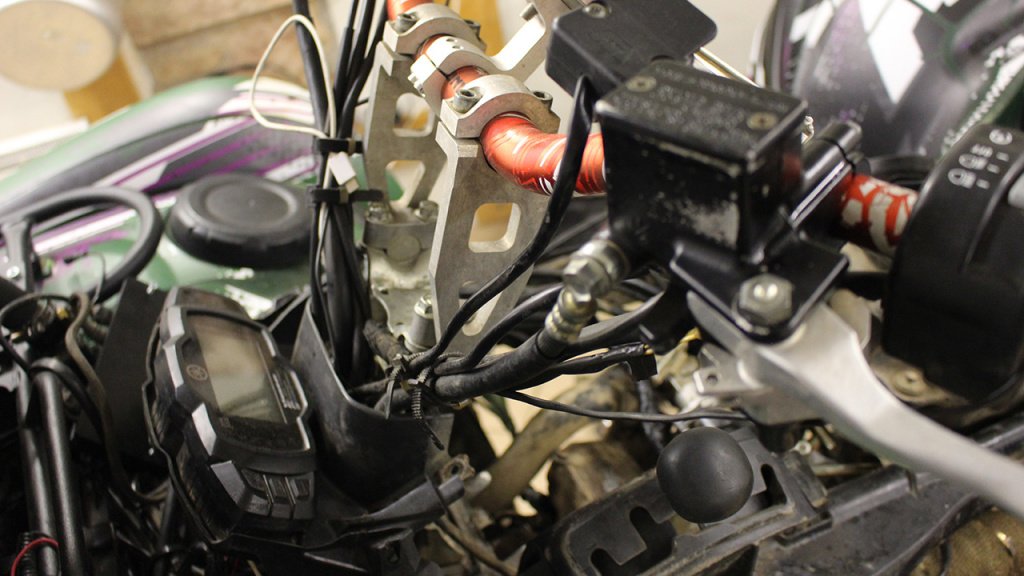
If you do find a broken fuse, it’ll need replacing. But it might also suggest there’s a further problem somewhere in the wiring. You’ll need to check all the electrical cables of your machine to see if they’ve become damaged or exposed. When the insulating cable gets rubbed against a sharp object (or chewed on by a rodent), the live wire can become exposed, resulting in a short circuit.

IS THE INITIAL SWITCH CORRODED?
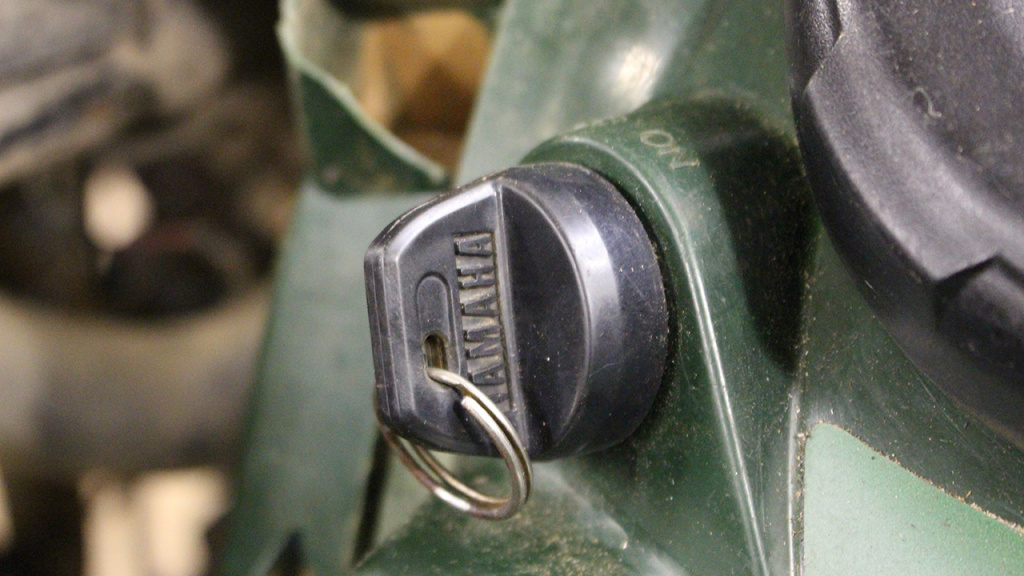
Corrosion or damage to the ignition switch can cause it to fail, so no power will get to the vehicle when you need it. Inspect the wires coming from the switch for corrosion, and if you suspect the ignition switch then you can test it using your trusty multimeter. There should be 12V flowing through the switch, only when it’s in the ON position.


