How To Install A New ATV Battery
A battery is the lifeblood of your ATV and when the one you have goes kaput, you need to know how to install a new ATV battery quickly so you don’t miss a minute on the trails. Luckily, the ATV battery installation tricks are quick and easy for even the most modest of beginners.
Here, we’ll go over how to install a new ATV battery in order to get your rig up and running in no time at all.

Determine You Need a New Battery
Ensure that you aren’t about to spend a chunk of money on a new battery to install without needing to. Try charging the battery on an external charger and testing it again twelve hours later. This will make sure you get an accurate reading without any surface charge.
If your battery is still holding power, there is probably a different issue in your ATV. If it’s completely dead, or significantly drained, it’s likely you want to look at getting a new battery to install.
Find the Right Battery
Getting the wrong battery for your ATV will only end up costing you trouble and potentially money. Make sure that you double check the owner’s manual and manufacturer’s specs in order to get the right size battery for your ride.
Remove the Old Battery
Start by locating the battery and getting it disconnected. Start with the black wire that is connected to the negative terminal. Once this is completely free and not touching any metal you can undo the positive connection.
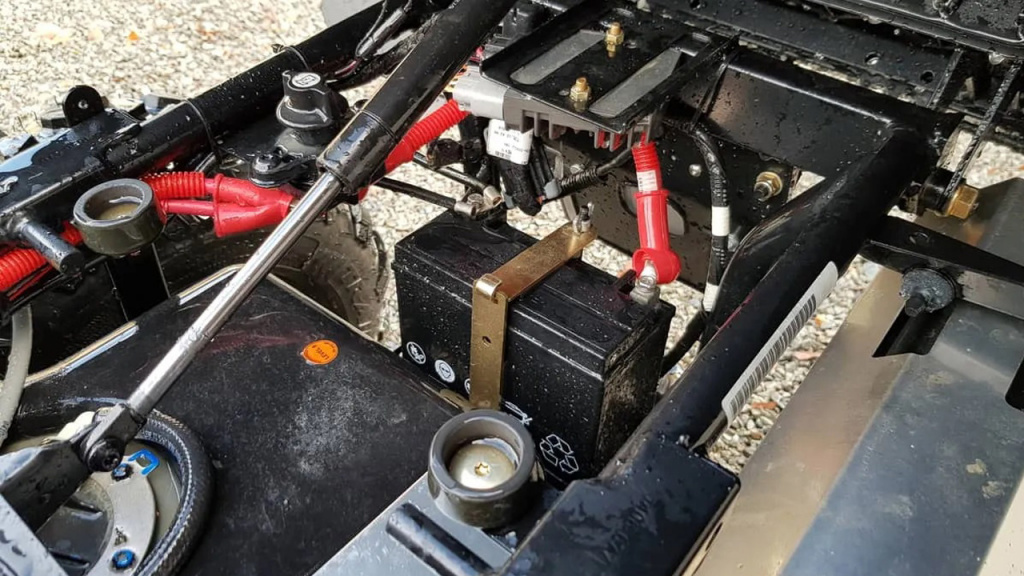
Next, disconnect the battery retainer strap. This is a metal strap that goes up and over the battery to hold it in place. You can disconnect this easily with the right sized wrench. Make sure you don’t touch any metal to the terminals as it may cause a short.
When you remove the battery, take note of which direction the terminals are facing. You want to keep this consistent when installing the new battery so the wires are on the right side of the battery.
Install the New Battery
Before installing the new battery, check if it needs to be charged prior to installation. If it does need to be charged, you may need to go to the manufacturer’s directions to get step by step instructions on how to do so.
Next, you can repeat the previous steps backwards with the new battery. Install the new ATV battery by placing it in position and replacing the retainer strap. Tighten this down and move on to reconnecting the wires.
Remember, install the wires in the opposite manner than when disconnecting. Connect the red positive wire first, and then the black negative one.
Once connected, you should be good to go!


