How to Install Aluminum Skid Plate on an ATV
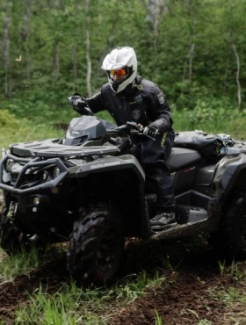
A skid plate on your ATV helps prevent damage to the vehicle's undercarriage. While skid plates are available in different designs, they are also made from different materials. Aluminum skid plates are common on ATVs.
But how do you install an aluminum skid plate on your ATV?
This guide takes you through the process of installing an ATV aluminum skid plate:
Before beginning, double-check that you have all the necessary components, and then carefully follow the sequence and further instructions in your installation manual.
The main challenge here is working underneath the car while holding large panels in place and bolts with the other hand. If you're using a stand, make sure it is stable and can support the weight.
You can also position the ATV on its side for easy access. If you choose this method, clamp off the gasoline line to prevent the fuel from leaking. You also want to use wood blocks to prevent the body of the ATV from having direct contact with the floor.
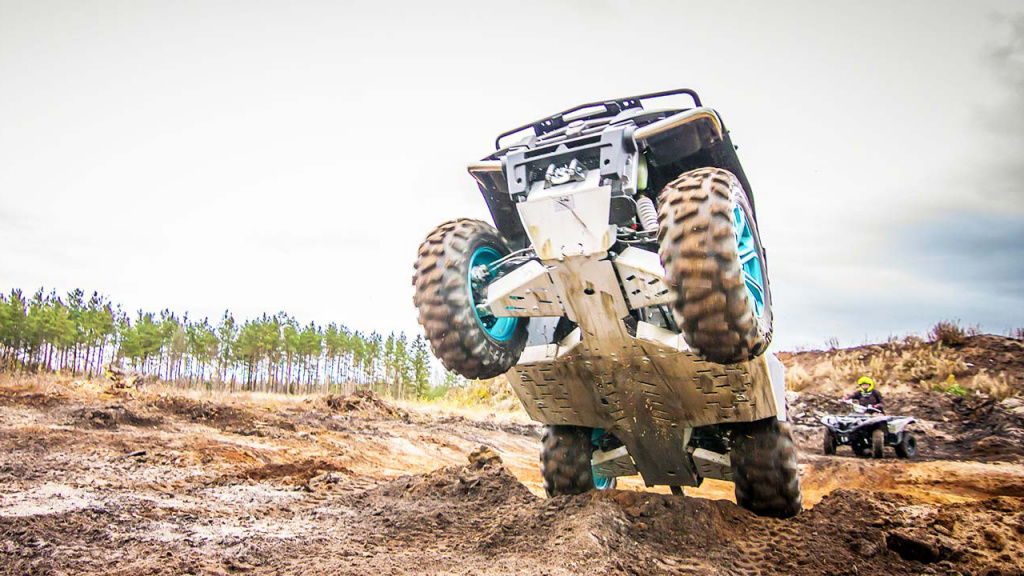
Installing Aluminum Skid Plates on ATV
Rear Skid Plate Installation
-
Put the rear skid plate in the proper holes and secure it with bolts and 6x20 washers.
-
Properly position the skid plate before tightening the screws.
-
Thoroughly tighten each screw.
Center Skid Plate Installation
-
Start by attaching 6x18 washers to the screws.
-
The washers should be on top of the floorboards as you thread these screws through the outermost footwell mounts.
-
Putting in the two clamps, screw 2-3 threads into the center skid plate.
-
Installing the Center Skid Plate on the footwell screws
-
On top of these protruding screws, place 6x22 washers.
-
Install the M6 nuts included and tighten them to a fingertip.
-
Screw the bolts in and finger-tighten them
-
Attach clamps to the frame tubes through the center skid plate's square apertures.
-
Tighten the screws a little bit further to prevent clamps from coming loose.
-
Adjust the center skid plate properly and tighten all fasteners
Front Skid Plate Installation
-
Start by screwing the two clamps into the front plate by 2-3 threads.
-
You are securing the front skid plate to the ATV using these clamps.
-
Fit clamps to the front bumper's cross member before attaching the front skid plate, and finger tighten to prevent them from loosening.
Installing front A-arm guards
-
First, install the clamps.
-
Don't tighten the screws yet to make it possible to attach the clamps to the A-arm tubing.
-
After positioning the shield over the required holes, hand-tighten the screws using 6x20 washers.
-
When tightening the screws, ensure the guard is in the proper position and that the guards are still parallel to the A-arms.
-
Turn the front wheels to the right and left to check if the guard and wheel are in contact.
-
Move the guard if necessary by removing the screws.
-
Make sure there is adequate space between the front skid plate and the A-arm guard to keep them from touching when the suspension is fully compressed.
Installing Rear A-Arm Defense
-
Place clamps first.
-
Don't tighten the screws to put the clamps on the A-arm tubing.
-
Install guards using the proper holes.
-
Install and tighten clamps to prevent them from coming loose.
-
Install the screws with 6x20 washers and tighten them.
-
Place the guard correctly.
-
As you continue to tighte n the screws, ensure the guards are still perpendicular to the A-arms

