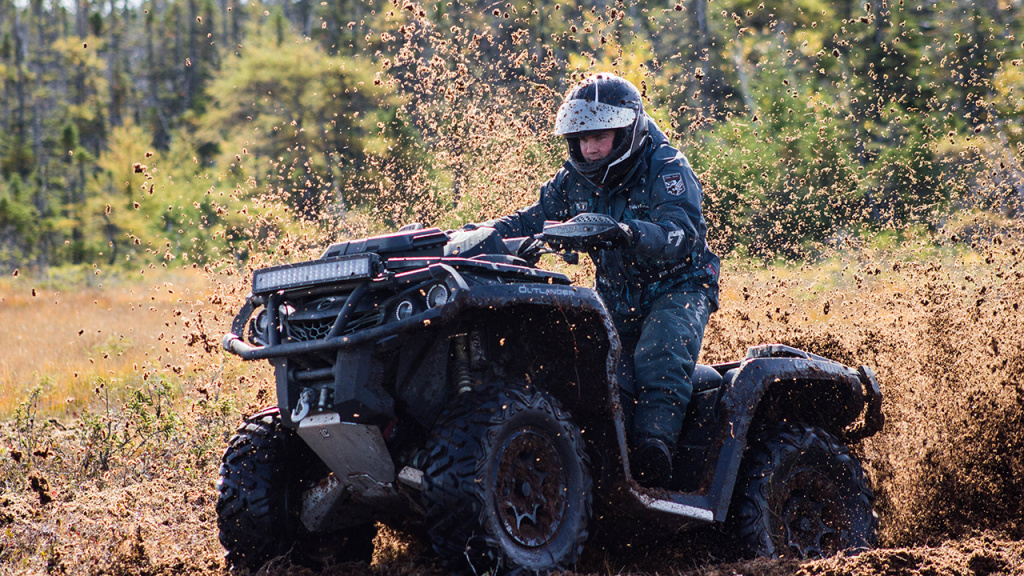
How To Install ATV Light Bar
Safety accessories come in a lot of different varieties when you’re talking about an ATV. One of the greatest ways to boost your safety while riding is to add a light bar to the ATV. The sheer power of a light bar will light up the night in front of you so you can be sure to ride around at night, as well as get home safely after a day that ends up being longer than planned.
Many riders will ride with the ATV light bar on at all times so it increases visibility to other riders. This is a great move after you install an ATV light bar. No matter the time of day, you want to be seen on the road or the trail. This is the best way to avoid any accident.
Installing a light bar on an ATV is an easy task that most beginners can get done on their own without many complicated tools. The light bar kits on the market right now will come with all the necessary wiring components, leading to a quick and easy install.

DIY Basics for Installation
If you’re new to the DIY game, you’ll want to inform yourself a bit about volts, amperage, and watts. This knowledge allows you to get the light bar installed correctly with enough juice to light up the night in front of you, rather than a dim glow.
We’ll go over a quick and dirty explanation of electricity before you get to work.
Watts are essentially the amount of energy something consumes while operating. It is the amount of electricity at work when you’re lighting something up or heating a room.
Volts are a measurement of the pressure pushing electricity through a wire. Amps are a measurement of how much energy is flowing through an appliance or wire, and at what pace. We think about this a lot with water in terms of cubic feet per second. With electricity, amps are measured by watts over volts.
If you don’t want to mess too much with electrical circuits, a direct battery connection for your light bar on an ATV is the best move.
How to Install a Light Bar on an ATV
First step is to neutralize the energy source. This means disconnecting your battery at each terminal so you don’t get shocked. Start with the negative side first and then positive.
Next, you’ll find a place to mount the light bar on the front of the ATV. It’s likely that the light bar came with mounting hardware you can use to get it on securely. Make sure there’s a spot for the wires to run from the light bar to the interior with access to the battery.
The light bar needs to be mounted securely in order to withstand all of the rough riding that we tend to do out on our rigs. This can be anywhere on the front of the machine, but don’t attach it to anything that moves around a lot. Make it a secure and stable installation.
Now, you can wire the light bar into the headlight system. To get the right power, you can splice the wires that lead to the headlight system and add your light bar to that circuit. Make sure that you run the wires close to the ATV and use zip ties to keep them in place. This will help the wiring stay solid over the bumpy roads.
Installing a relay system will help to extend the life of your light bar and your headlights as well. Relays work to manage large electrical loads with a small input. This will help to maintain your system as you’ve added a whole new user of electricity into the system, which will demand more power.
A good installation will also allow for a power switch to be installed so you have better control over the light bar. You can modify the hi/lo beam switch to turn the light bar on when you switch it, otherwise the bar will always be on when you have the lights on. It will be best to conserve energy and install a switch into the system.


