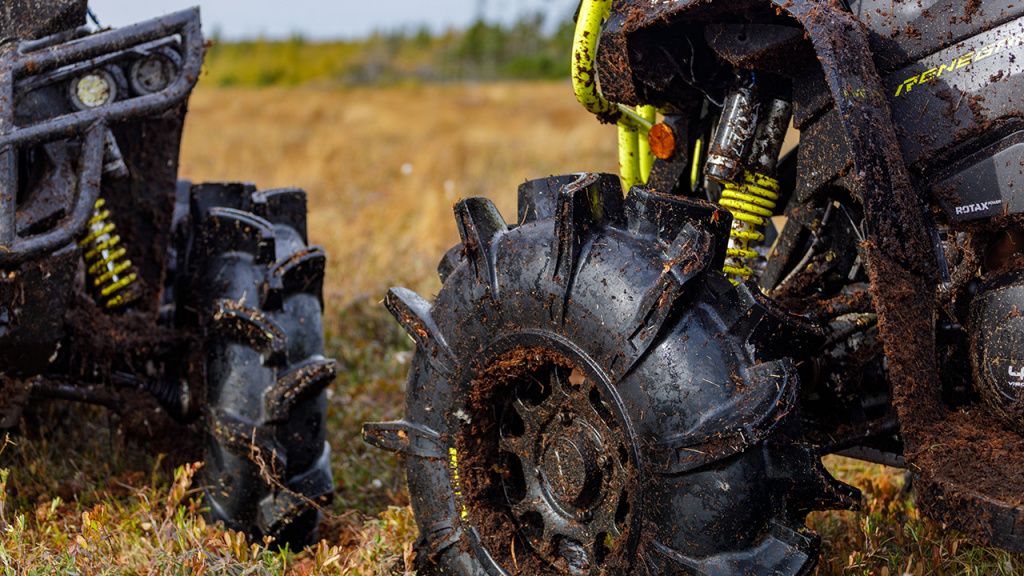
How To Install ATV Mud Tires
To all of the at home DIYers, we salute you. Here’s another one for you to take on: learning how to install ATV mud tires to get yourself out on trails that may have once seemed impossible. Fortunately for you, mounting mud tires at home isn’t much different than putting on traditional tires and you can get it done in a day’s work.
Installing ATV mud tires is really easily done if you have all of the right tools. If you’re set in the tool department, all you need to do is get to work. For those who have maybe bought too many tools in the past and are in trouble with their partner, there are some tricks around that as well.
Let’s get to work and learn how to install ATV mud tires at home!

Tools You’ll Need
-
Bead breaker bar- This is a pry bar specifically made for breaking the bead. After years of riding, a tire can be very difficult to remove and this will help provide the right leverage.
-
Air tire bead seater- A highly specific tool that makes the job much easier. You can also use an air compressor to seat the bead, but it doesn’t always work fast enough.
-
Soap- Simple and easy, but soap will act as a lubricant to get the tire back on.
Jack It Up and Take It Off
First things first, you will jack up the side of the ATV you want to start on in order to get the wheel off. You can loosen the lug nuts a bit before jacking the rig up as it will make it easier to get leverage.
Next, simply take the wheel off. All of this work will mostly be done on the ground horizontally so you want the entire wheel off of the ATV.
Deflate and Remove
To remove the tire from the rim it will help to deflate the tire first. If you leave about 3-5 psi, it will help with breaking the bead, but isn’t necessary.
After you’ve deflated the tire on the rim, you’re in for the hardest part of the process. Now you need to break the bead in order to remove the tire. This is done by prying the bead breaker in between the tire and the rim and providing pressure through leverage. Don’t be afraid to use your entire weight, it might take it to get this off of the rim.
When you’ve gotten a part of the bead broken, you need to move all the way around the tire and do the same for both sides. Once the entirety of the bead is broken, you can work the tire up and over the rim walls to completely get it off. If you need lubrication, simply use some soap.
Install the New Tire
To install the ATV mud tires, lay the rim on the ground and lubricate the edges with some soap. Next, lubricate the bead on the new tire and place it over the rim. You can use the pry bar to get the tire up and over onto the rim to where it will be ready to be seated properly. When the bead is aligned, use an air compressor or air tire bead seater to inflate the tire quickly to seat the bead.
Reinflate and Reinstall
Finally, reinflate your tire to the recommended psi, reinstall the wheel on the ATV, and get out riding!


