How to Install ATV Tracks
ATV tracks allow you to ride in deep snow even snowmobiles can't tackle and to avoid being stuck in both muddy and swampy terrain. You can install them when you want them, say for the winter, and go back to your regular tires and then go back to tracks, whenever it is convenient for you. They aren't difficult to install either, though it is a little time-consuming, particularly the first time. Read this post to learn how to install ATV tracks.
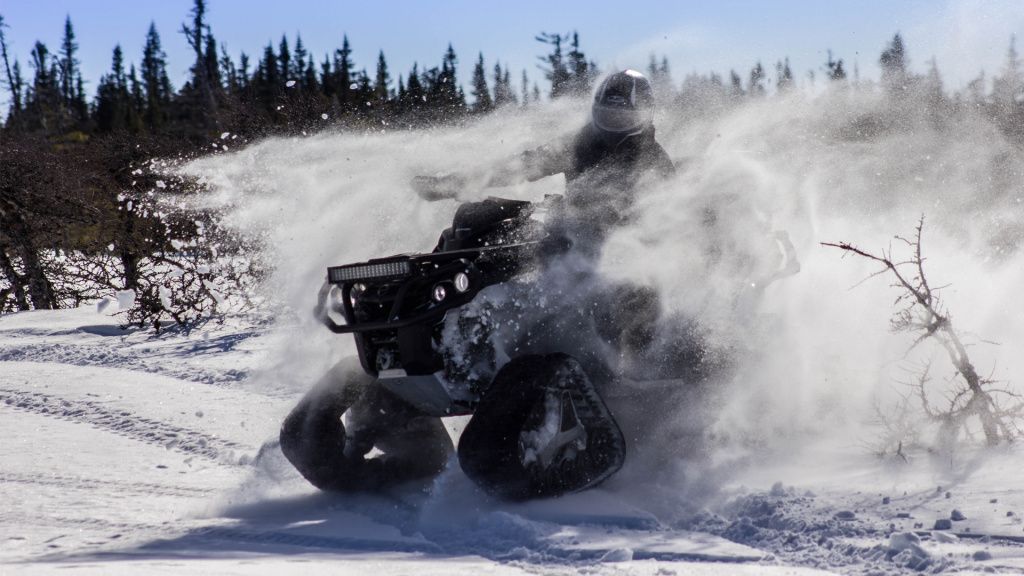
BEFORE YOU BEGIN
Read the installation instructions that came with your track system to have an idea of what it takes to install ATV tracks beforehand and make sure the system came with all the necessary parts.
You will need:
- a floor jack
- jack stands
- a power drill (for the nuts or it will take forever)
- a screwdriver
- a wrench
- measuring tape
To check the track tension, you'll also need a track tension testing tool.
PREPARE TO INSTALL ATV TRACKS
Ensure the engine is off and the exhaust pipes are cool.
Position the ATV tracks near the tires they will be replacing. Direction of rotation usually doesn't matter with front tracks, but rear tracks usually have indicators telling you the necessary direction of rotation.
Loosen the front tires.
Raise the front of the ATV on the jack and make sure the ATV is secure on jack stands.
Remove the first tire you plan to replace and set it down out of the way.
There is a flat metal brush guard on the A-arm behind where the wheel was. Remove it to make your work much easier. There should be just one bolt to loosen and then you can unclip the brush guard.
Attach the metal brackets that go under and above the A-arm. The instructional manual will give you the specifics. It is much easier to loosely connect all the pieces and then tighten them when you're done rather than trying to get one piece firmly in place and then connect them. When these are in place, you can reattach the brush guard.
Lift the track into place. It can be a little awkward because of their shape. The height you have the ATV raised could make it a little simpler. You might want to adjust the height. It's whatever works for you.
There is a track arm that will cover one of the lug nuts. You can do the three nuts you can see, turn the arm by manually turning the tracks, and then do the last one.
The job is not complete yet, but it's easier to do the remaining steps while the ATV is on the ground, so you should attach the tracks on the other side and then lower your ATV. You can do the final steps on both tires when that's done.
Attach the other front track just like you did the first, then lower the ATV.
Repeat all of the steps above for the rear tracks.
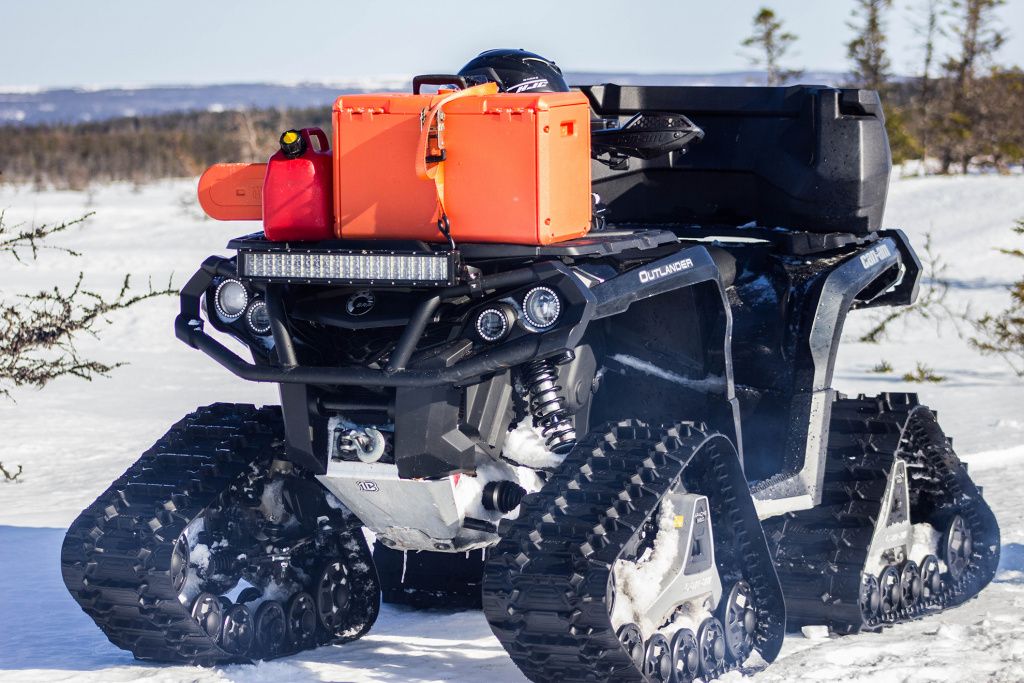
ALIGN THE TRACKS
Tracks need to be aligned just like your tires do for riding control and to prevent excess wear and tear. The steps to align your tracks are pretty much identical to aligning your tires. Use your owner's manual to see the specific measurements you need to attain.
TEST THE ATTACK ANGLE
ATV tracks have an additional need, the correct attack angle. This refers to the vertical position of the tires.
Turn the handlebars to ensure the tires are pointing straight ahead.
Take a small board or something else rigid and straight and place it on top of the rear wheel of the track. Hold it out straight and measure fr om the ground to the board. Apply pressure to the top front of the track to make sure it stays flat on the ground/floor while you do this.
If the measurement doesn't match the one specified in the manual, read the track's instruction manual for the exact steps to adjust the stabilizer arm and achieve the right measurement.
TEST THE TRACK TENSION
The track tension tool is the best way to measure the tension to make sure it matches the manual's specifications. The tension requirements also change depending on where you'll be taking your ATV. Summer use in mud and swamps require different tension from snow.
The exact details may vary for your tracks, but there should be a jam nut to loosen between the wheels which allows you to turn the adjusting nut to change the tension.
Do not ever loosen the tensioner assembly bolt. It is not necessary and will require complete track realignment.
REMOVAL AND REINSTALLATION OF ATV TRACKS
Removing the tracks is just undoing what you did and replacing and aligning the tires.
You can semi-attach the parts to themselves for easy storage and a quicker reinstallation, but don't leave any parts attached to the ATV to save steps.
Check the attack angle, alignment, and track tension every time you install ATV tracks.


