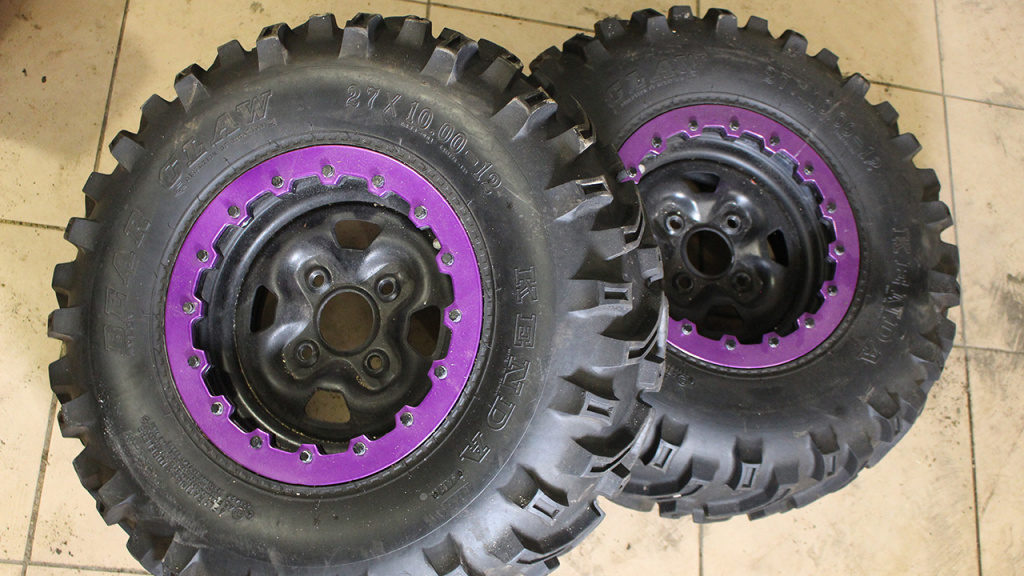
How To Install Inner Tube In ATV Tire
Whether you’ve just gotten a flat or you want to do some much needed maintenance on your tires, the time will come that you may need to learn how to put a tube in an ATV tire. Often, this will need to be done after getting a flat tire or after a long period of time and the air seems to not want to stay in the tire.
Doing this yourself is a cost effective way of getting work done on the rig at home. ATV tire tube installation can be a long process if you’re doing it for the first time, but after the first tire you’ll start to get the hang of it and fly through the rest. Here, we’ll go into how to install an ATV inner tube so you can head into the project with confidence.

Get the Right Tube
This one might seem obvious, but you need to make sure you have the right size inner tube for your ATV. You’ll be surprised at how many different inner tubes they have for sale when looking to get your own. Check the tire sidewall for information about what size inner tube is needed for yours.
Remove the Wheel
To get the tire off of the ATV start by loosening the lug nuts while the ATV’s full weight is on the ground. After all of the lug nuts are loose, raise the ATV up and finish taking the wheel off. You shouldn’t need any new tools for this other than a tire wrench and a jack.
Stick to working on one wheel at a time if you’re installing tubes in all of the tires. This will help you keep it all organized and ensure that each wheel makes it back to its rightful spot on the ATV. You don’t want to rotate the wheels unless it’s time to do so and you’re doing it in the correct pattern.
Remove Valve Stem and Break the Bead
Next up is removing the tire from the rim. This is likely to be the hardest part of the entire ATV tire tube installation, but with a few tools at home you can get it done easily.
Start by deflating the tire if it isn’t already flat. This is as easy as sticking a screwdriver in the valve stem and applying pressure as the air flows out. Typically, it’s good to leave about 3-5 psi to help work the tire off of the rim.
Before breaking the seal around the tire you need to now remove the valve stem. A valve stem remover is often the easiest way to go about doing this, but does mean you’ll have a new tool in the shop. Maybe that’s great news to you.
Next is breaking the bead, or the seal, where the tire locks into the rim. This can be done in a variety of fashions, each one with some pure muscle strength being necessary. A tire changer is a great tool for the task where you lie the tire down and apply pressure to a lever. This lever will need a lot of force, but it shifts the tire up while holding the rim down and will break the bead.
Other at-home tricks require creativity such as pushing a 2x4 intensely against the sidewall of the tire right next to the rim until the bead breaks. This is a much more difficult way of going about it, but with some tire spoons or large screwdrivers, you can often break the bead all the way around the tire.
Now that you have the tire off, it’s usually a good idea to clean up the rim where the tire was sitting. This will help you to get the best seal possible when reinstalling the tire.
Install the New Tube
Installing the new ATV tire tube is much easier than removing the old tire. In order to make it even easier, pump a few pounds of pressure into the tube before the installation. This helps the tube hold its shape so it doesn’t fold around itself and create a puncture right off the bat.
The rubber can be tricky to work with, but a little bit of baby powder will make the rubber less sticky, especially when it sticks to itself or other rubber. This won’t do any damage inside the wheel, plus it makes your life a whole lot easier.
Line up the new valve stem with the hole where the old stem went through the rim. Before inserting it you’ll need to remove one nut on the valve stem as this will help hold it in an accessible position outside of the rim. Insert the valve stem into the previous hole and put the nut back in place on the outside of the rim.
Be sure to run your hand around the tube to make sure it didn’t get twisted in the process.
Reassemble the Tire
Next, reassemble the tire and ensure to get a good seal with the bead all the way around the rim. This will take some force, but can usually be done by hand with the rim on the ground.
Finally, inflate the new tube to its proper pressure and you can reinstall the wheel back onto the ATV. Head on to the next wheel if you’re doing more, or get right back out to riding!


