How To Install Nerf Bars On Your ATV
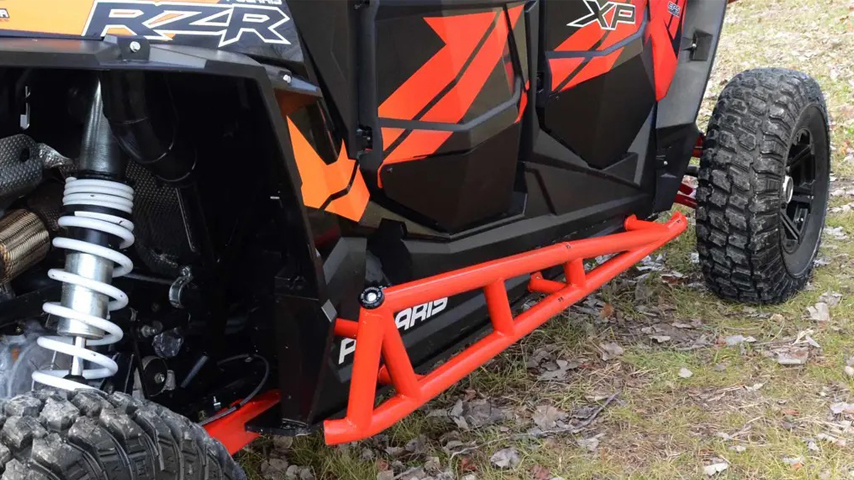
Knowing how to install nerf bars on an ATV is knowing how to make your ATV that much safer for riding. Nerf bars work to keep your feet as protected as possible while riding in thick terrain where trees, rocks, and other obstacles can injure your feet on the traditional foot pegs.
Nerf bar installation is a simple process that will have huge results at the end. This is one of the best possible upgrades you can make to your ATV, so go grab some nerf bars and let’s start on the installation.
Before starting on the install, you’ll want to make sure the webbing is woven in the correct manner to allow for cushion on your feet. Some will come with the webbing loose so you weave it as you like it, but often it will be pre-done so you’re ready for install.

Mounting Nerf Bars on an ATV
The front mount will utilize the front motor mount bolt location. You will remove the factory installed bolt and replace it with the longer bolt, spacers, washers and nylock that come with the nerf bars. Only hand tighten this for now as it will allow for movement during the remainder of the install.
These mounts slide right into the bars, so after installing the mount on both sides, you can slide on the nerf bars. These will move so you can mark the holes that are needed for drilling if you have an older model ATV.
The nerf bars are bolted to the existing pegs, so you may need to drill new holes. If you do, using a cardboard template is a simple way to get even markings on both sides of the ATV. Many newer models of pegs will have holes that are pre-drilled and ready to receive nerf bars.
Simply mount the nerf bars and install the bolts to the pegs on both sides of the rig. After you do this, tighten up the front mount and you’re all done!


