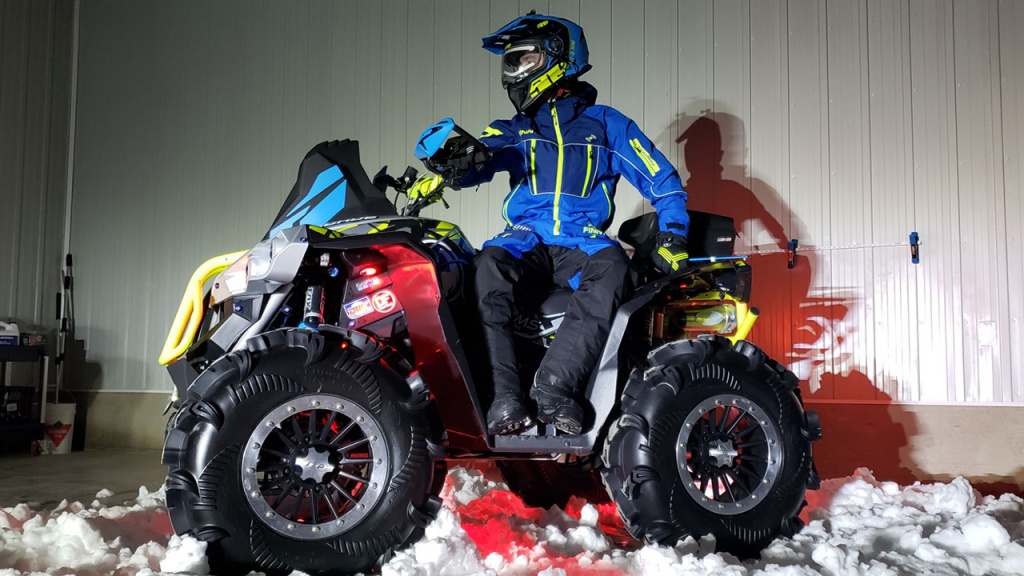
How To Install Rock Lights On ATV
If you want to install rock lights on an ATV, you must be getting ready to do some serious off-roading. Rock lights are the next step up for upgrading your rig to give you a better view while riding in the dark. Install ATV rock lights underneath your machine and all of a sudden, every little bump in the road becomes obvious.
Headlights are necessary for riding in the dark, but rock lights are necessary for doing some serious riding in the dark. These lights will let you go rock crawling through any terrain, no matter the time of day.
Here we go with how to install rock lights on an ATV. Soon, you’ll be able to get out and ride before the sun comes up.

Prep Your Vehicle
Before doing any major modifications, it’s best to give your rig a thorough cleaning. This way, anything that you install won’t have dirt trapped in places that can diminish the lifetime of the equipment.
Bring your ATV into a spacious garage, and we recommend lifting the rig a bit so you can get easy access underneath to mount the lights.
Disconnect the Battery
Whenever you’re messing with electrical aspects of your ATV, disconnect the battery first. Remember to disconnect the negative end first, and then the positive. Keep the battery disconnected until the very end, otherwise you could end up with some serious voltage running through you.
Place and Mount the Lights
Determine where you want to place the lights for the best outcome. Depending on how many lights you’re installing, you can make a lot of different choices. It’s best to have at least two per wheel and light up all four corners underneath.
Rock lights are built with tough materials that will allow for you to not worry about all the rocks you kick up while riding. Look at the IP rating if you’re buying a cheaper version to make sure that your rock light installation doesn’t have to happen again soon.
Finally, you can mount the lights. Typically you will do this at the 10 and 2 o’clock positions in each wheel well. This will give the best spread of light underneath the vehicle.
You’ll need to drill a hole into something sturdy and stable like the frame, otherwise the light will move as you go over bumps. Most kits will come with the necessary hardware for the installation, so simply screw them in tightly.
Finish the Wiring
Now that you have installed the rock lights, you’ll need to connect the wires. Most wires will lead to a module box that is then connected to the battery. This works best to have a single connection point to the battery.
When running the wires to the battery there are two things to keep in mind; moving parts and durability. Look out for any parts that may move while the ATV is running. You will also want to install a zip tie every twelve inches along the wires to ensure that it stays close to the frame and doesn’t snag anything while running.
Connect the wires to the module box and then wire the box to the battery. The red wire goes to the positive end and the black wire can either be grounded on a metal piece of the ATV, or connected to the negative terminal.
Reconnect the Battery
Finally, you can reconnect the battery, test your lights out, and get out there to ride!


