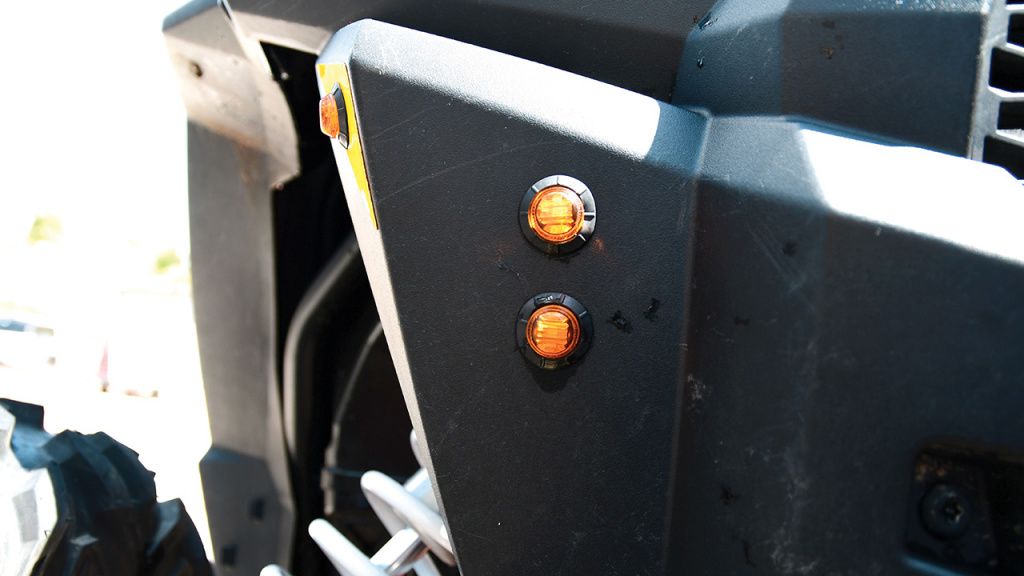
How To Install Turn Signals On UTV
For the sake of safety, many states have started to put more and more requirements on their UTV regulations. One of the more common requirements is installing turn signals on a UTV. This seemingly easy task can be a bit more difficult when it comes to electrical hookups, but is completely doable for a beginner.
Learning how to install turn signals on a UTV is important before heading blindly into the task. Let’s walk through the process together and get you back on the road without a risk of hefty fines!

Remove Front Hood Plastics and Seats
In order to access the wiring harness you will need to remove the front plastics. The wiring harness holds extra spaces for accessories, where you will be connecting the new turn signals.
You will also need to remove the seats in order to work wires back along the UTV. This gives you a much better access area, rather than from the underneath where a lot of moving parts will get in the way.
Connect Wiring Harness to the Back
One of the most important things to look out for while running wires to the rear of the rig is the possibility of hot spots. There are areas that will get super hot from the operation and can melt wires and lead to dangerous shorts.
Make sure as you run wires to the rear you are paying attention to what these wires are up against. Connect the wires with zip ties to keep them secure along the entire route back.
Drill the Correct Holes
Now you can prepare the front and rear fenders to receive the turn signals. Drill the appropriate sized hole for the lights you have purchased and install the rubber grommets that come with the kit. These grommets help protect the lights from taking in any dirt and ruining the system.
Wire the Lights
Now, pull the wires out of the interior and connect them to the lights before mounting them to the body. It’s easiest to do the wiring outside with more room to work, rather than in a constrained space.
Once everything is wired, bolt the turn signals into place and appreciate your work.
Replace the Plastics
The final step is replacing everything that you removed. Try to test the signals before replacing everything just in case you need to get back in there to make a minor adjustment. Good luck!


