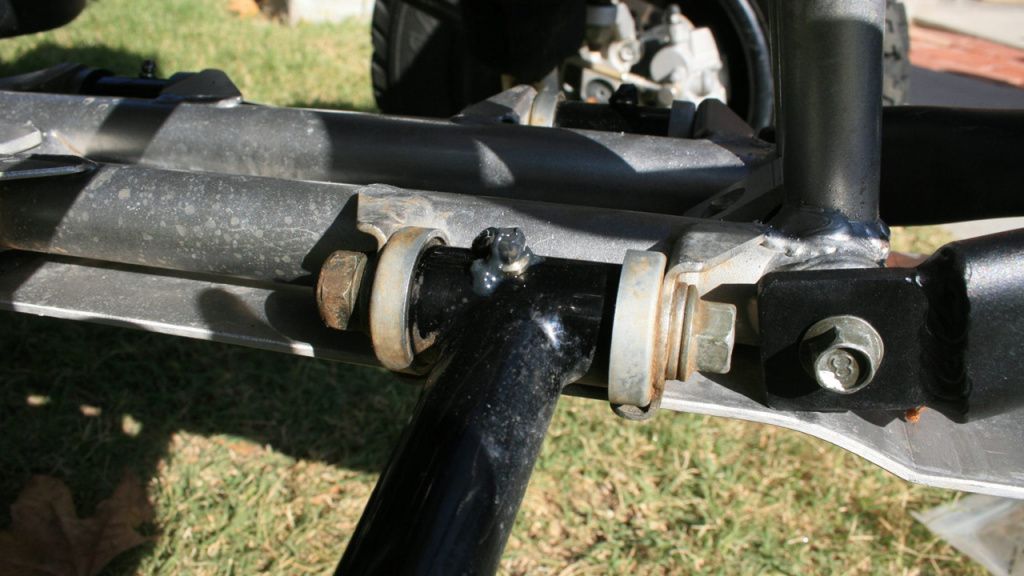
How to Properly Grease Ball Joints and A-Arm Bushings
Your ATV’s suspension is connected to the wheels by ball joints. Ball joints and A-arm bushings are pivots like work like our own joints. They have a socket and bearing stud inside a lubricated case.
As with everything on your ATV, ball joints get wear-and-tear. Lubricant helps to protect them from this, but over time, impurities can enter the lubricant. Lubricant can also seep out of bushings. Properly greasing your ball joints periodically helps to keep them in top condition.
The A-arms and ball joints of older model ATVs used to have no easy way to grease. Now, modern examples include Zerk fittings, which means you can easily hook up a grease gun to lubricate the components. Virtually all aftermarket A-arms and ball joints will have these Zerk fittings.

Greasing ball joints and A-arm bushings with Zerk fittings
1. You will need a grease gun. The best options are grease guns with flexible tubes, as they make it easier to reach those tricky spots.
2. Choose the suitable grease for the job. You can check your owner’s manual or with your ATV dealer. Grease that’s too thin won’t protect your parts properly. Grease that is rated GC-LB is graded to work on all chassis lubrication, including ball joints.
3. Locate the Zerk fitting on the ball joint or A-Arm. It may be dirty or rusty, so you’ll need to clean it thoroughly. The grease guns needs to marry with the Zerk fitting, so a rusty Zerk fitting won’t work. Also, if you don’t clean the Zerk fitting well, then there’s a risk of it getting jammed with rust or debris.
4. Connect the grease gun to the Zerk fitting. It will lock into place.
5. Pump the grease. If you see grease immediately spilling, double-check the connection is sound.
6. After a few pumps, you should see grease spilling from the tip of the gun. This is your cue that the component has been filled.
7. If you see any grease coming out of the boot of your ball joint, it makes sense to replace the ball joint. Similarly, if grease is seeping out of the seals of the A-Arm bushing, replace the seals. Otherwise, you’ll be wasting a lot of grease, and your components will not be getting the right amount of lubrication.
Greasing ball joints and A-arm bushings with no Zerk fittings
If there’s no Zerk fitting, the lubrication job is a little more involved. Theoretically, sealed ball joints shouldn’t need new lubrication, but if you hear groaning from the joint when turning, then a lack of grease may be the culprit. Check the dust boot for damage.
To grease a ball join or A-arm bushing that doesn’t have a Zerk fitting, you’ll need to introduce the grease with a needle adaptor. You’ll make a small hole between the boot and the housing. Try to keep this hole small and don’t introduce any dirt.
Don’t use a powered grease gun. There’s no need for extensive pressure, and the only other outcome from using a powered grease gun is damage to a seal.
A flex hose is helpful as it keeps pressure off the needle, and it’s just more convenient.
1. Besides the tools outlined above, you will also need a grease Zerk needle adaptor. This attaches to your grease gun.
2. Again, choose the right grease for the job being performed.
3. Locate and clean the area. If you notice the dust boot is torn, you’ll need to replace it.
4. Attach the needle adaptor to the grease gun. Be careful—it requires some force and relatively easy to skewer your hand when rushed.
5. Tighten the needle adaptor.
6. Insert the needle adaptor into the side of the boot where it meets with the housing.
7. Pump grease slowly. The boot will begin to swell.
8. We recommend only pumping a few times, so as not to overwhelm the seal and cause damage.
9. Remove the needle and clean the boot again.
10. Take the vehicle for a short test ride.
11. When returned, check there’s no leaked grease. If grease has leaked, you have a broken seal that will need to be replaced.


