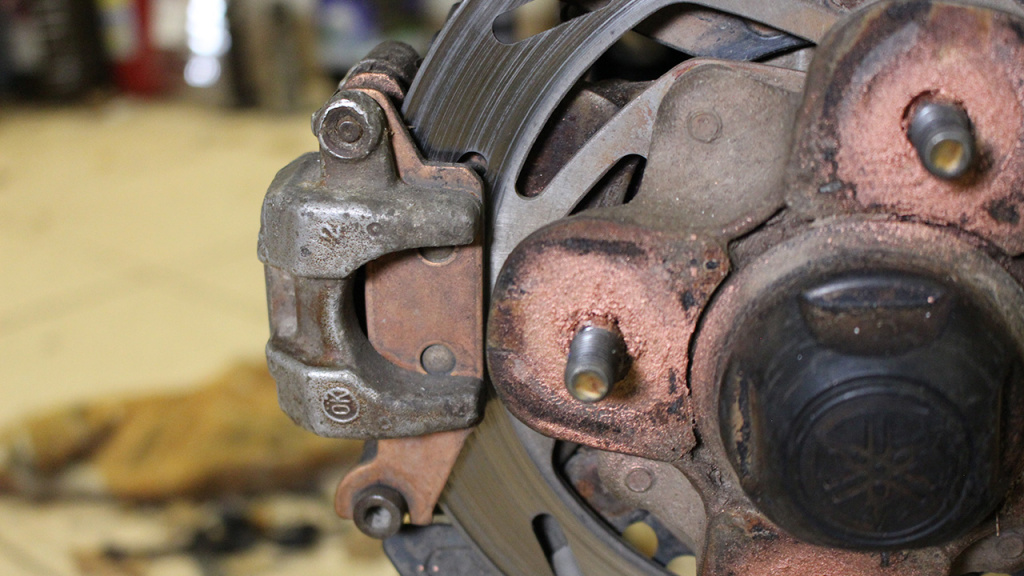
How To Rebuild an ATV Brake Caliper
After years of riding your ATV, it’s possible that your brake caliper will seize up and either lock down hard on the brakes or fail to engage when you need it. Either situation is terrible, but you’ve been covering the brake calipers with mud through years of tough riding, so who can blame them? Before this happens to you, or if it’s already too late, it’s a good idea to rebuild the ATV brake calipers on your rig in order to ride safely.
Fortunately, this repair is entirely doable in a day and you don’t need to spend a bunch of money. A caliper replacement kit can be pretty affordable so you can do it without spending over $100 if you want. An ATV caliper rebuild is a great way to get your hands dirty and start to learn a bit about how your machine works, plus it will have huge benefits when you get back out on the trails.

Jack up the rig
First things first, you need to have access to the calipers, so you’ll need to get the ATV up on jacks. Remember to use jack stands after jacking it up and never rely solely on the jack when you’re underneath the machine working.
Remove the wheel
The wheel is going to be in the way of the entire brake system, so whatever brake caliper you’re working on, you need to take that wheel off. This is simple and all you need to do is remove the lug nuts and keep track of them for later.
Remove the caliper
The caliper is also easily removed by disconnecting the upper and lower mounting bolts. This won’t take everything apart, but if you’re only rebuilding the ATV brake caliper, you can leave it attached and work on getting the piston out.
If you’re replacing the entire system, all you need to do is remove it from the brake line (be careful about the brake fluid!) and get the new brake caliper fitted and re-mounted.
Sometimes a rebuild isn’t about replacing every single part, so you might be able to replace the piston and its seals to get better performance.
Pump out the piston
If you’re doing a rebuild rather than a replacement, pump the piston out of the calipers. Some people do this with an air compressor, but it’s much easier to utilize the hydraulic system already installed. To do this, simply pump on the brakes and the piston will work itself loose since nothing is holding it in place any longer.
Remove old seals
Now that the piston is out, remove all of the old seals and replace them with brand new ones. Get everything in the area cleaned and greased up thoroughly. Since you have been riding on this ATV for such a long time, it’s probable that you have a lot of dirt to remove before wanting to put anything back together.
Rebuild the ATV brake caliper
Finally, you just need to follow these steps backward. Get everything reinstalled and remounted. Remember to top off your brake fluid and bleed the lines if you ever disconnected them. With this rebuild, you’ll probably notice a huge change right away.


