How to Replace a U-joint on UTV
The cost of UTV ownership includes making the necessary repair, and if your UTV suffers a worn-out u-joint, it is essential to replace it. Replacing damaged u-joint helps prevent more severe problems.
However, the problem with replacing U-joint on UTV is that not all UTV owners know how to go about it.
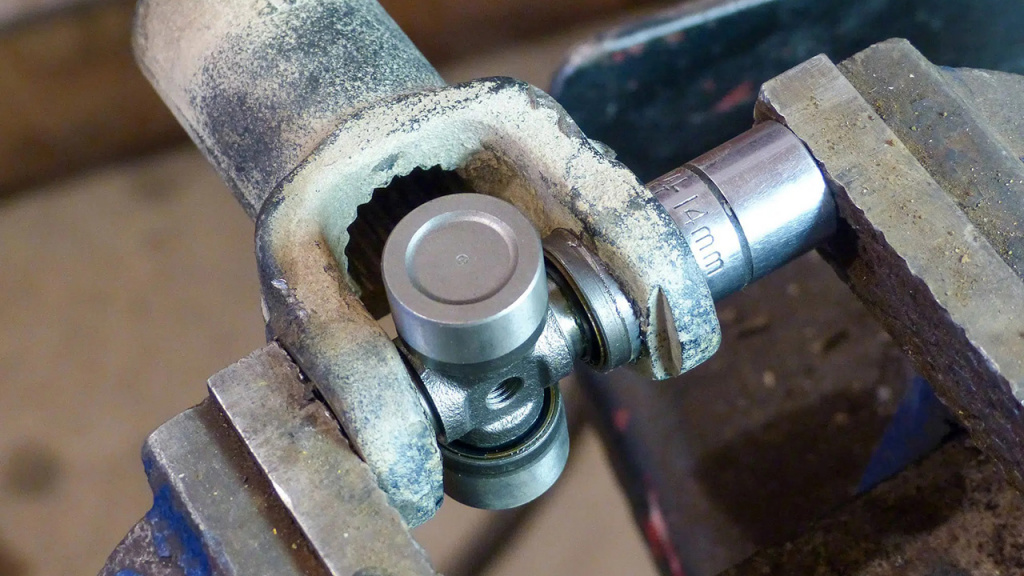
This piece explains how to replace your UTV u-joint:
-
Step 1: remove the axle to have access to the U-joint.
-
Step 2: using a screwdriver, remove the snap rings
-
Step 3: force the cap out by driving it in on one side. Do this using an old socket, such as a spark plug socket. Put in mind that this action will destroy the socket, hence the use of an old socket.
-
Step 4: take out the cap that pulls out from the far side of the yoke
-
Step 5: drive the other cap to its original position. However, if you can, work it off.
-
Step 6: put the new caps on and make sure all needle bearings are intact. If any of the bearings pull out, especially when lying at the bottom of the cap, it will be difficult to return the snap rings, and you will have to start over again.
Can I Replace a Damaged U-Joint on My UTV?
Replacing a damaged U-joint on your UTV is what you can do yourself. With the right guide and tool, you can replace a worn-out or damaged U-joint on your machine with no hassle.
Signs of a Damaged U-joint on UTV
Before breaking the tools and buying new parts to replace your U-joint, it is important to figure out what is wrong. The common sign of a damaged U-joint is squeaking when your UTV is moving. Another sign is a clunk when you shift gears or usually vibration riding down the trail.
Effects of a Damaged U-Joint
You can play negligence with a few mechanical issues with your UTV, but this is one you don’t want to skip. Failure to replace a damaged U-joint on your UTV can result in more severe damages, such as with the yokes and driveshaft.

