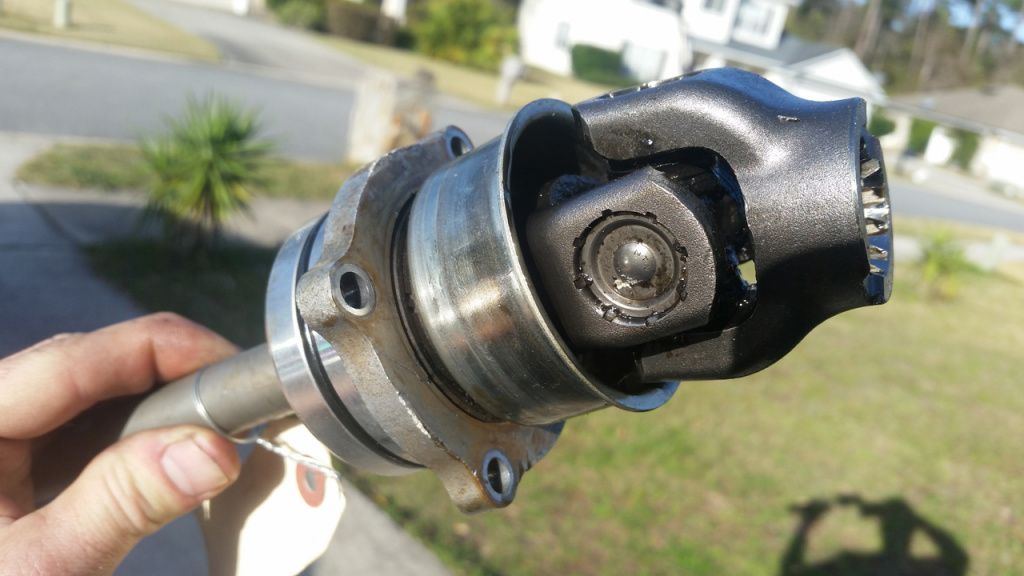
How to Replace an ATV Drive Shaft
Your ATV or UTV engine generates a twisting force, which we call torque. This twisting force needs to get to the wheels of the vehicle.
Most ATVs (but not all) use a shaft-drive system to transfer the force from the transmission to the wheels. ATVs with a belt-driven CVT transmission are shaft-driven. The most significant exception is sports quads, which are sometimes chain-driven, but chain-driven quads tend to require more ongoing maintenance.
An ATV drive shaft (or half shaft) can become damaged if you hit an unseen rock or tree stump. If the damage is superficial, such as a leaking seal, you may be able to replace just that part. But in many cases, the replacement of the damaged drive shaft is required.
Half shafts should be flexible. If you hear clicking from the shaft, you’ll need to replace it.
For the sake of this guide, we’ll outline the typical steps required for a model quad like a Polaris Sportsman. Be advised that ATV drive shafts can differ, so if you have a different model, you’ll need to check your service manual for precise details. Older ATV and UTVs, in particular, are more likely to require additional steps to remove and replace a drive shaft.

Remove the wheel
Start by removing the wheel. Next, take off the center cap in the hub. On models like the Sportsman, you’ll find a cotter pin and castle nut, which must be removed. Beyond these, there are cone washers. Pay attention to the direction that the cone washers were installed, as they need to be placed back in the same direction.
Get the brake caliper out of the way
The brake caliper is held in place by two 15mm bolts, one at the top and one at the bottom. After removing these, the brake caliper can be removed as a complete assembly. You can use a bungee cord to keep it out of the way, avoiding hanging the assembly by the brake hose. Take the wheel hub and brake rotor off from the steering knuckle.
Gain more room by moving the shock mount
Take off the bolt in the upper control arm that mounts the shock absorber. This allows you to free the shock absorber, allowing for better access to the upper ball joint. There’s a 13mm bolt in the steering knuckle that you must remove so you can pull the ball joint free.
Now you can use a bungee cord or similar attachment to keep the upper control arm up and out of the way for the time being.
Knock the drive shaft inward and remove the drive shaft
Use a center punch and hammer to knock the drive shaft inward through the steering knuckle. It will come completely free.
At the other end of the drive shaft, you should be able to use manual force to remove it from the differential. If the drive shaft doesn’t come loose easily, the housing may be rusted and will require a tool, such as a puller, to remove it with more substantial force.
Repair or replace the drive shaft
If there was only superficial damage to the drive shaft, such as a broken seal, you can simply replace the seal and re-assemble. In most cases, you’ll need a new drive shaft or half shaft.
Apply a lot of grease to the splines of the drive shaft that will fit into the differential. Grease up the housing, too. Now, we only need to follow the steps in reverse:
- Hammer in the drive shaft to the differential.
- Grease the spines on the other end, too.
- Re-attach the A-arm.
- Line up the knuckle and re-attach the two bolts.
- Put the hub back on.
- Re-attach the cone washers and bolts.
- Add the brake caliper with the two 15mm bolts.
- Set the main bolt to the correct ft-lb while holding the brakes.
- Cleanly route the brake line.
- Re-attach the cotter pin and outer cap.
- Add the tire.
Test the vehicle at low speed. As seen above, replacing a drive shaft isn’t that difficult a procedure and doesn’t typically require specialist tools. The only exception is when any parts have become rusted, making their removal more challenging.


