How to Replace ATV Brake Lines
Having brakes that function poorly can put you in the way of danger as well as make your ride less enjoyable. The brakes are so commonly used, that you can expect to run into some problems with them somewhere along the way. When the time comes, you may need to know how to replace your ATV’s brake lines in order to get them back into working order.
If you’ve made modifications to your A-arms or steering stem, you may need to install longer brake lines to adjust for the changes you’ve made. Whether you have an issue with your brake lines, or simply need to adjust to your new modifications, the process is the exact same. Changing the ATV brake lines can increase your capacity to stop on a dime when needed, which we all may know is rather often.
Here’s how to replace your ATV brake lines so the next time something unexpected pops up on the trail, you’re ready for it.
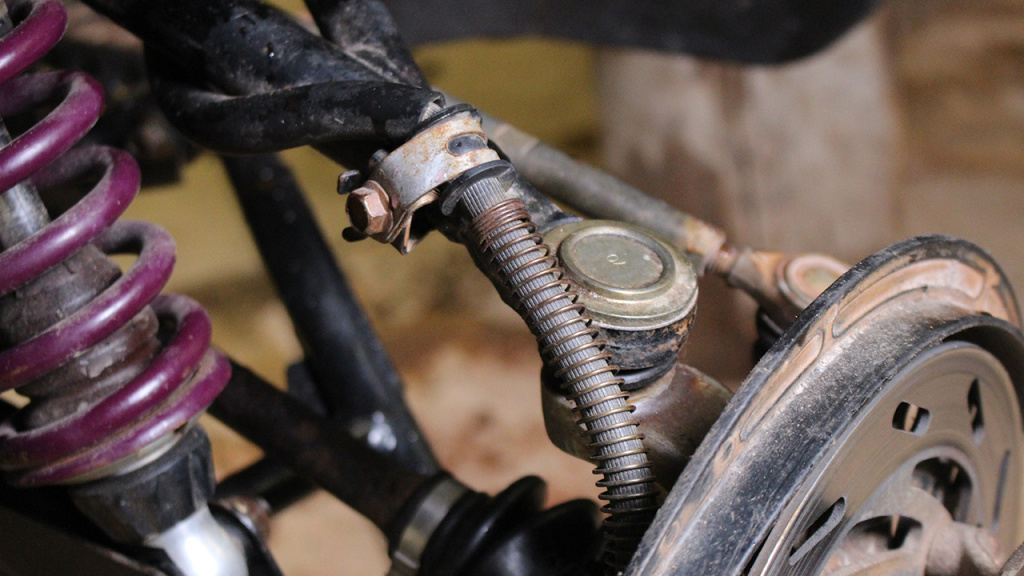
Get yourself prepared
Being prepared means starting by grabbing your user’s manual, your new brake lines, and a reservoir to catch the old brake fluid. Changing your brake lines can be messy, but it doesn’t have to be if you’re ready for it.
Figure out where your brake lines run to and from. Many ATVs have master cylinders up on the handlebars, some in the rear of the machine. Either consult your manual to figure out where everything is on your rig, or follow the lines backwards from the brake calipers.
Drain the lines
Now you can remove the bolts that keep the line in place and get your drip pan ready. When you remove the banjo bolts on the calipers, the brake fluid will start to drain immediately.
You don’t need to do much aside from wait for everything to clear out and gravity does the rest of the work. If you have the time, let it all drain until it stops dripping to make the rest of the process a bit cleaner.
Pull the line
Now you can pull the old brake lines out of your ATV to make way for the new ones. Be sure to pay attention to how the line is routed so you can get the new lines put in properly. Once you have it all clear, you can lay out your new lines.
Route and install new line
Now you can route the new lines, making sure you follow the correct path through the frame. This will be easy enough if you paid close attention earlier on.
Connect the lines to the reservoir with crush washers on both sides of the line to help avoid any leaking. You’ll also do this on the calipers for the exact same reason. Consult your user’s manual for the proper torque specifications.
Refill with fluid
Now you can simply refill the brake fluid reservoir and bleed them to get rid of any air in the lines. Be sure to take your time and bleed the lines properly so everything works as it should with your new brake lines on the ATV.


