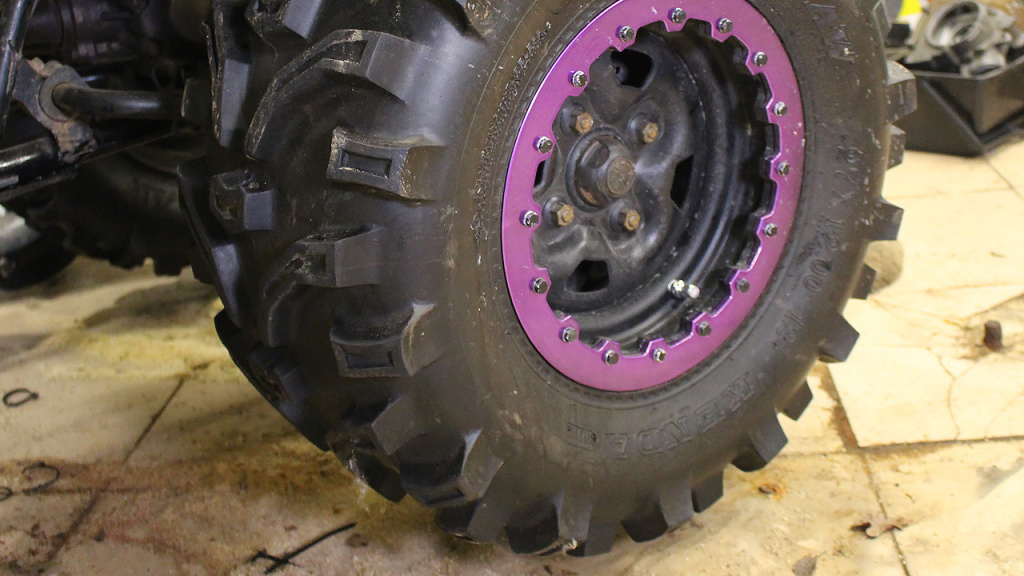
How To Replace ATV Valve Stem
At some point along your ATV riding journey, it’s likely that you’ll experience a valve stem that starts to leak due to dirt and mud having a constant presence, or simply from age. It’s good to know how to replace an ATV valve stem so you can save yourself $20-30 every time it needs to happen.
With a few tools you can change the valve stems on all of your wheels without much issue at all. If you’re experienced in knowing how to replace an ATV tire, your job is even easier than for most as it is the most difficult part of the task. Either way, we’ll walk you through a quick ATV tire valve stem replacement right now!

Remove the Wheel
First off, you’ll need access to the wheel so you need to take it off of the ATV. Start by loosening the lug nuts before even jacking the vehicle up. This will give you resistance to get the tighter pieces of hardware loose with some force.
Jack up the rig once everything is loose and take the wheel off.
Remove the Tire
To remove the tire you need to first deflate it. You can do this by removing the valve stem core with a special tool or a pair of small needle nose pliers. Simply grab the flat side of the core and unscrew it to remove all of the air.
Now that it’s deflated you need to break the bead of the tire. This can be difficult without special tools. If you have a bead breaker, great. If not, use a pry bar to get leverage between the rim and the tire to break the bead. Don’t be afraid to use a lot of force on this one, it will need it.
Break the bead all the way around and use some soap if you need some lubrication on the tire. Then you can work the tire up and over the rim to get access to the valve stem.
Cut the Old Valve Stem
You may need to simply cut the valve stem off to get it completely free. It’s not the only option if you want to keep the old valve stem, but it is the easiest. If you want to reuse it, you can pull the plug from the inside of the wheel with a pair of vice grips.
Insert New Valve Stem
Now you can install the new valve stem. Add a fair amount of lubrication (like soap) to the rubber ring to help the process go easily.
First, make sure the area you are installing the new piece is completely free of dirt and debris. This can be dangerous to the new equipment if it gets in any small nooks and crannies.
Insert the valve stem from the inside of the wheel so the threaded piece is on the exterior. This is where a threaded pulling tool will come in handy. Attach the tool to the valve stem and pull until the rubber comes through and pops into place. Avoid using pliers on this as it will likely damage the soft copper coils.
If you don’t have the right tools, try pushing from the inside or wrapping the valve stem to protect it from whatever tool you use to pull it through.
Mount and Inflate the Tire
Now you can mount the tire back on to the rim. This process is less forceful than removing it, but can still be tricky. Start by applying a healthy dose of soap to both the rim and the tire. This will be incredibly helpful for getting the bead seated in place without as much friction and pressure.
Place the rim on the ground and push the tire over it horizontally to position it on the rim. Get the beads into position and quickly inflate the tire to add pressure that will seat the beads. The air will push the beads outwards and up into the rim to get them positioned correctly.
On softer and smaller tires you can usually close this gap by hand, but if you have a larger tire with a stiffer sidewall you may need to attach a ratchet strap around the entire tire to provide extra pressure for this step.
Finally you can inflate the tire to the suggested psi rating and get back to riding out on the trails.


