How to Test the Stator on ATV
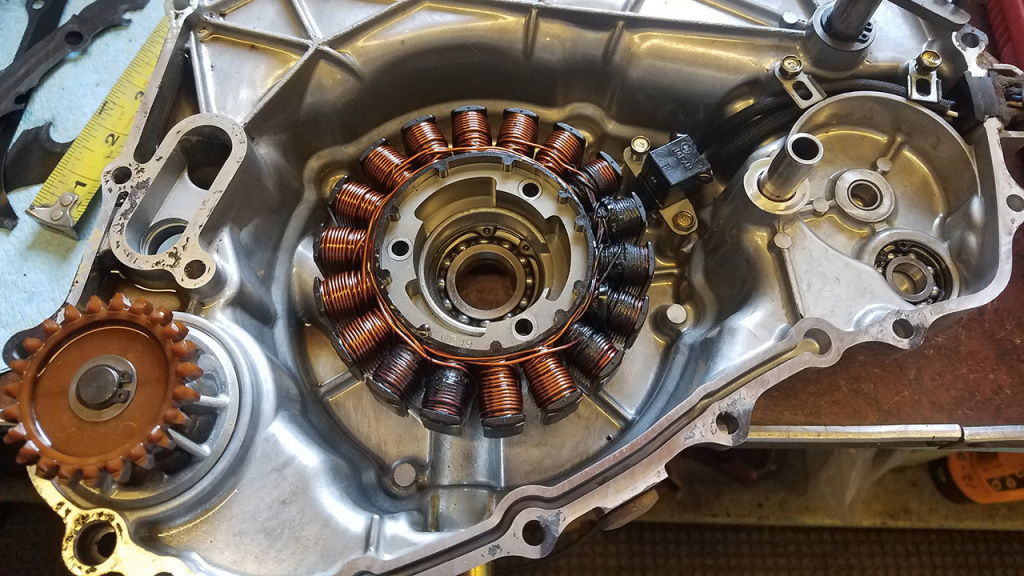
A stator is a crucial part of an ATV electrical system, working together with the battery and the regulator. A stator charges the battery in an ATV, the same function as an alternator in a car.
But this component is prone to damage, like every other electrical component on your ATV. And when an ATV stator is faulty, the battery refuses to charge.
Hence, you want to test it and know if it is bad. Testing the stator lets you know if the problem with your ATV’s electrical system is a faulty stator or another component.
However, it is worth noting that ATV stators are of three types: single-phase, three-phase, and bar-coiled. If you own a modern ATV, your machine will likely have a three-phase stator, as three-phase stators produce more electricity.

Understanding ATV Stators
ATVs come with different stator types, and you can find information about your stator and extra components in your service manual. Regardless of your stator type, the same procedures are used in testing an ATV’s stator.
Before you go on to test your ATV’s stator, it might be helpful to carry out some simpler checks on your machine and see if they will rectify the issue of your ATV battery not charging. Checking for corrosion in the connectors and wiring is a good place to start.
If the battery still fails to charge after checking these parts, you can go on and test the stator.
How to Test ATV Stators
Testing a stator requires the same instrument used in testing similar electrical components, a multimeter.
Static Test
Disconnect the stator: a static test requires turning the engine off and detaching the stator from the ATV. Ensure you have switched your ATV off before disconnecting the stator, though.
Set the multimeter: the next step is to set up your multimeter for the test. Do this by setting your meter to ohms.
Test pin to pin: depending on your stator type, the number of pins in a stator varies from one type to another. If your ATV has a three-phase stator, it will have three pins, and you are checking from one pin to another. Connect the leads of the multimeter to the stator terminals picking two pins at a time, such as 1 and 2, 2 and 3, and 1 and 3.
Compare readings: the correct reading for your stator depends on your machine. The correct value for your ATV’s stator is provided in your service manual.
Test for grounding: another possible damage to a stator is shorting out to ground. This requires placing one lead of the multimeter on the connector and the other on the stator body. Your stator is in good condition if the multimeter reads “OL” or “Open Line.”.” Any reading other than this means your ATV’s stator is bad.
Dynamic test
The other test you need to carry out on your ATV’s stator is a dynamic test, which requires that the engine is running. This might not be possible if your battery is completely dead, though.
The procedure is the same as with a static test. You only need to set the multimeter to AC voltage this time. Continue by testing from one pin to another as you did with the static test.


