How to Fix a Swamped ATV
There are plenty of great things that you love in ATV off-roading. And there is one thing that may turn an awesome ride into a nightmare. It's drowning your quad.
It’s absolutely thrilling to race across hills and valleys, enjoy spectacular views, and explore new muddy trails. Usually, it means you have to drive through deep mud holes, ponds, lakes, or even streams. However, getting water in your quad’s engine is one of the easiest ways to totally ruin your four-wheeler. It’s more common trouble than you might think, and it may happen not only when you contrive to sink your quad to the bottom of the deep blue sea.

When you drive fast through deep puddles, the water may get into the air intake, and then enter the engine system. Experienced riders who are used to challenge waist-deep mud usually install snorkels which allow them to ride through the deeper holes, but you are not a hundred percent safe even then.
So, what’s the problem? When water enters one or more cylinders, your engine becomes hydrolocked.
Attention! The key thing you should keep in mind – if you get stuck in the middle of puddle and the water is seeping in your engine, DO NOT TRY TO START IT!
It's better to get wet by falling into the water than to kill the motor. Take a deep breath, and cool down. You have a lot of work to do and not let your ATV die. Follow these steps.
Step 1. Get your ATV out of the water

When you drown your quad, hit the kill switch. Get your ATV out of the water as soon as possible. At this point your main goal is to prevent more water from leaking in everywhere.
Hook your drowned vehicle to your buddy’s ATV or use a winch to tow it on the bank.
Step 2. Tip your quad 90 degrees on its tail
Ask your buddy for assistance and tip your quad 90 degrees backward. It should allow water to flow out of the exhaust, cylinders, and CVT.
Once it stops, set the quad down on the ground.
These are “first-aid” steps you need to make on the spot. From this point it’s better to tow the vehicle to your garage or service where all the tools are at hand.
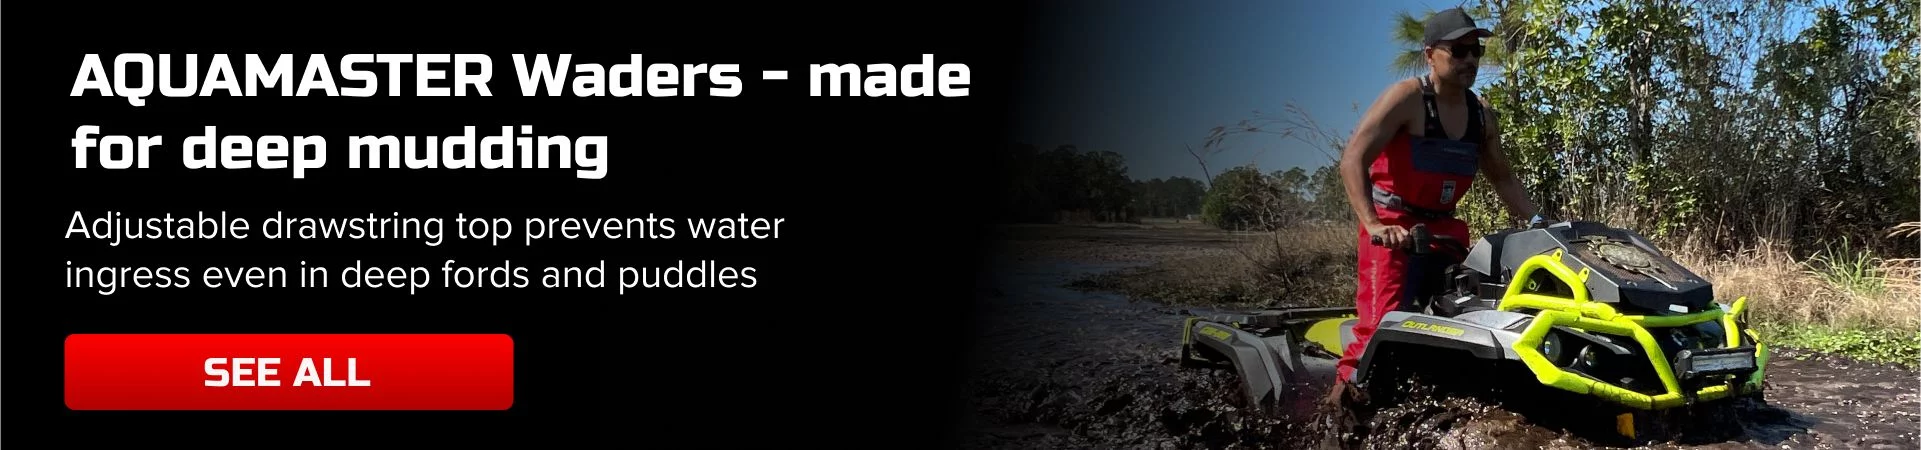
And speaking of safety, when you're going into deeper waters it is vital to find a pair of waders with adjustable cinching top.
Step 3. Clean the air intake

If you can’t get evacuated, continue your ATV recovery. Take off the seat, inspect the air box and remove the air filter.
Look carefully at your air intake and clean everything. Make sure that there is no water and mud left in the air box so that your ATV’s engine will be safe when you start it.
Step 4. Drain the carburetor
If you have a carbureted vehicle, open your carb drain and let it drain for about a minute, then close it.
Step 5. Drain oil
Loosen your engine oil drain bolt, open it carefully until water starts to flow. Once you see oil comes out reinstall the bolt. Let it sit for 10 minutes, then repeat as many times as needed until you no longer see any water coming out.
Step 6. Get water out of the cylinders

Now it’s time to inspect your engine. Remove the spark plugs. Start the engine to force out any water from the cylinders.
How to be sure that remaining water is completely out? Refill oil to the engine and turn it over again, with no plugs in it. Wait for a few minutes, and check the oil color.
If there is any water left, the oil will look like a milky substance. In this case drain and change the oil, and start the engine over. Do it again and again until the oil is clean. Depending on how much water is in the engine, it may take up to 8-9 reps.
Step 7. Reinstall the spark plugs
Clean and reinstall the spark plugs. Try to start your ATV. If it starts, let it run at idle speed for a few minutes. Then, shut it off, refill it with your normal oil and oil filter. Run it again for a couple of minutes, shut it off, and check for milky colored oil again. If you have none, your ATV is ready to go.
Takeaways

This guide will help you start the submerged ATV again and ride back to where you’ve started. Don’t forget to carry out the complete revision procedures afterwards.
You should check the fuel system, and transmission, flush the brakes, and look for any water droplets left on electric connections. Of course, in some cases, you will need to order a few spare parts. Your quad deserves your care. And you deserve well-functioning vehicle and more exciting ride next time.
However, this how-to guide is not a magic wand that will prevent any swamped ATV from being broken down. So, if you have completed all the steps above, and the engine still doesn’t run, or runs uneven, the best decision is to call your experienced mechanic.

We do hope that none of these things will ever happen to you. In case you have any doubts that the ford is too deep for passing, remember, you wear waders not just for fun. They will keep you dry while you are wading and measuring the water with your feet, instead of risking your quad.
Also think about adding a snorkel kit, if you still don’t have it. It will allow you to go through deeper water with no crucial damage to the engine.
Check out:
- How to Perform a Pre-ride Inspection for your ATV
- Benefits of Electric ATVs and UTVs
- Tips for Driving your UTV in the Snow

