How to Break In New ATV
When you buy a new ATV, you have to break it in before riding it normally. Sure, it’s tempting to jump on and go right to the adventures you’ve been planning, but you will enjoy your ATV a lot more and have it a lot longer, if you properly break it in. This post will explain all break in new ATV procedures.
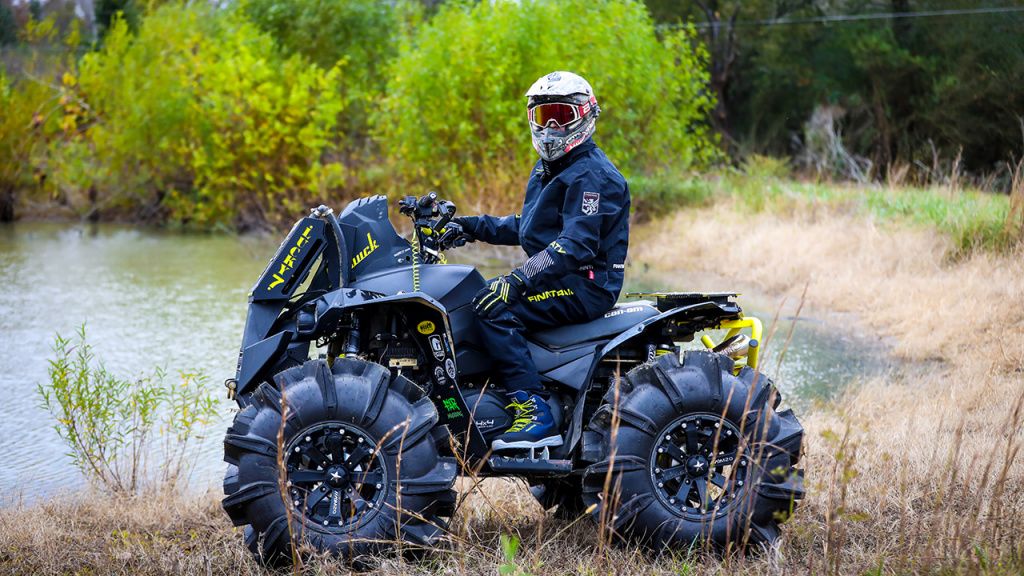
What Does it Mean to Break In a New ATV?
ATV parts and systems are not really completely finished when you receive your brand-new machine. They are built with the idea in mind that the parts will rub against each other and conform to each other as they are first ridden. During the break-in period, you should ride your ATV on lower power and with light loads so it can experience being ridden but without being overworked right off.
Why It’s Important to Break In New ATVs
The primary purpose of breaking in a new quad is to have the piston rings and cylinders walls abrase each other for an ideal fit. The vehicle is given to you with crosshatching on the cylinder walls intended to be worn down along with the piston rings. Abrasion will happen whether you intentionally break in your vehicle or not, but when you are intentional about it so your cylinder and piston rings form the perfect shape, your engine will have more power, be more fuel efficient, run quieter and smoother, and last longer.
To properly maintain new ATVs, you should also change the oil often while breaking it in because this abrasion contaminates the oil.
Belts, brakes, and the drivetrain also have their own break in periods too. They can be taken care of when breaking in your engine: going slower, not carrying heavy loads. The main thing you want to add in for your brakes is to not brake hard during the first 50 brakes (unless it’s an emergency.)
How to Break In New Four Wheelers
Read The Owner’s Manual
The very first step is to read your manual because both the length of the break in period and the necessary steps vary depending on your model.
The exact break in period varies by models. You should review your owner’s manual to know what yours is. Youth ATVs have lower break in periods of around 10 hours. Adult ATV break in periods are usually 25 or 50 hours. It is often determined by the time it should take you to use two tanks of gasoline.
Check the Engine Oil Type
If your engine came with synthetic or semi-synthetic oil, you may want to get rid of that now and fill it up with petroleum oil for the break in period. While synthetic oil is great for compatible engines for regular riding, it makes the abrasion in the break in period less effective.
Warm Up the Engine
You may do this step anyway because it is general good advice for all rides. Idle to warm up the vehicle for up to around ten minutes, whatever time it takes for the liquids in your engine to warm. While you’re waiting is an excellent time to check under the machine for potential leaks.
Run New ATV at Varying Throttle Settings
Spend 20-30 minutes after your quad is warmed up to run at a variety of throttle settings. You’ll start by using a variable range between idle and 70% throttle. Of course, you’ll start low and work up as long as everything is running fine and the engine isn’t overheating. Keep going until you reach 70% and then go back and forth between different settings in that range. Start trying out 75% and 80%. Don’t go any higher than that and continue to vary your settings.
Do An Oil and Filter Swap
During those 30 minutes, you just contaminated your oil with bits of metal. That’s fine. It’s supposed to happen. But you don’t want to leave it in there. Change both the oil and the filter before doing anything else. If you didn’t do it before, switch to petroleum oil now.
Ride New ATV Time
Perform your first pre-ride check, including all fluids, and go ride at a slow pace for a short period of time. Another thirty minutes at a lower speed would be good. Go out the next time at a slightly higher speed and a longer period of time. Keep doing this until you start riding normally for the last five hours before the end of the break in period.
Be aware that you will probably continue to need to change the oil and filter often during this period. On your final break-in oil swap, the one after the period has ended, start using whatever oil your owner’s manual recommends for regular use and maintain ATV oil changing schedules.


