How to Change ATV Brake Pads
We can't stress enough the importance of having properly functioning brakes, and brake pads. Thankfully, you can change ATV brake pads yourself, making it easy and budget-friendly to change them when they're worn.
WHEN DO YOU NEED TO CHANGE ATV BRAKE PADS?

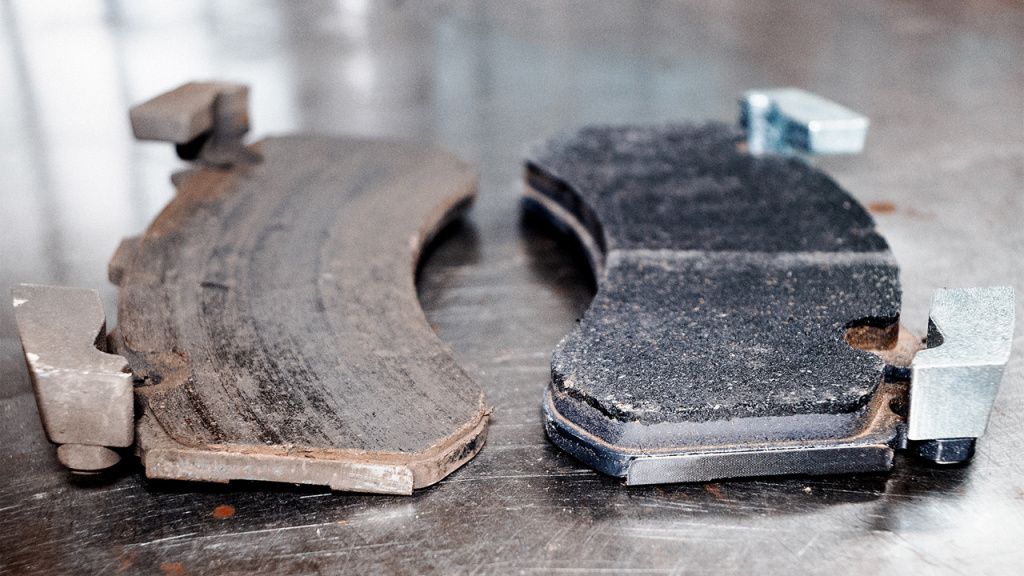
You should be checking your brake pads before every ride to make sure they are in good shape. Over time, you'll notice the pads getting thinner and thinner.
When they reach 1/4in thick, they need to be replaced. But you don't have to hand measure or be that precise. If they're visibly close to that, you could go ahead and replace them. With something as important as your brakes, it's better to lean to the safer side.
Depending on how often you ride, where you ride, how you maintain your ATV, and how forcefully you use your brakes, you could need to replace the brake pads in a few years or as little as a month.
These symptoms can also alert you to brake pad problems:
- A brake indicator light
- Squeaking or squealing coming fr om the brakes
- The sound of grinding metal
- Vibrations in the brake pedal
UNDERSTANDING YOUR ATV BRAKES

Most newer ATVs have disk brakes and on every tire. This has become the safety standard to provide the fastest braking.
It's not surprising for older ATVs and UTVs to have drum brakes. Brake speed is less critical with UTVs because people often use them for different tasks like hauling and plowing that are slower, less accident-prone activities.
Disk brakes get their name because they have an actual disk that the brake pad presses against to slow the machine down.
Drum brakes are enclosed, with the brake shoe pressing onto the wall of the drum.
Some ATV models have disk brakes in the front and drum brakes in the back because the speed is more important in the front wh ere the most critical braking action takes place.
Before you buy new brake pads, make sure you know which kind you have.
BUYING NEW BRAKE PADS
Size
Check brake pad size specifications for your ATV in the owner's manual. It is very important that you get the right size brake pads because having poorly fitting brake pads can be just as dangerous as having worn ones.
Brake pad materials
Ceramic brake pads are the most expensive option, and they are great on the brake system as they don't produce a lot of dust that can get in other parts of the system.
Metallic brake pads are great for sport ATVs because they withstand high temperatures well, but they are also noisy and rough on the rotors.
Semi-metallic options are an inbetween choice that is good for the average ATV rider and they are a popular brake pad purchase.
Organic brake pads are the cheapest option. They are easy on the rotors and don't produce much dust, but they also offer the weakest braking time. You might use these on UTVs with less risk of an accident and enjoy the reduced maintenance.
Converting to disk brakes
If your ATV came with drum brakes but you would rather your ATV or UTV have disk brakes, it is possible to buy conversion kits that will let you do that. Make sure you choose one specifically for your vehicle's make and model.
TOOL YOU NEED TO REPLACE ATV BRAKE PADS
- Car jack and jack stands
- Socket kit or hex keys(check your brake assembly or owner's manual to determine which you need)
- Clamp
- Vice grips
- Lug wrench
- Gloves
- Safety goggles
- New brake pads
HOW TO CHANGE ATV BRAKE PADS

Start by loosening the wheel lug nuts while the ATV is still on the ground.
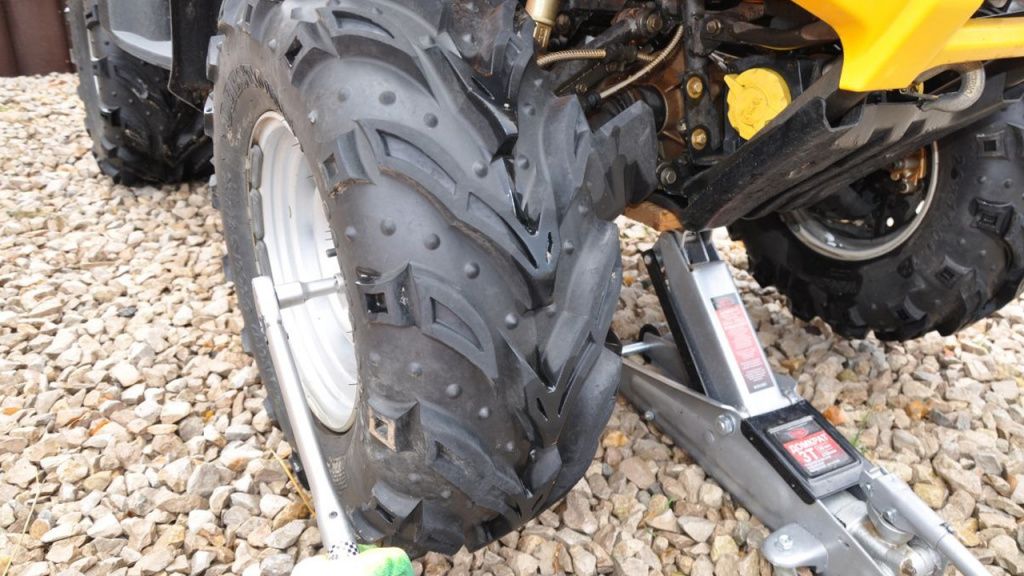
Raise the ATV on a car jack, support it with jack stands, and ensure it is stable. When you get settled into working on your ATV, the movement could rock it off an unstable support.
Remove the lugs and wheel(s).
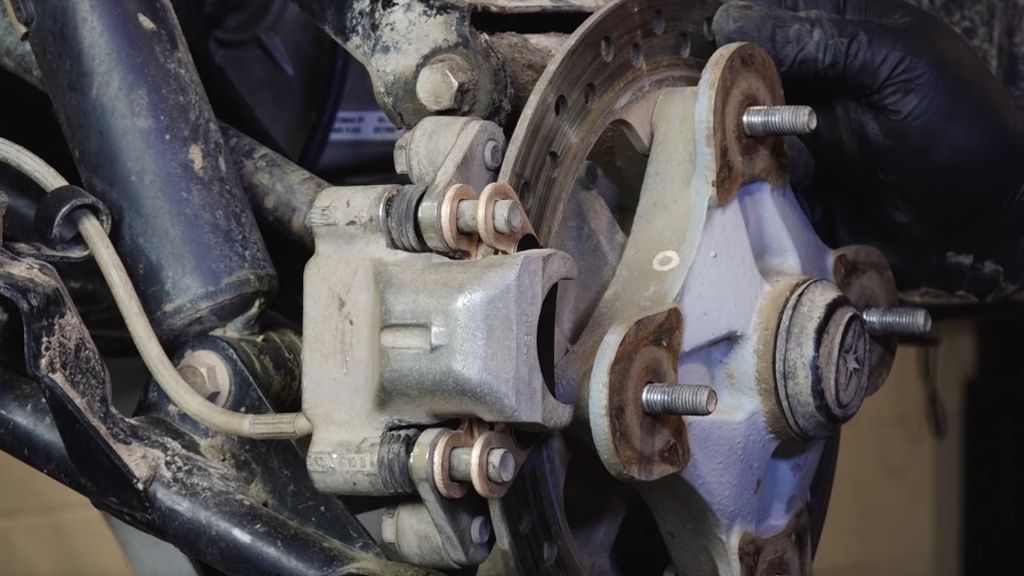
There are two bolts on the back of the caliper. They can be removed with either the socket wrench or hex key. The caliper can be stuck a bit and require some gentle prying to loosen. When you get it loose, it will detach from the rotor and will still have the brake pads attached to it.
Suppress the pin on the caliper with the vice grips or clamp. Some models have a plug over the bolt, but most don't.
The pads will fall off.
Clean any dust and residue made by the brake pads. Metallic and semi-metallic brake pads will be particularly likely to create dust.
Compress the caliper piston with a clamp. Once it has been compressed, you can take the clamp off and put the brake pads on.
Use the vice grips to compress the pins again.
Put the caliper back in place and tighten the bolts.
Put the wheel back on and lower the jack. You can tighten the lugs once the ATV is back on the ground.


