How to Fix a Bad Stator on Your ATV
A bad stator on your ATV will put a stop to your fun, but they are frequently blamed for battery problems they aren't the cause of. This post will tell you how to know when your stator is the problem and how to fix a bad stator on your ATV.
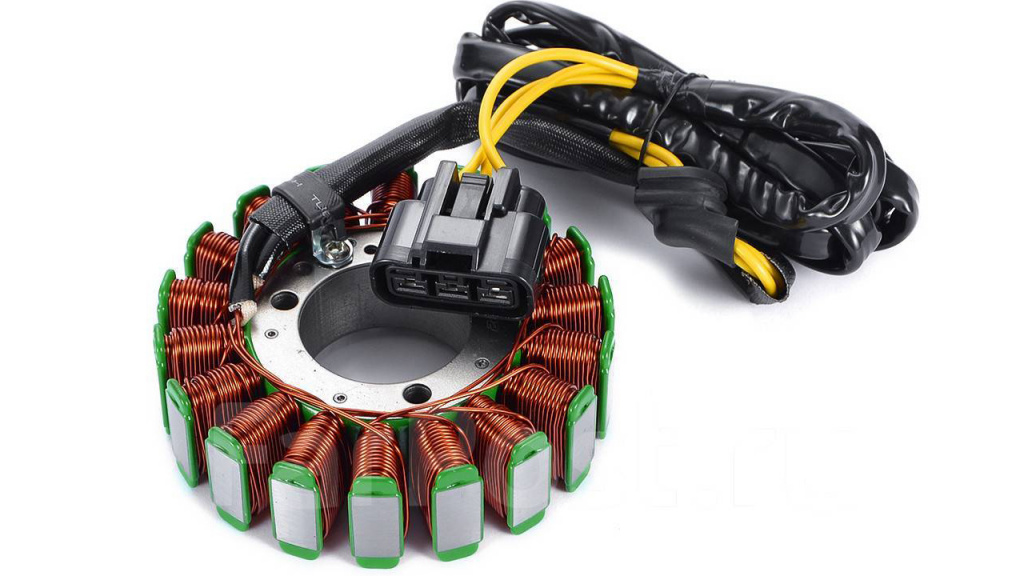
What the Stator Is

The stator is like the alternator in your car, it makes it so the battery can recharge while the ATV is running. This is crucial to proper battery function, and your ATV will stop running if the stator is bad.
It isn't an intermittent problem or a slight problem, it's an, "I can't ride my ATV," problem.
How to Tell if You Have a Bad Stator
Several other problems can cause the same symptoms as a bad stator, and they're more likely to occur than the stator failing. It's important to distinguish between them because there's no point in trying to fix or replace the stator if it isn't really the problem. You'll still have a non-functioning ATV and just have to fix or replace more parts.
Check the battery
Try to charge your battery on a separate charger. If it won't charge anywhere, then it's just the battery that's the problem. You can take your battery to Autozone and have it checked for free.
You might also be able to see visible issues with the battery. If it's old or corroded, this is the likely cause of the problem. Clean or replace the battery and you should be good to go.
Check the battery connectors
Determine if the battery connectors that lead from the battery to the stator and the voltage regulator rectifier unit are dirty or loose. Clean or tighten them and see if it doesn't fix the problem.
Check the voltage regulator rectifier unit
Test the unit with a multimeter to see if it's working properly. These meters aren't expensive, costing only between $10 and $40.
If all of these components check out fine, then you check the stator.
Test the Stator

There are multiple ways to test the stator.
Resistance test
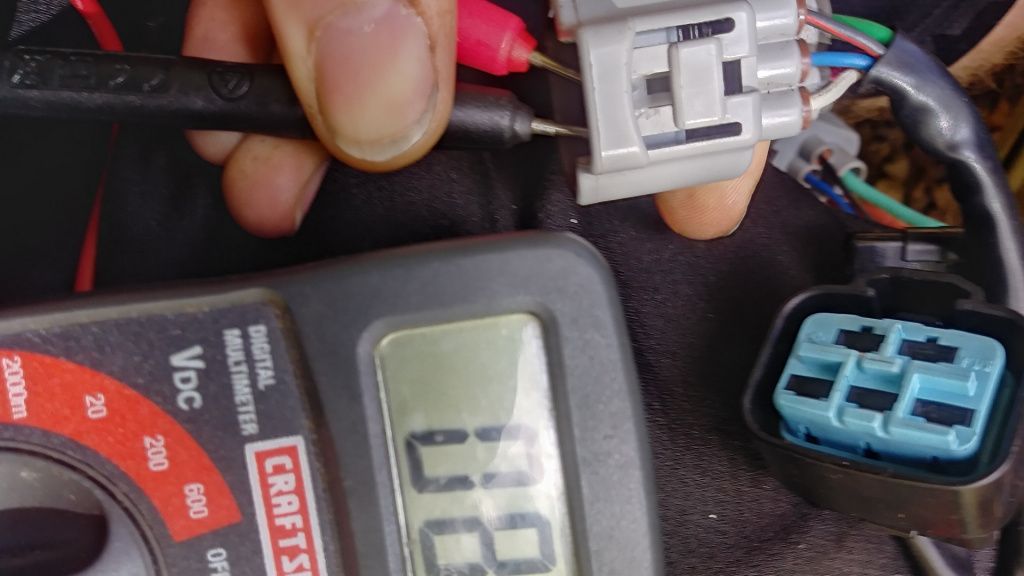
You'll need that multimeter mentioned earlier to measure the ohms.
Turn the ATV off and disconnect the stator cable.
Set the multimeter to test ohms.
Place the meter leads on the pins in the connector the stator's cable was hooked to. It doesn't matter which lead you hook to which pin first.
Make three tests to cover all of the combinations: pin 1 and pin 2, pin 2 and pin 3, and pin 1 and pin 3.
Write down the results from each test and compare them to the readings listed in your owners' manual. If they don't match what's in the manual, then you need to fix or replace the stator.
Insulation Break Down Test
Take one meter lead and hook it to the connector, then take the second one and hook it to the body of the stator.
The meter should say "OL" which stands for, "open line," if it's working correctly. If not, the stator is bad. Check it multiple times to cover each coil/winding/phase to make sure they all pass.
Test with Motor Running
If you're lucky enough for your battery to still have some charge, you can measure the volts of AC that come out of your stator and see if they match what the service manual says is required.
You'll need a second person to run the ATV while you test.
Set your multimeter to AC and do the steps listed in the resistance test.
See how it varies at different RPMS. It should increase as the RPM increases.
How to Fix a Bad Stator on Your ATV

There are different kinds of stators and fixing one can be very different depending on your ATV model. You should definitely review your owners' manual and get specific help for your model, but the process often goes something like the way it is described here.
You'll need:
- a screwdriver
- pliers
- fine-grade steel wool
- small scissors or a blade
- a soft, clean cloth
- new wire for the stator
- liquid rubber
The steps to fix a bad stator usually involve unwinding and cleaning the original stator core. You will then need to rewind it by hand or with a machine. If that already sounds like something you don't want to mess with, you're not alone, and you can take the ATV to the shop or skip to replacing the stator.
The first step is to check the coil heads for damaged or burned wires. You'll cut the protective rubber coating from any damaged coils. While doing this, note the direction the wire wraps around the coil head so you can replace it. You could take a picture to make sure you remember what it looks like.
Remove the terminal clips from the base with a screwdriver.
Unwind the damaged wire and clean the surface of the stator head with fine-grade steel wool.
Wipe the surface free of debris when you're done.
Wrap new wire of the same gauge as the old around the heads just the way it was before. Leave no gaps between the wire wrappings.
The terminal leads will require additional length at the top and the bottom. Crimp the terminal leads to one-inch lengths with pliers and attach them to the stator with a screwdriver.
At this point, you should be able to test the stator's ohms and it pass the test.
If it does, coat the new wiring with liquid rubber and let it set.
You now know the most common method to fix a bad stator on an ATV.
Replacing the Stator
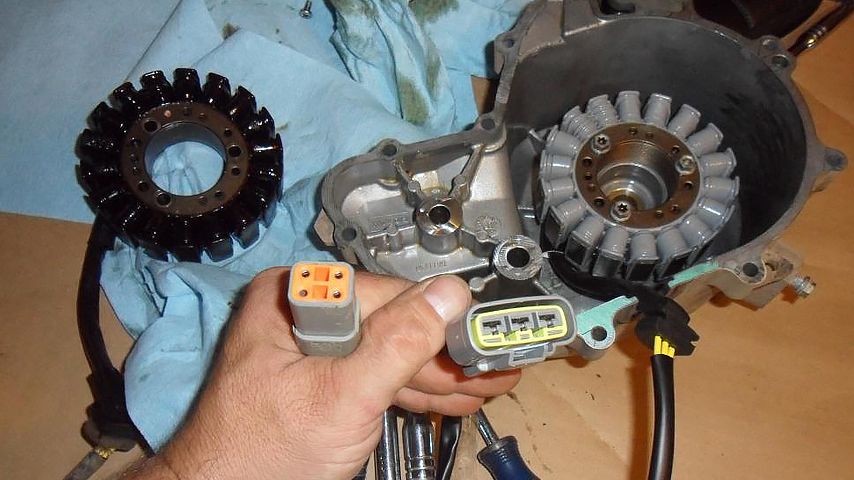
If it seems beyond fixing or you simply don't want to bother with fixing it, you can replace your stator for $100 or less.
The exact steps will vary depending on your ATV model, but they are usually fairly easy to replace. Most of them are easy to access, and it's a simple remove bad part, put in good part, and reconnect everything the same way it was deal.


