How to Install an ATV Wrap
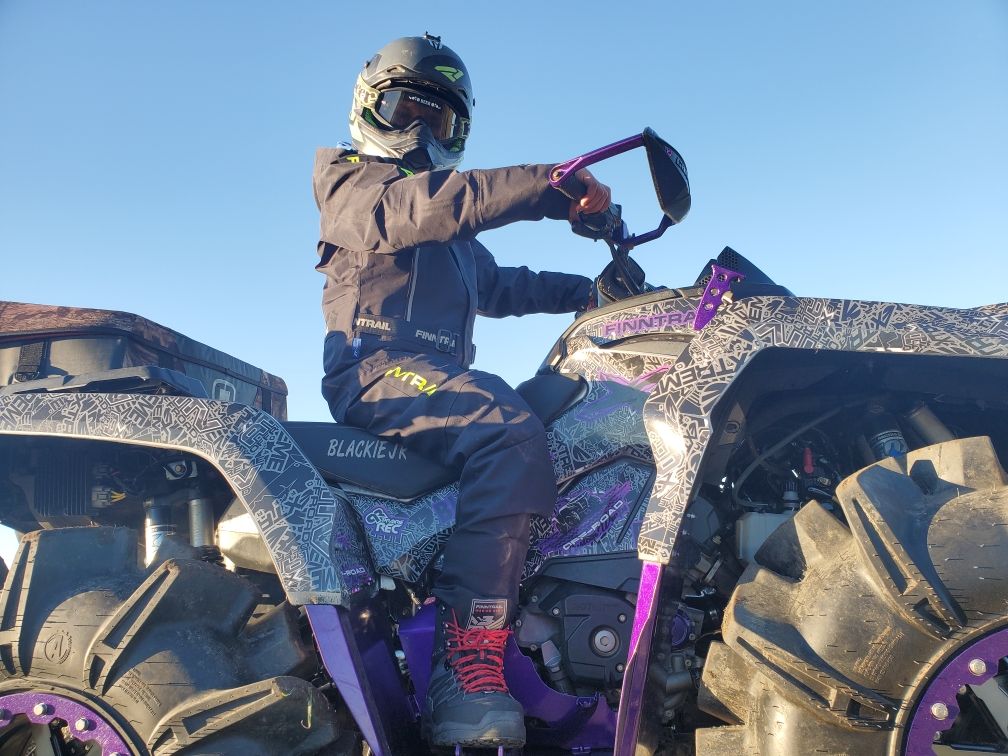
All that wear fr om your outdoor adventures eventually makes the plastic frame on your ATV start to look pretty rough. Even if you've cared for it. An ATV wrap kit can give your trusted machine a whole new look. Read this post to learn how to install an ATV wrap.
WHAT TO DO BEFORE YOU INSTALL AN ATV WRAP

Pre-cut ATV graphics or wrap
You have two options.
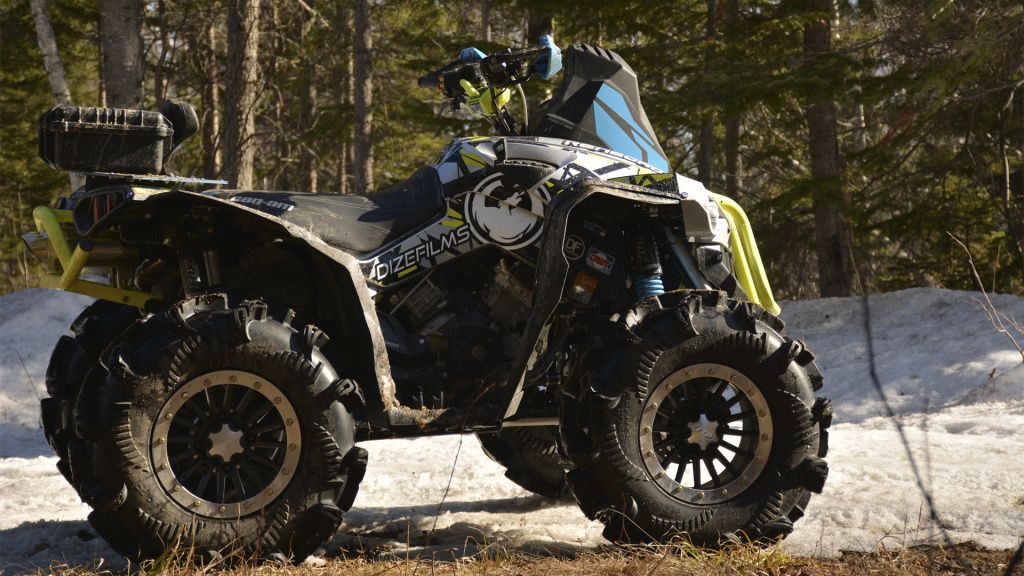
Pre-cut graphics kits are easier to apply because they are already cut to fit each part of your ATV's frame. They're like ATV stickers. The downside is that they don't cover the entire frame. Damages may still show, water can get under the wrap if it isn't sealed correctly, and it just doesn't look as perfect as a full wrap.
A full ATV wrap is more difficult to apply because you'll have to carefully smooth the vinyl over every centimeter of your ATV frame and cut away the excess. But it covers everything and looks like a brand-new ATV.
Ordering
Pre-cut graphics kits are cut to fit your exact model, so you'll have to purchase the correct one.
Full ATV wrapping kits come in more general sizes so you can cut the wrap to fit the machine.
You'll need:
- a squeegee with a smooth edge
- a glove
- isopropyl alcohol
- a hair dryer
- an X-acto or utility knife
Clean the machine
The vinyl needs a clean, degreased surface to adhere to. Give your ATV a great scrub to remove any dirt and residue on the frame.
Then use some isopropyl alcohol to degrease the surface. The alcohol can also help remove some stubborn spots cleaning with soap and water couldn't beat.
Treat scratches
If there are deep scratches in the existing plastic, you'll need to smooth those out with a scraper or sandpaper before applying the vinyl or they'll show through the plastic or weaken the seal.
Learn how to restore your ATV plastic.
TIME TO INSTALL AN ATV WRAP
Location
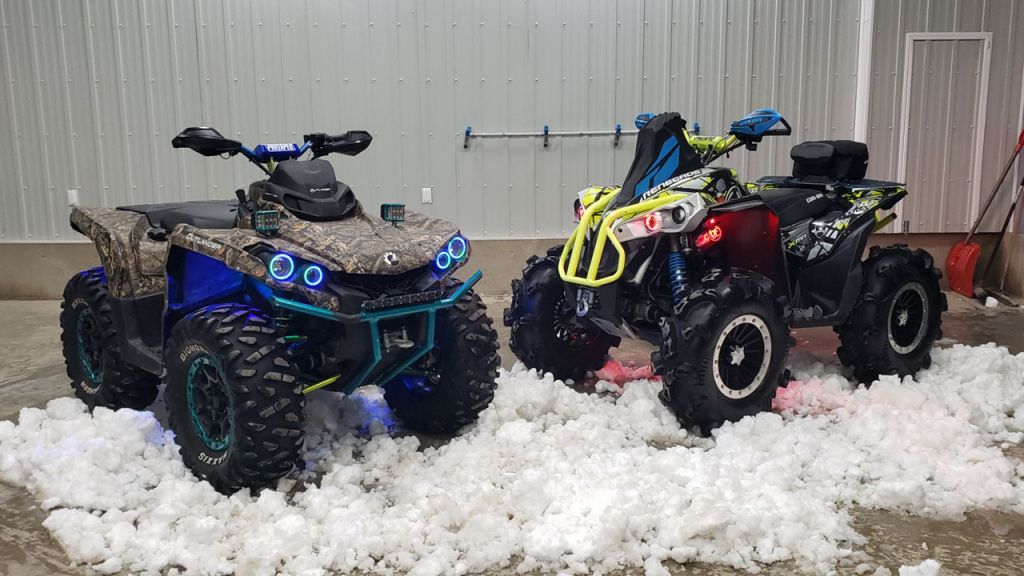
It's ideal to install an ATV wrap indoors with some air flow and warm air. The warm air isn't necessary, because you can achieve the same results with the hair dryer, but it's an added help. Applying the vinyl it indoors will prevent insects from interfering with your work. The air flow is for any smells. Even if you're working with wraps that are free of smells, all that isopropyl alcohol needs to be aired out too.
Know your wrap
Different products have different requirements. Make sure to read the instructions that came with the product you buy to ensure you don't need additional tools or products and that you're applying it properly.
Measure cut
Skip this step if you're working with pre-cut graphics.
Measure each section of the ATV to cut out pieces a little larger than each section. If you're going to err, err on the side of cutting too big. You can always buy more wrap and cutting too small could leave you with distracting seams.
You can hang the wrap up with magnets to make the pieces easier to cut.
Applying the wrap
Start with the center section. It's large, so you can practice on getting it perfect, and having it in place will help you position the other pieces around it.
Spread the first piece over the existing plastic and begin pressing it to the various shapes of the frame. Tuck it here, and spread it there, as fits the shape, and it will perfectly conform to each detail of the frame.
Flattening it with the squeegee or your gloved hand for tight spaces, will make it lay flat and smooth just like paint. You can use the squeegee to perfect the lines in grooves and bends.
For deep recesses, start in the center of the recess and work outward flattening the vinyl.
Prepare for mishaps
Wrinkles and air bubbles will be a frequent foe. If they aren't right next to the edge wh ere you can quickly smooth them out with the squeegee or your hand, lift that section of vinyl up and spread it again until it's flat. You can do this as many times as needed.
Warming the vinyl with the hair dryer will make it more flexible. If an area is determined to wrinkle or not lay right, run the hair dryer on it a little and try again.
Working in a warm environment will make the vinyl naturally warmer, reducing the number of wrinkles to battle and other times the vinyl isn't quite bendy enough.
Cutting
For sharp bends and curves, you may find you can't make the vinyl conform to the frame's shape without making a slit in it. Use your sharp knife to make a cut so the vinyl can lay flat.
Edges
Spread the vinyl toward the edges until you reach the end of the graphic or the edge of the frame with full wrap. Tuck full wrap under the edge and out of sight. It will either end here or need to be cut.
Apply some heat to the edges to make sure they're adhered tightly.
A catastrophe handled
You should work very hard to get your vinyl flat and perfect, but it is still possible for you to finish and realize you left an air bubble in somewhere. If you do, stick a straight pin into the bubble to release the air. Press the vinyl down and apply some heat.


