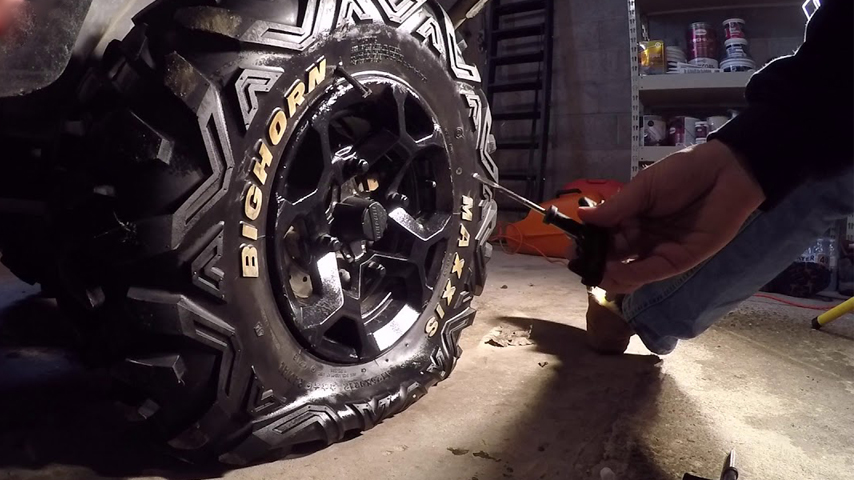
How to Make ATV Tire Repair in Case of Big Holes
Repairing your ATV tire is simple. Your ATV tires are prone to rips, punctures, and holes after being constantly attacked by rough surfaces. An ATV tire is an expensive part that owners might need to replace often. But there is a way to patch them instead.
Similar to normal car tires, ATV tires can be patched. They could even last long before they need to be replaced. Ideal for those that want to save money, plus you can do it yourself at home.
Patches may last a while, but they are not a permanent fix. The harsher terrain your ATV is exposed to, the likelihood the patch will end up breaking and then you will need a new tire.

Patching or Plugging?
When repairing your tire, it’s not uncommon to patch it. Patching is the process of fixing holes inside of the tire or splits from the sidewall. Plugging is from the outside of the tire and is better for smaller or sharp punctures which needles, nails, and screws cause. It is much easier to plug your ATV tire than patching, providing you have a plug kit.
Outside ATV Tire Repair: Patching
When dealing with tubeless tires, it is simple to repair from the outside using a patch. Keeping the wheel on your ATV, you need a tire repair kit and CO2 cartridges.
Tire repair kits include tire reamers, tire pluggers, plug strings and rubber cement.
-
To use the ATV tire repair kit on big holes, you need to find the hole and remove any objects that pierce the tire. Be wary of sharp rocks.
-
Push the tire reamer in the big hole and move it up and down your ATV tire. This prepares it for the plug by cleaning and abrading the hole.
-
Thread a single plug string into the tire plugger, covering the ATV tire with rubber cement. Make sure to centrally align the plug ring inside the eye of the tire plugger.
-
Push in the plugger and plug string two thirds into the hole, without twisting.
-
Pulling out the plugger quickly you will see the plug strings are now on the ATV tire and are plugging the hole.
-
Remove any additional plug material using scissors or a knife.
-
Use your CO2 cartridges to refill the tire. Once pressurized, use some water to pour on the plug to see if there are any air bubbles. If the bubbles are present, add additional cement on top of the plug for sealing. If you do not have access to water, feel the air with your finger to check for leaks.
If this has worked, you’re ready to get back on adventuring on your ATV!
If this hasn’t worked or your hole is too big, patch the ATV tire from the inside.
Inside ATV Tire Repair: Sidewall Rips or Tears
Repairing your ATV tire from the inside is better, as repairs on the outside increases the chance of rubbing occurring.
Start by taking the tire off the ATV wheel. Repairing from the inside is best done at home (or at least practice at home beforehand) so you will know what to do.
Taking Off the ATV Tire
-
Use two tire irons that have flat blades. Here you can maneuver the tire off the rim. First deflate the tire if it is not sufficiently deflated by pushing the center of the tires valve.
-
Push one flat blade between the ATV rim and tire.
-
Do the same with the other blade on the other side of the tire, directly in line with it.
-
Go around the rim and remove the tire away from the edge using the blade until it meets back at the other blade.
-
Repeat this on the other side of the tire with the other blade.
Patch Using an ATV Tire Repair Kit
With big holes in your ATV tire, it’s important that this step is performed correctly.
An ATV tire patch kit comes with a tire marker, scuffer, rubber cement, tire patches and buffer tools.
-
Mark the spot on the ATVs tire that needs patching by using the tire marker.
-
Using the scuffer, rub the marked area to prepare it for the new patch. Make sure to remove the rubber pieces if any arise from rubbing.
-
Use the cement to spread over the scuffed area and hold on until it becomes sticky.
-
Take off the label from the rear of the patch. Stick it down to the area which you scuffed and added cement to earlier.
-
With the buffer tool, smooth the edges of the patch and remove any air bubbles. No gaps should be between the patch and the tires surface.
-
Leave for the cement to dry and the patch is safely installed before putting the tire back on the rim.
Once you are confident the big hole in the tire has been repaired, re-install the tire onto the ATVs rim. This is just the opposite of taking it off the rim. Use the tire iron and lever one side on to the rim, repeat for the other side as you slide the tire back on the rim. Re inflate using CO2 cartridges and enjoy the rest of your adventure!


