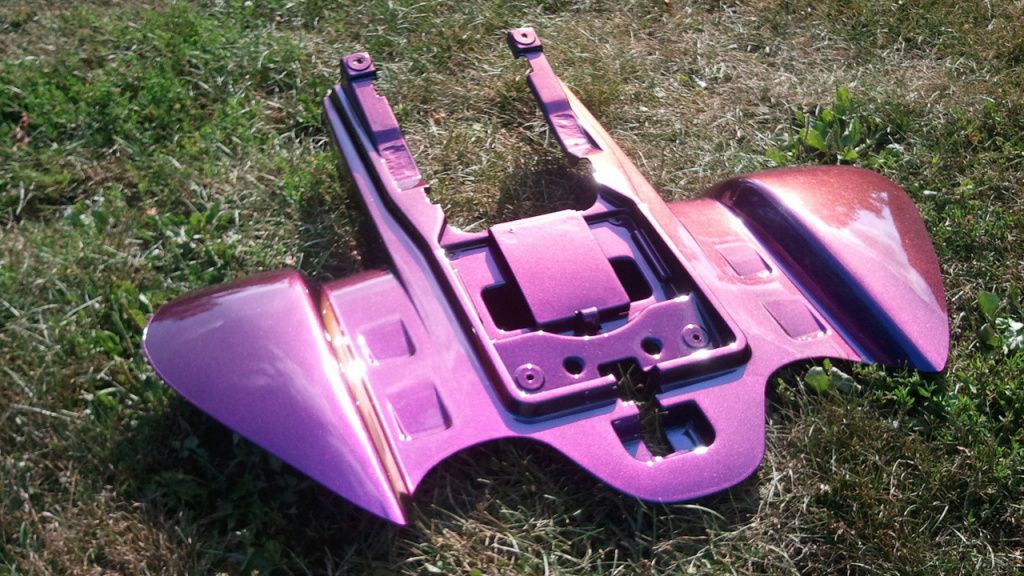
How to Paint ATV Plastic
Painting a 4 wheeler is an excellent way to rejuvenate your ride or enjoy a new aesthetic on the trail without an expensive upgrade. If your paint has seen better days or you’re sick of that same color, read this post on how to paint ATV plastics.

Clean The ATV
The ATV has to be clean before you get into how to paint a ATV body. Give it a thorough wash to make sure no dirt or debris interferes with your plans.
Choose Your Workspace
Make sure you have a closed space to work in that also allows you plenty of ventilation. You don’t want anything to get in your four wheeler paint while it’s drying.
Lay a drop cloth under the ATV to keep paint from getting on your floor.
You’ll probably want to wear some clothes you don’t care about and a mask to protect yourself from ruined clothes and breathing fumes.
Remove Rust
If you’ll be painting metal areas of your quad, make sure to remove any rust before trying to paint over it. WD-40 or rust remover will get rid of superficial rust. Deeper rust damage will need to be repaired before you can continue. Also make sure to choose paint that will stick to metal like latex or oil-based paints.
Sand It
Before you paint ATV plastic, you need to sand it. You can sand large areas with a sand blaster, focus on smaller areas with sandpaper, or use sandpaper for the whole job.
You will need several grits. 60-100 grit is best for large areas while 220 is best for smaller spaces. Go ahead and have some 400 grit sandpaper ready for the later stages of the painting job.
Plastic Cleaner
Apply special plastic cleaner to your plastic to ensure it is free of chemicals and substances that might interfere with your paint. You should apply a generous amount of it and let it sit for 20 minutes before wiping it off.
Prime It
The surfaces will have to be primed before they can be painted or the paint won’t stick. Cover the entire surface with the primer. Then you’ll have to let it dry. The primer will tell you how long exactly, but it’s usually 4 to 6 hours.
Once the primer is dry, sand it with 120 to 220 grit sandpaper to help the paint stick to it.
Tend Damage
You may discover dents, nicks, and other imperfections in your plastic while sanding and priming it. After you’ve primed it, apply some Putty Flex to fill in imperfections and consider mesh to reinforce big tears.
Choose Your Paint
You’ll have to be sure you purchase paint that is suitable for plastic. The best paint for ATV plastic will be spray paint, acrylic, or enamel, and Krylon, Valspar, and Rust-Oleum are common brands that make paints specifically for plastic.
Paint It
Apply an even layer of paint to your quad. If you apply too much in one area, the paint may run. Let that coat dry, then apply another coat and let it dry. The paint will tell you how long it needs to dry.
Will you only be painting your ATV one color? If not, sand the paint with 60-100 grit sandpaper. If you are sticking to one color, sand it with the 400 grit.
Apply clear coat and let it dry.
You can then paint one or more colors on top of this. Just make sure to let all coats dry before applying another and to apply clear coat between colors. Remember to sand the paint with the 400 grit sandpaper before applying your final clear coat. This will give it a smooth, clear finish.
Depending on the type of paint you chose, you might have to wait a certain period of time before you can wash your ATV. Make sure to check the instructions on your paint before hitting the trail and getting your machine dirty. This is the final step in how to paint a 4 wheeler and one you don’t want to skip.
How Much Does It Cost to Paint an ATV?
If you DIY painting ATV plastics, you’ll just be paying for the cost of the plastic cleaner, primer, paint, and clear coat. The exact prices will vary depending on the paint you purchase. It will cost hundreds of dollars to have a professional do it for you.


