How To Remove Water From An ATV Engine And Fuel Tank
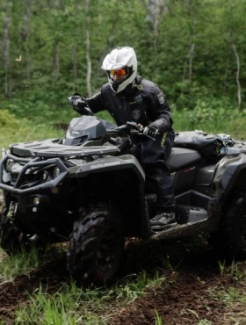
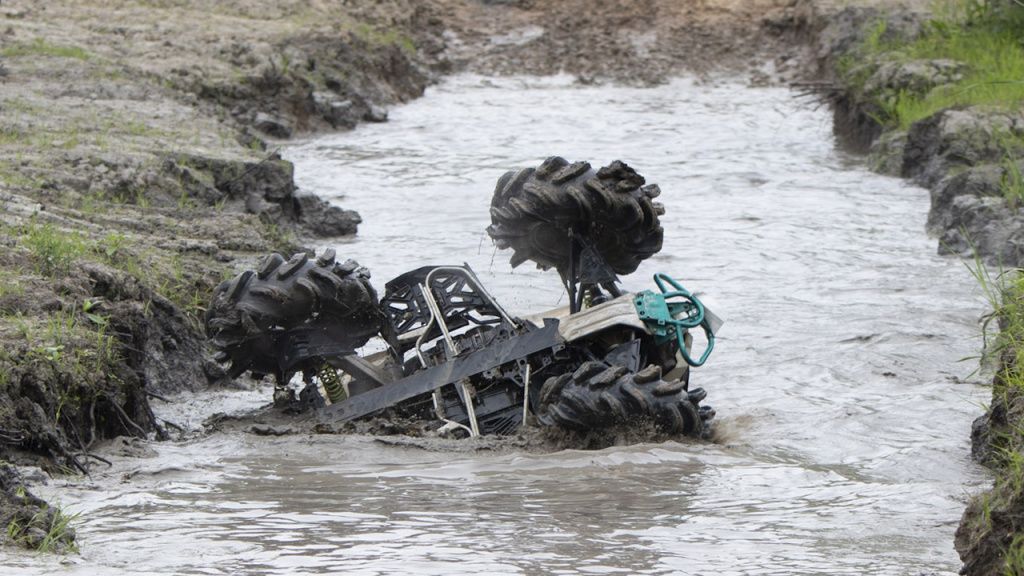
Water can get into an ATV engine or fuel tank in several ways. Perhaps the most common is through submerging an ATV in deep water. But it’s also possible for water to seep in when riding through deep mud or for water to splash up into the engine.
What’s the big deal about water? Well, it actually takes a surprisingly small amount of water in an engine for significant damage to occur. Unlike air, water can’t be compressed much.
So, the piston has nowhere to go, causing the bike to seize up. If you’re unlucky and were stressing the engine at the time, the pressure has to go somewhere, and you can end up with a broken piston rod, fractured crankcase, or damaged bearings.
1 - THE INITIAL RECOVERY
Assuming water is getting into the engine because you’re in deep water or mud, the first step is to get the bike out as soon as possible. You’ll often need a winch. Once recovered, turn off the machine and tow it.
Do not try to start the engine! At this point, you could do irreparable damage to your vehicle if the engine is indeed flooded.
2 - THE AIR FILTER
If you suspect water has made its way into the gas tank, check the air filter. If it’s wet, you’ll need to remove it and dry it or replace it entirely before performing the other troubleshooting steps.
If there’s mud or water in the airbox, disassemble it and clean it thoroughly. Now, tilt the bike backwards, if possible, to remove any excess water you can.
Reminder: don’t start the engine! Tow it back to the garage before starting your real sleuthing.
3 - THE AIR INLET
Clean out mud and debris from the air inlet. Check the breather tubes too for mud. Clean them with water and leave them to dry.
4 - DRY THE STATOR
Check the stator by removing the housing. If any water pours out, you’ll need to use an air compressor and/or hairdryer to dry out the stator. Alternatively, wait for the stator to dry out of its own accord.
5 - CHECK THE CVT
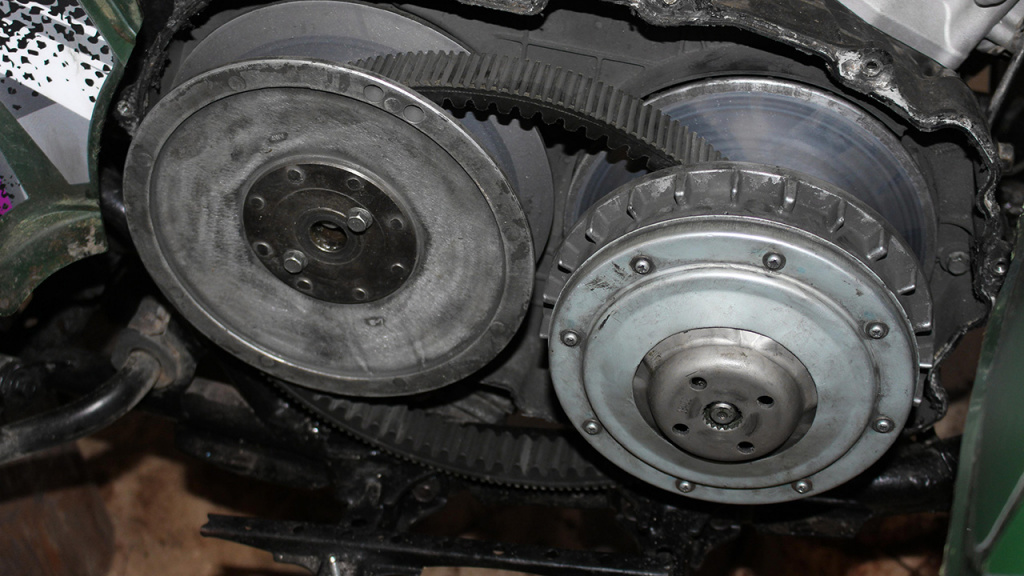
Belt-driven transmission ATVs usually have a drain plug at the bottom for getting rid of water, should it get in. Some older ATVs require you to remove the belt housing cover instead.
If you were submerged deep in mud, you might need to open the belt housing cover anyway to clean it all out. Again, you’ll need to wait till the system is completely dry before riding.
6 - DRAIN THE COOLING SYSTEM
In severe cases of submersion, you’ll need to drain the cooling system of contaminated water. Re-fill with coolant.
7 - DRAIN THE GAS TANK AND CLEAN THE CARB
Deep submersion results in water in the gas tank. Drain both the tank and the carb. Usually, there’s a drain screw in both components. Otherwise, you’ll need to open them up to drain them.
For a thorough job, you should remove the carb, disassemble it, and clean out all water. Use carb cleaner, and leave it to dry. Check the gaskets and replace them if they got wet.
8 - CLEAR THE CYLINDER OF WATER
Remove the spark plugs or injectors so the water will have somewhere to flow. Turn the engine multiple times until no water is released.
9 - IDLE
Put the spark plug back in and start up the engine. Simply let it idle for several minutes, occasionally spraying a small amount of WD-40 into the air inlet. Expect the ATV to smoke a lot during this step.
10 - REPLACE SPARK PLUGS
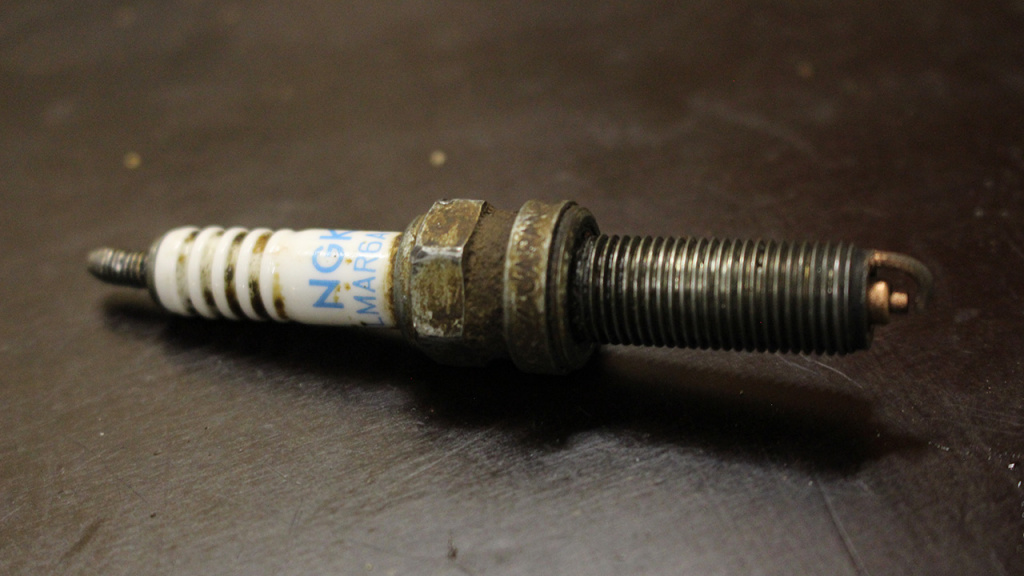
If the ATV runs rough, it’s likely the spark plugs have gone bad. You may need to replace the spark plug a few times, as any residual water in the engine can be enough to foul a new plug.
11 - CHANGE ENGINE OIL
If you suspect the engine oil has been contaminated with water, drain the crankcase. If the oil is mushy or light brown, you’ll need to flush the bad oil and water. Replace with new engine oil.
A few other things to quickly check for water contamination. are the brake system and electric connections With any luck, your ATV should now be back in good condition.


