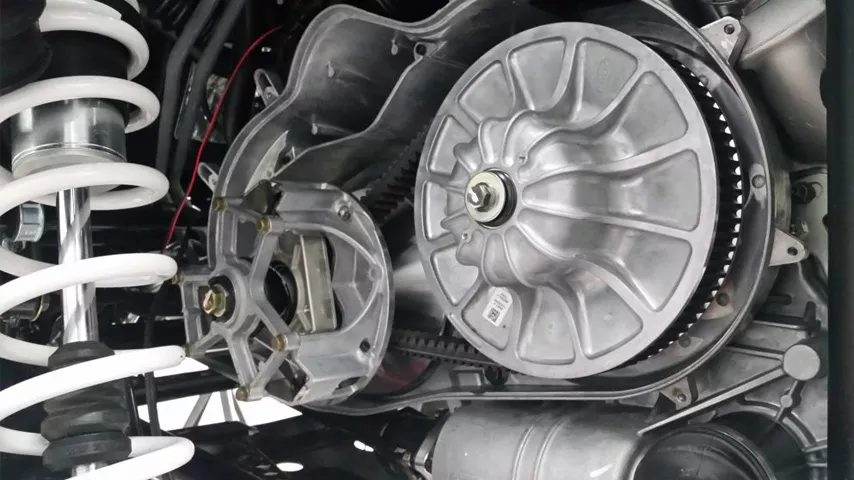
How To Remove the Old Bearing in the Clutch Guard Housing on an ATV
Any issue with forward motion on your ATV could be due to an issue with your clutch. The bearings in the clutch often wear down over time and need to be replaced after you start to notice issues shifting smoothly.
When you go in and start to try to remove the old bearing in the clutch guard housing on your ATV, you may realize that this is no easy task. The bearings are in the clutch guard housing so securely that removing them can seem completely impossible. If you don’t have access to a full-service auto shop, you probably don’t have all of the tools that you need.
If you’re lucky, you might have a friend with a blind hole bearing puller, but you might need to rent them or find a different solution. Sometimes a blind end puller will do the trick if you are able to supply a sufficient amount of heat into the situation. To remove the bearing in a clutch for your ATV is to fight a hard fight, but we’re here to support you.

Get access to the clutch guard housing
In order to get to the bearings in your clutch guard housing, you’ll need to start taking things apart. Remove the footrest cover, the side panels, and the seat in order to get easy access to everything you’ll be working on.
You can take the bolts off of the housing and loosen the brake cable to get the cover loose. Then, you’ll need to remove the belt, and finally, you can use a clutch holder tool to remove the clutch guard housing.
Inspect the bearing
The bearing inside of the clutch housing is a one way bearing that allows the assembly to move clockwise. You can simply inspect the bearing by testing it and seeing if the assembly moves clockwise when working in that direction. Chances are good that you’re going to experience failure since you’re already at this point.
Remove the bearing
Now that you’ve gotten to the bearing, you can work to remove it. An old bearing might be rusty and stuck in the clutch housing firmly, meaning it won’t be an easy fight to win.
The best tool for the job is a blind hole bearing puller. These are designed to get bearings out quickly and easily. Keep in mind that bearings are put in tight places to allow for movement over a long period of time. That means they are securely placed and you just need to keep trying in order to get it out.
If you don’t experience success right away, you can try applying heat to the process. This can help to loosen any old fluids up and work the bearing out of its home.
Install a new bearing
Finally, you’ll need to get the new bearing in place so you can get back out riding. The needle bearing will need to be driven in with a soft blow hammer and a handle to work towards getting it in flush. This process needs to be precise so you can get a secure fit that will stay in place for the long haul.
Finally, you need to put in a new circlip to hold the bearing in place within the housing. After this, you can put everything back together and hopefully feel the smoothness that all your hard work just achieved.


